

-
 chevron_right
Unsupported Acer Chromebook Repurposed as Linux Writing Laptop
JacobCoffinMakes • 7 February 2024 edit • 7 minutes • 4 visibility
One of my hobbies is fixing up ewaste laptops and giving them away. I actually do lots of ewaste electronics, from TVs to space heaters, but the laptops are where I put in the most work. Some are new, intact, and ready to go with nothing more than a OS reset. Others have had parts removed or damaged, and need more work. Most of these computers I give to a local refugee resettlement organization, but some of them are old enough, or otherwise weird enough that I wouldn’t feel right about giving it to someone who already has a lot of problems to deal with. I try to make sure they get fast computers with familiar operating systems whenever possible. So far, I’ve always had enough decent machines to pass along that that hasn’t been an issue.
Through this project I made friends with a guy who works at the local recycling center. He does a similar thing with TVs, though covering even more organizations and moving more equipment than I do. He helped me up my game a lot. He provided some old Windows multi-use keys, a ton of cables and USB hubs to give away with each laptop, an almost endless stream of power bricks for any model I needed, and recently he was able to get the management there to agree that he could take laptops too, if he caught the people who dropped them off and asked if they were okay with it. Otherwise the site policy says they need to be securely destroyed.
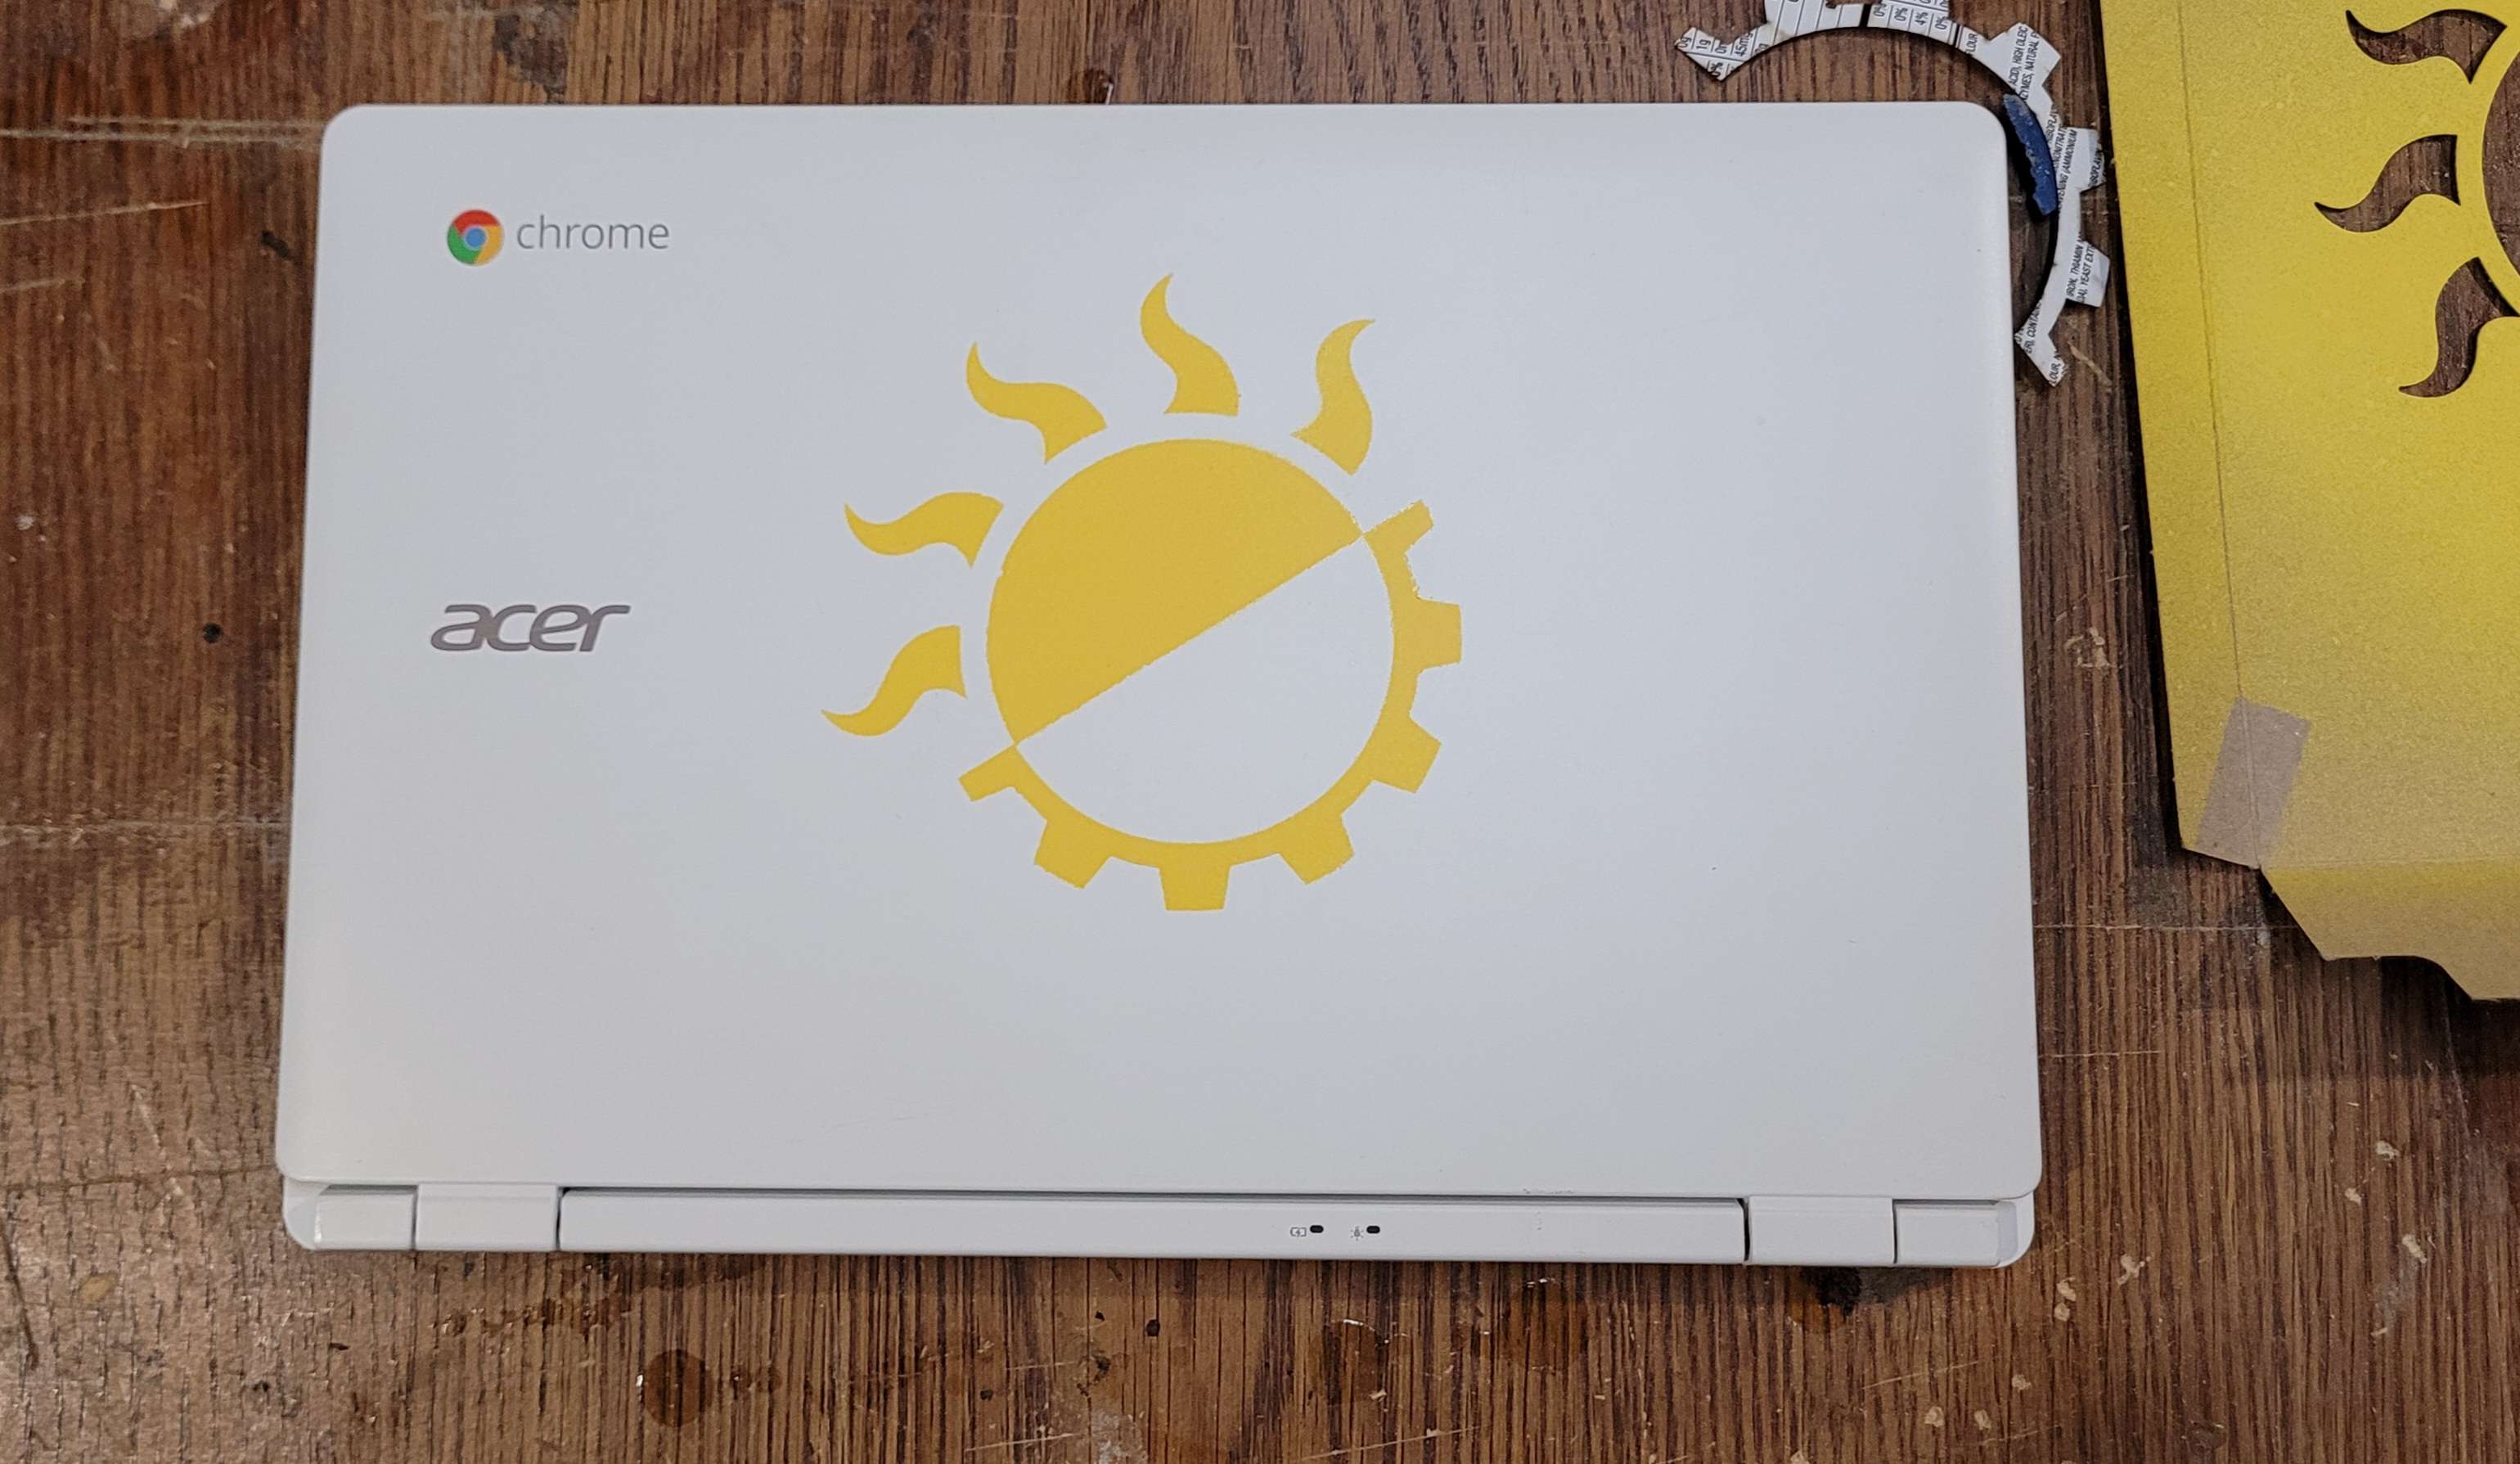
So suddenly I had two sources of hardware, which was a huge help in providing computers to everyone who needs one. Not all of them are great though – sometimes you get a laptop with a single DDR1 ram slot (can’t go above 1GB), or in this case, a couple chromebooks with expired, insecure OSs. He wasn’t sure I’d be able to do anything with them, and asked me a few times if I was sure I wanted them, but I didn’t feel it was a big risk. I’d try fixing them up and if there was an issue, I could always put them back in recycling. Neither one seemed like a great fit for the refugees, they only had 2 gigs of RAM and 16 gigs of on-board storage space. No hard drives. But the hardware was nice: lightweight, with a nice screen and keyboard, and the batteries were awesome. I hate to throw something like that away.
I started with reading about my options and settled on MrChromeBox’s script for replacing the ChromeOS and firmware with a proper BIOS. The website and instructions were thorough and worked perfectly for me.
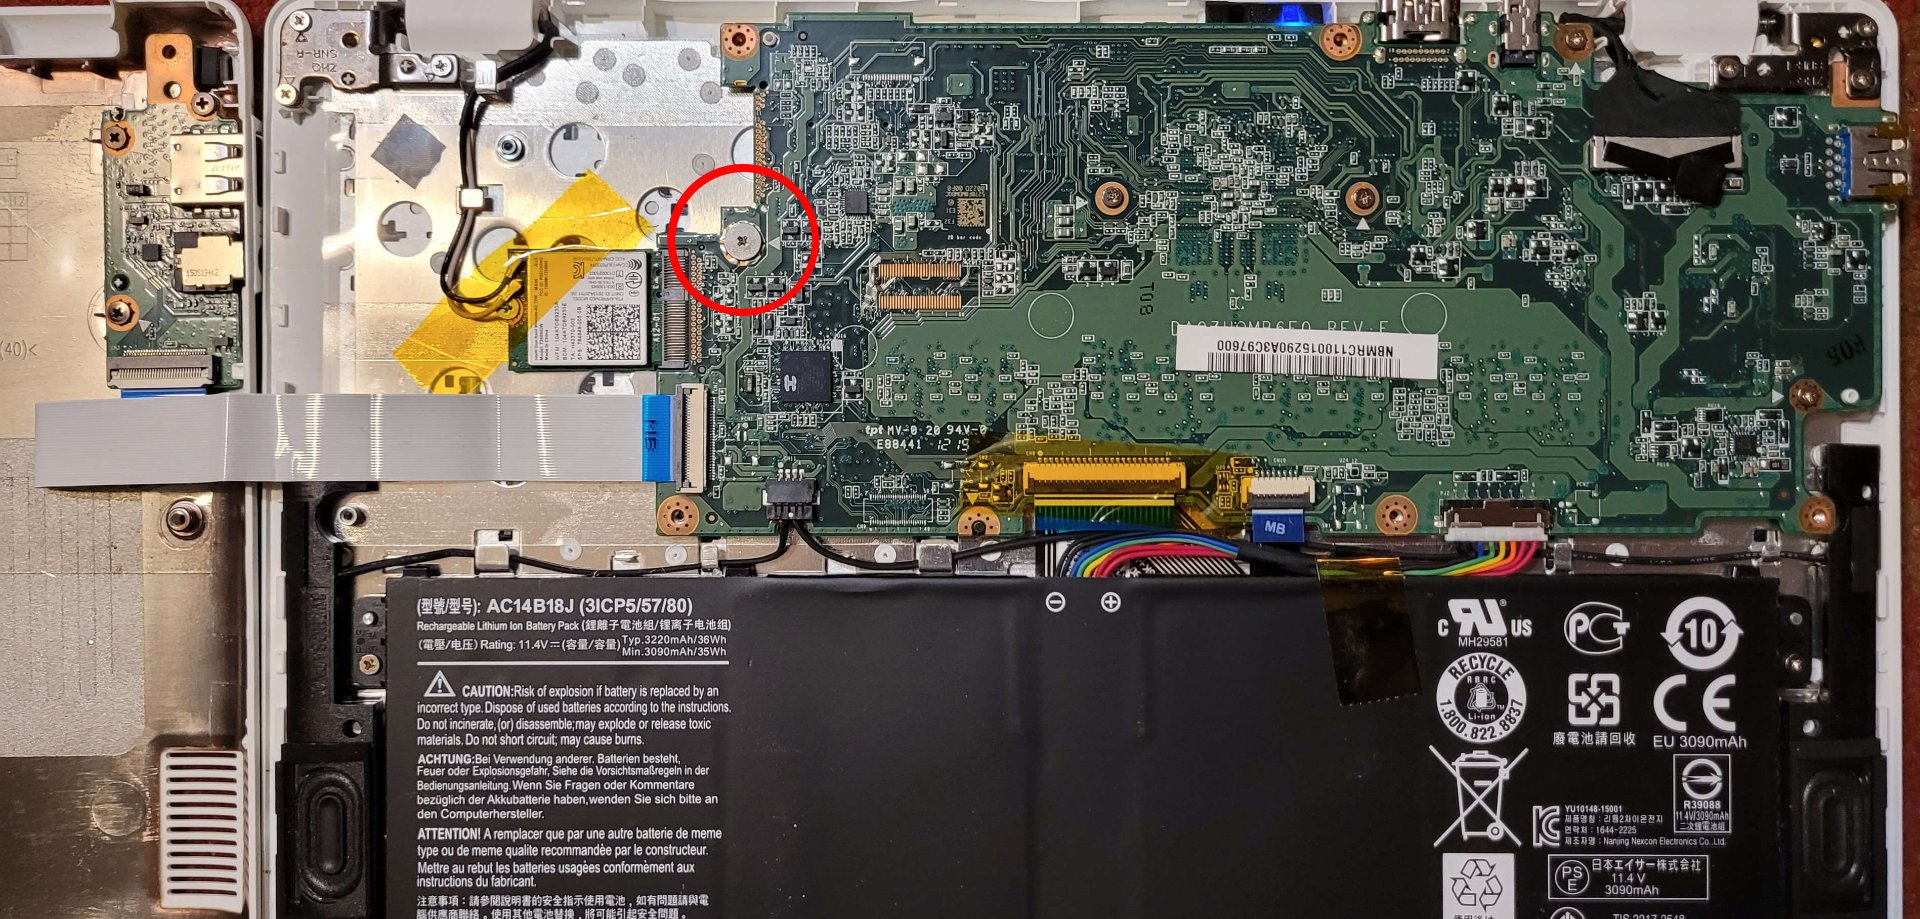
Step 1 was removing the hardware write protection. I think all chrombooks have some kind of write protection that prevents you from paving over their firmware. In some it’s a jumper wire connecting two contacts. On other models its a lack of a jumper. Sometimes they use a screw to bridge those contacts, and on some, the battery itself acts as the bridge and you can only reinstall the BIOS when the battery has been disconnected and the laptop is plugged in.
Mine was an easy one, enabled with a screw. The website didn’t have a photo for this model, but it wasn’t hard to find since it looked different than all the rest. (I’ve since sent this photo to MrChromeBox in case he’d like to add it.)
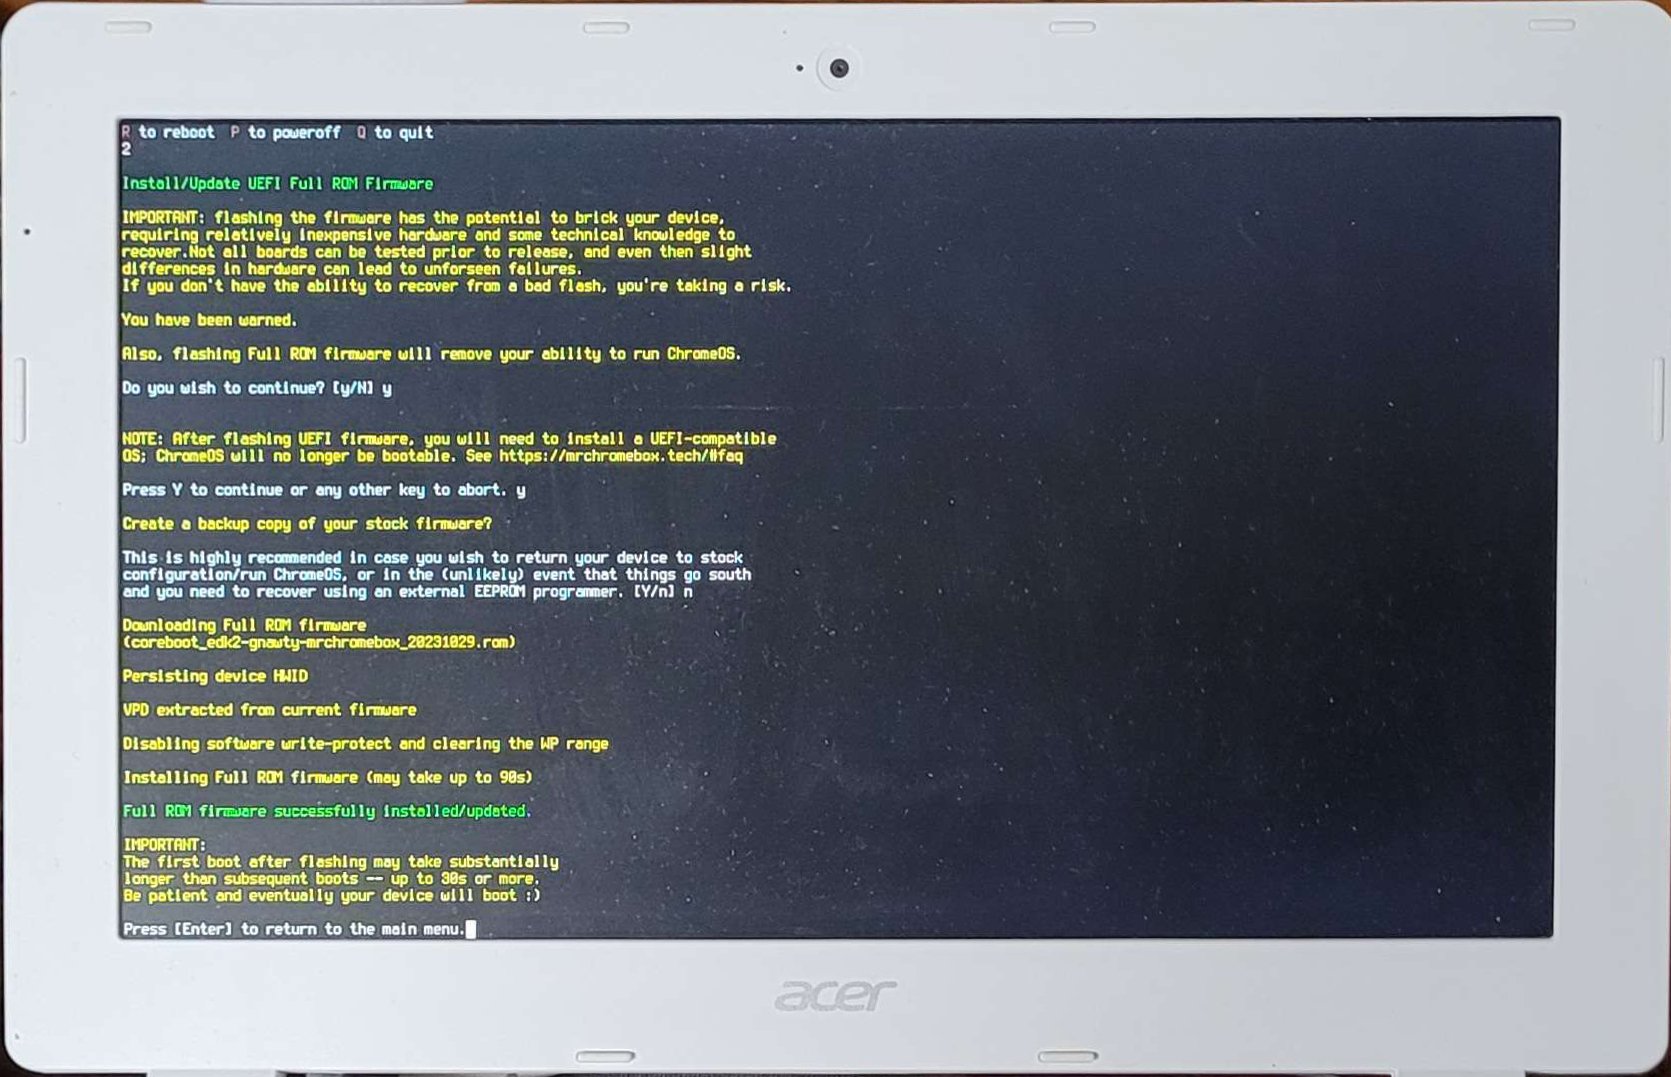
Once that was out of the way, I followed their instructions to get to the correct command line interface and entered the commands to run their script. Very satisfying. A great ratio of ‘feeling like a hacker’ to actual effort involved.
Once the script completed, I had basically a regular laptop.Probably closer to an old netbook in terms of hardware. I could install Linux Mint but it would take up most of the storage space. I received a bunch of microSD cards as a gift, so I bought a super low profile microSD to SD adapter and stuffed a 512GB microSD into the SDslot. That’s going to be a pain to get out some day.
The BIOS is happy to boot to the SD slot, so I installed Linux Mint there. Suddenly I had a regular laptop with plenty of storage space, a bit light on RAM, but it’s a perfect little computer for carrying around the city and going to write-ins, etc. Light weight, good keyboard and touchpad, awesome battery.
I know I could have used a lighter-weight OS, but Mint is sort of my default. Its super convenient, has wonderful all-around compatibility, good community support, and just works well when I want a computer that isn’t itself, a project. Between the web browsers, the preinstalled Libre Office, and the writing tool Wavemaker Cards, I have everything I need for most of my projects.

A few days into using it we had a makerspace night, and since I had access to the laser cutter, I put together a quick solarpunk stencil. I love using the laser cutter to cut stencils. It turns hours of work into minutes, and it can do intricate designs with narrow bridges that I’d often have to glue back together after tearing or accidentally cutting. Plus, it works best when cutting thick cardstock paper or thin cardboard, which makes for better stencils, but is a pain to cut by hand. To reduce waste, I used an old cracker box for my stencil.
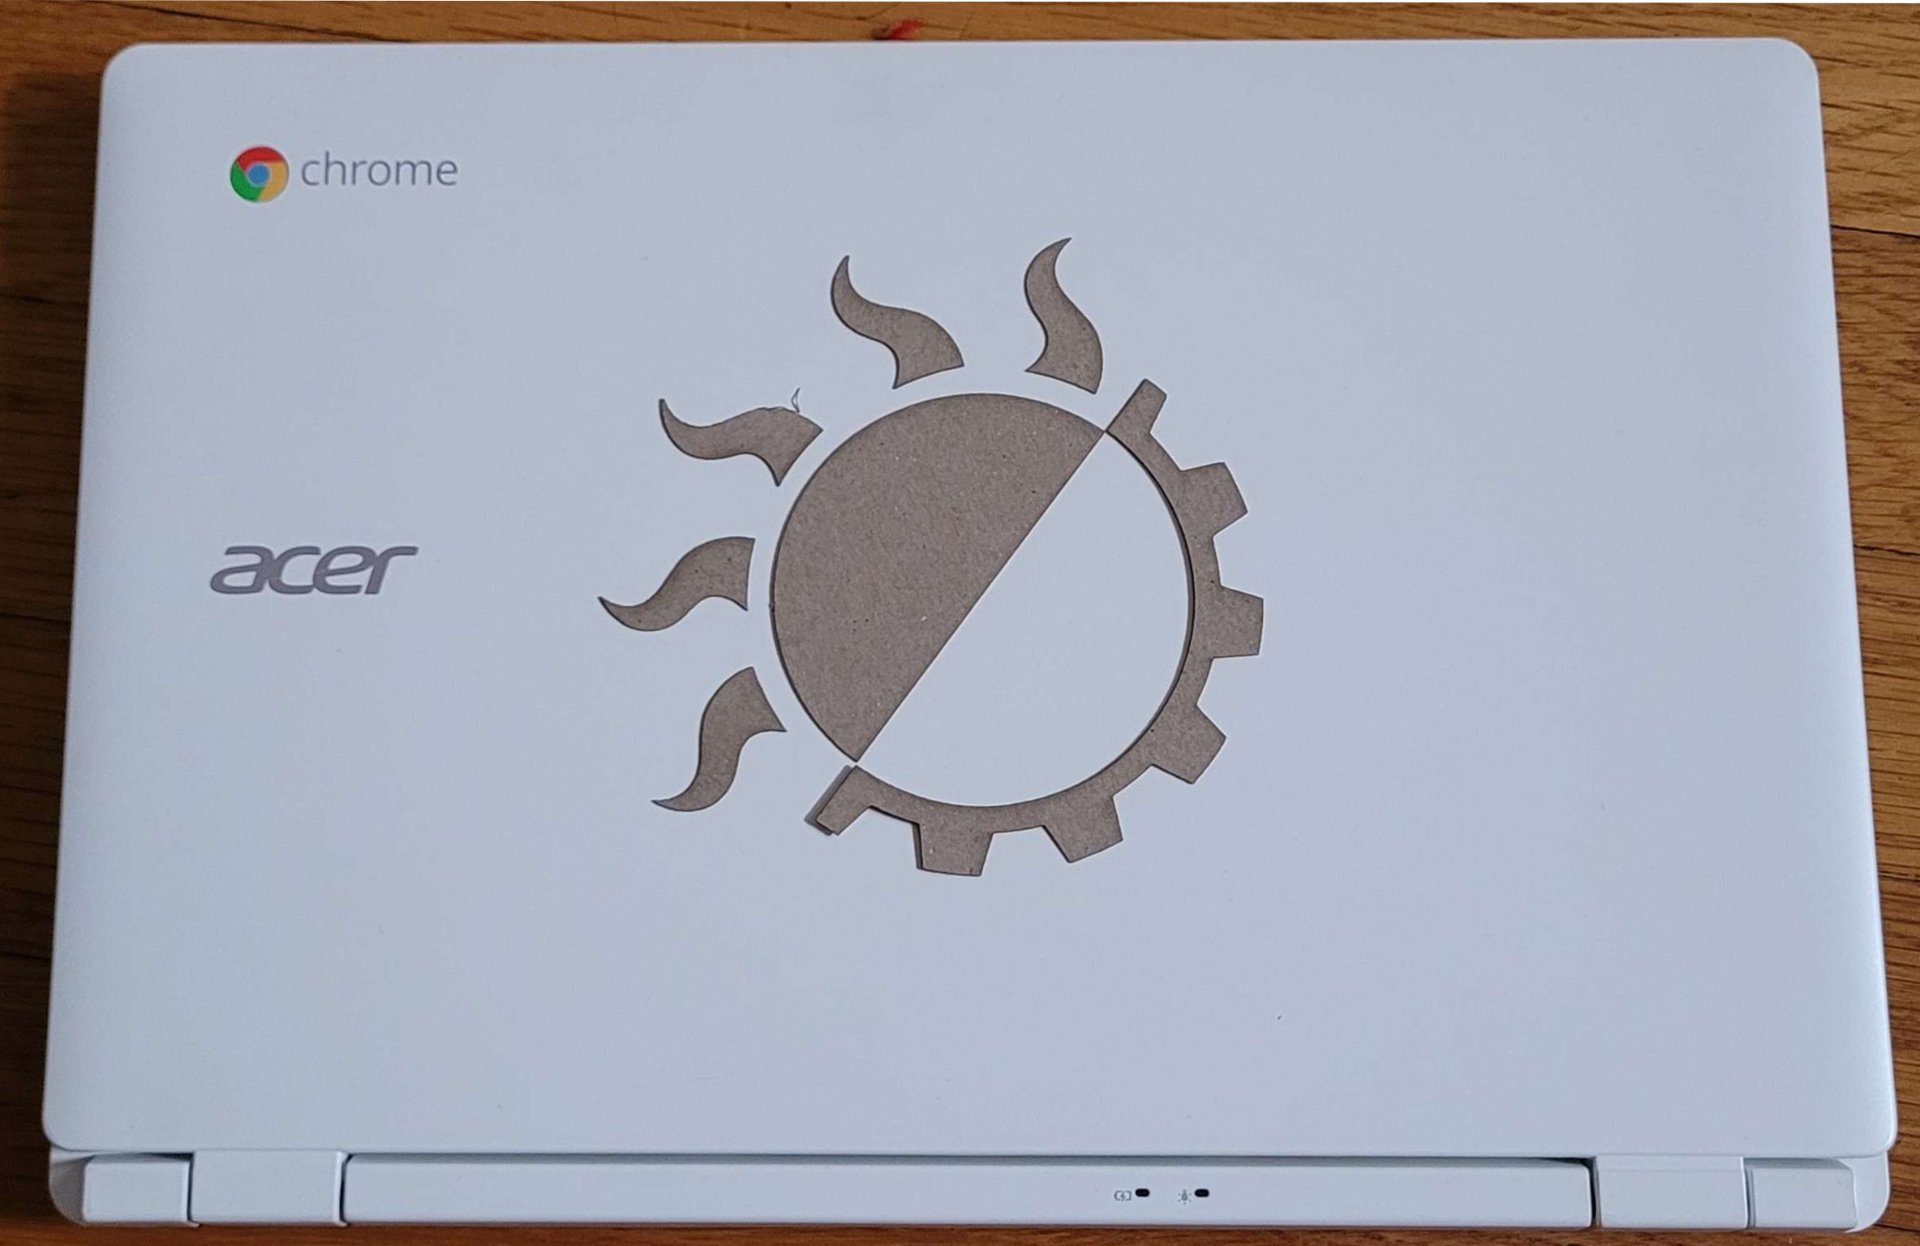
Once it was cut out I saved the bits and pieces in case I wanted to do this design as a reverse stencil sometime.
To make sure the size was good I laid out the bits and pieces on the center of the laptop. Eventually I corrected the tilt so it followed a line from the top right to the bottom left corners. Once I had it in the right place, I lightly taped the gear part in place so I could use it to position the actual stencil later on.
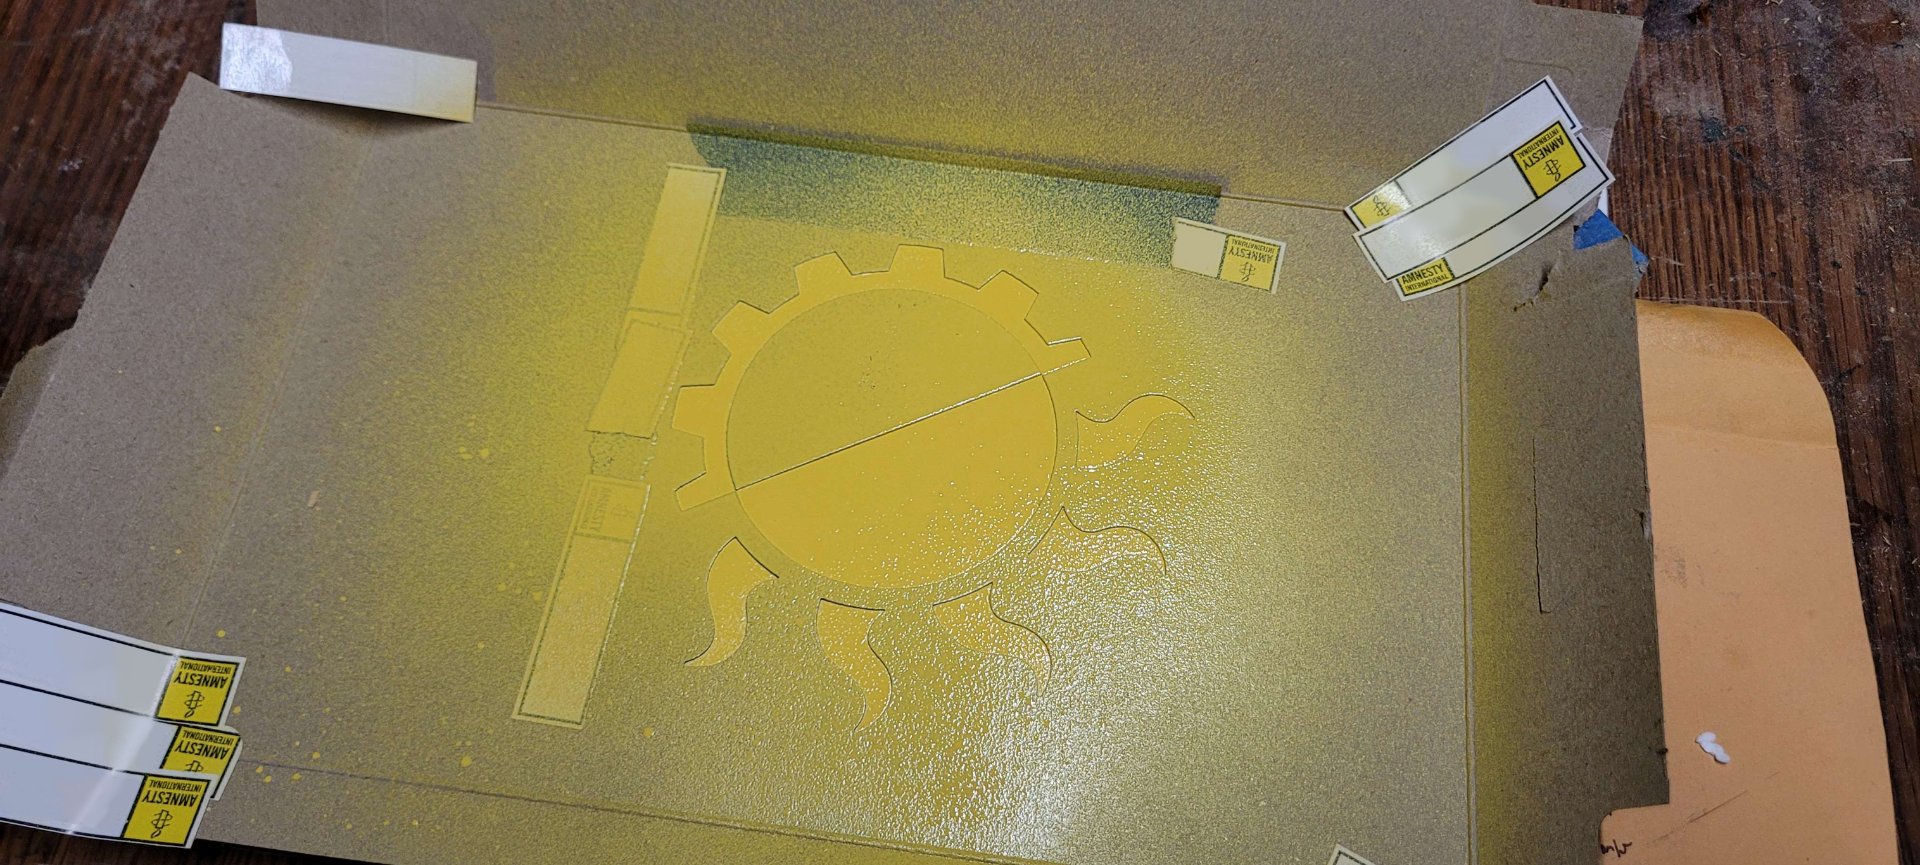
With this one there wasn’t any reason not to use some temporary spray adhesive, so I spritzed the cardstock with that, let it dry enough not to leave residue, stuck it down, and peeled up the gear. I usually use old return address stickers, the kind charities send you forever after you donate once, to cover up any gaps on the stencil, and to keep the other masking stuff in place. The stickers are great whenever you need tape but don’t care how it looks.
I used the same yellow graff paint I had from years ago and recently used on another project. I tried to hit it straight down, mostly to avoid anything slipping in under the edge of the stencil and because I hadn’t masked the rest too well. With such a simple stencil it wasn’t really a big deal.
Once it was done I had my traditional moment of panic as I realized I hadn’t really checked that I’d applied the whole thing right-side-up, but it worked out this time, saving me a lot of hassle. As paranoid as I am about other measure-twice-cut-once preparation tasks, you’d think I’d be better at this one.
And that’s about it. The laptop’s working well, I’m actually writing this post up on it at the moment. Overall it’s a good little writing laptop, and I’ll probably set its sibling up the same way soon enough.
Update: on a recommendation from someone over on the slrpnk instance, I installed Alpine Linux and I've been super happy with it. It’s small enough to fit just on the built in storage chip - even with Mate, udisks2, and other creature comforts, wavemaker cards (sort of a web app scrivener clone) and libreoffice-writer it’s still got 7 gigs free. Plus it’s fast enough to have both writing tools and a web browser open at the same time without lagging. I’m impressed.
I left Mint installed on the Micro SD card, and made sure I could dual boot, but I haven't gone back yet, and have added extra benefits to the Alpine install like a VPN, and have generally just gotten a ton of use out of it. It's slightly more work than big distro's like Mint, but their documentation is excellent and they have a script ready to go for almost anything you want to do. The laptop feels pretty finished now, it's just a good, usable device with no real quirks to deal with.