-
 chevron_right
Gamera Christmas Ornament made from scrap pine
JacobCoffinMakes • 28 February 2024 • 4 minutes

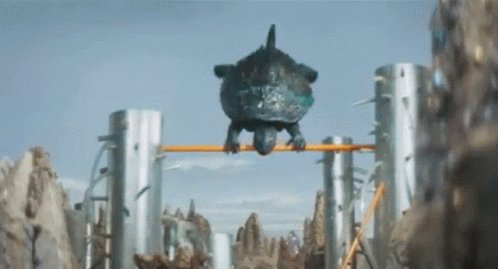
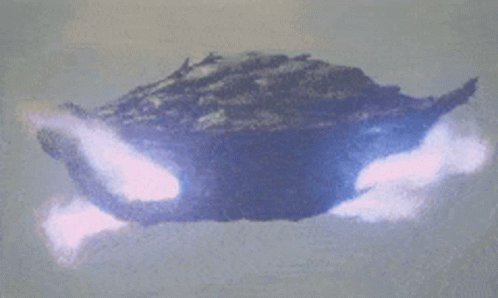
A few months ago I discovered the Shōwa era Gamera movies and I gotta say: I love this goofball. I love that he's a giant turtle who stomps around on two legs. I love that he eats fire and screams constantly, no matter what he's doing. I love that he dances when he defeats an enemy. I love that he is, canonically, a friend to all children. And I love that he flies through the sky by retracting his legs into his shell, shooting fire out the openings, and spinning through the air like a frisbee.
Every year I try to make a new Christmas ornament. We normally add a few as souvenirs from that year (keychain from a place that was significant that year etc), but I always like to add a little carving if there's time. This year's pick was Gamera (flying).
I started by looking for suitable models (in real life or printable) and quickly decided it'd be easier to just make it from scratch. I've made cravings of animals before so a turtle shell was doable, especially if I cheated and used power tools.
I sketched the shape using different movie stills and posters as references. His design, both in the art and even the costume, sometimes varies, so I picked whichever features I liked best or were easiest. Unfortunately, for as long as this ended up taking me, I took surprisingly few pictures along the way. So I guess I'll paraphrase my dad's favorite unhelpful carving advice: picture a turtle shell inside your block of wood, then remove everything that isn't part of the turtle shell.
I started by sketching the shape top-down onto a piece of scrap pine and cutting it out on the band saw. Then I used the belt sander to rough it down to a turtle shell-ish shape. It's important to oversize it, because if you're like me, you'll need room to correct mistakes. And you do that by removing everything else around the mistake until it's gone. Here's an early rough version of it
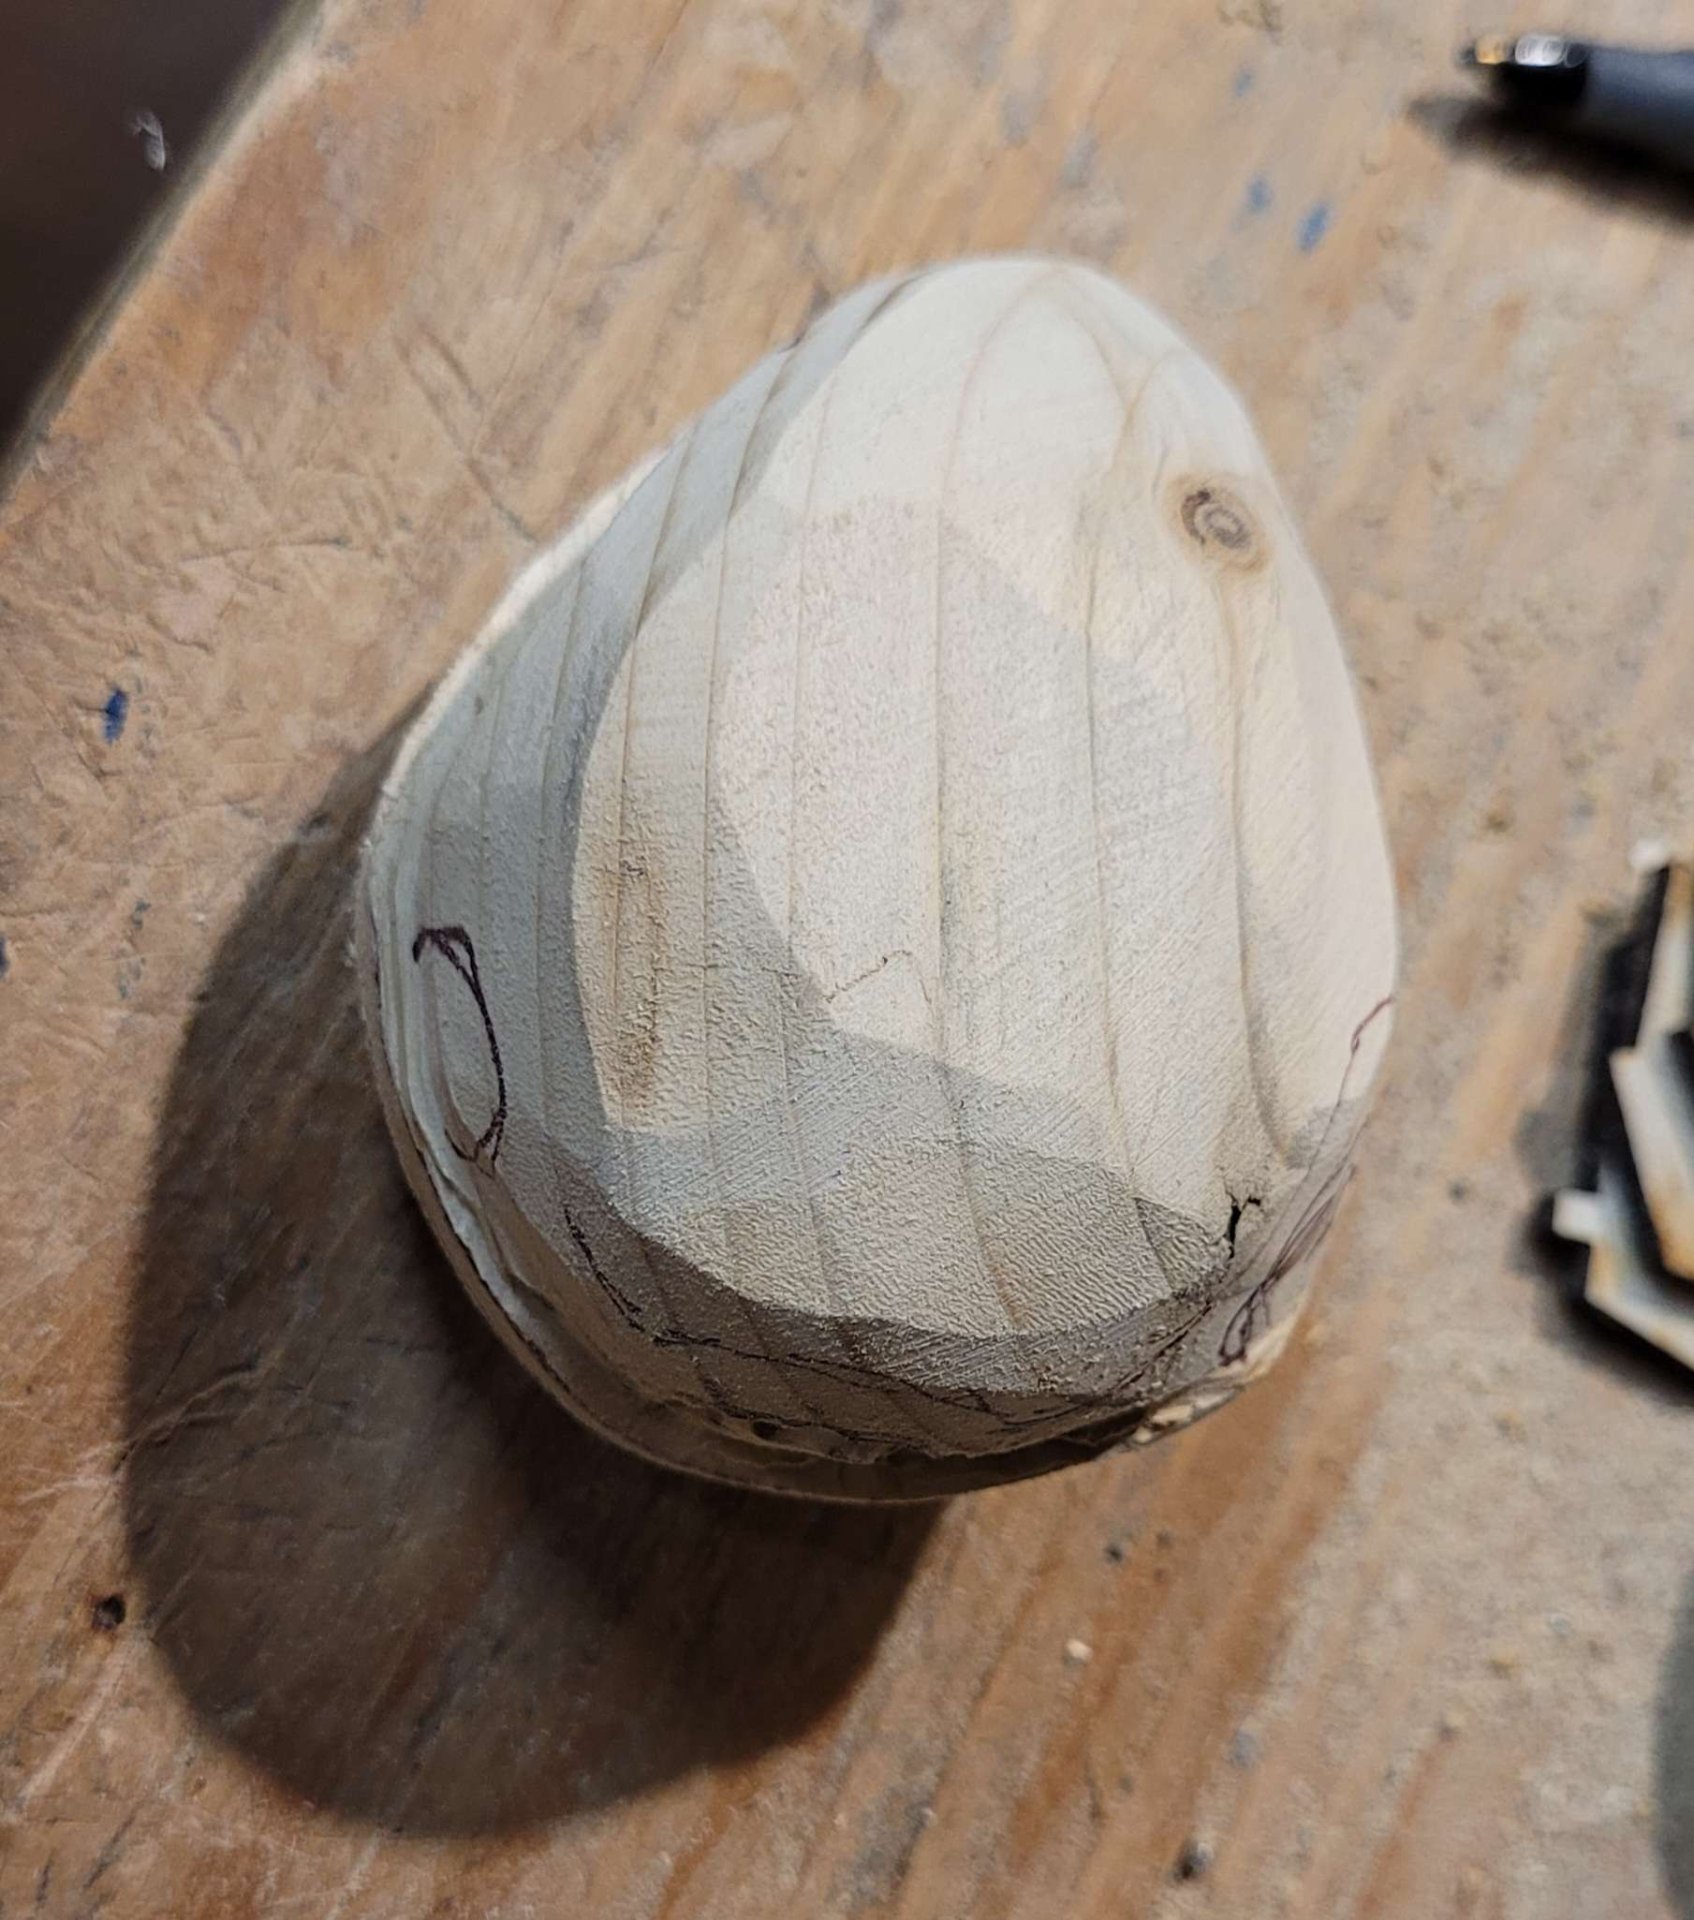
I kept sanding it down, consulting occasionally with images from the films to make sure the overall shape was correct (or at least not mutually exclusive with the material I had left).
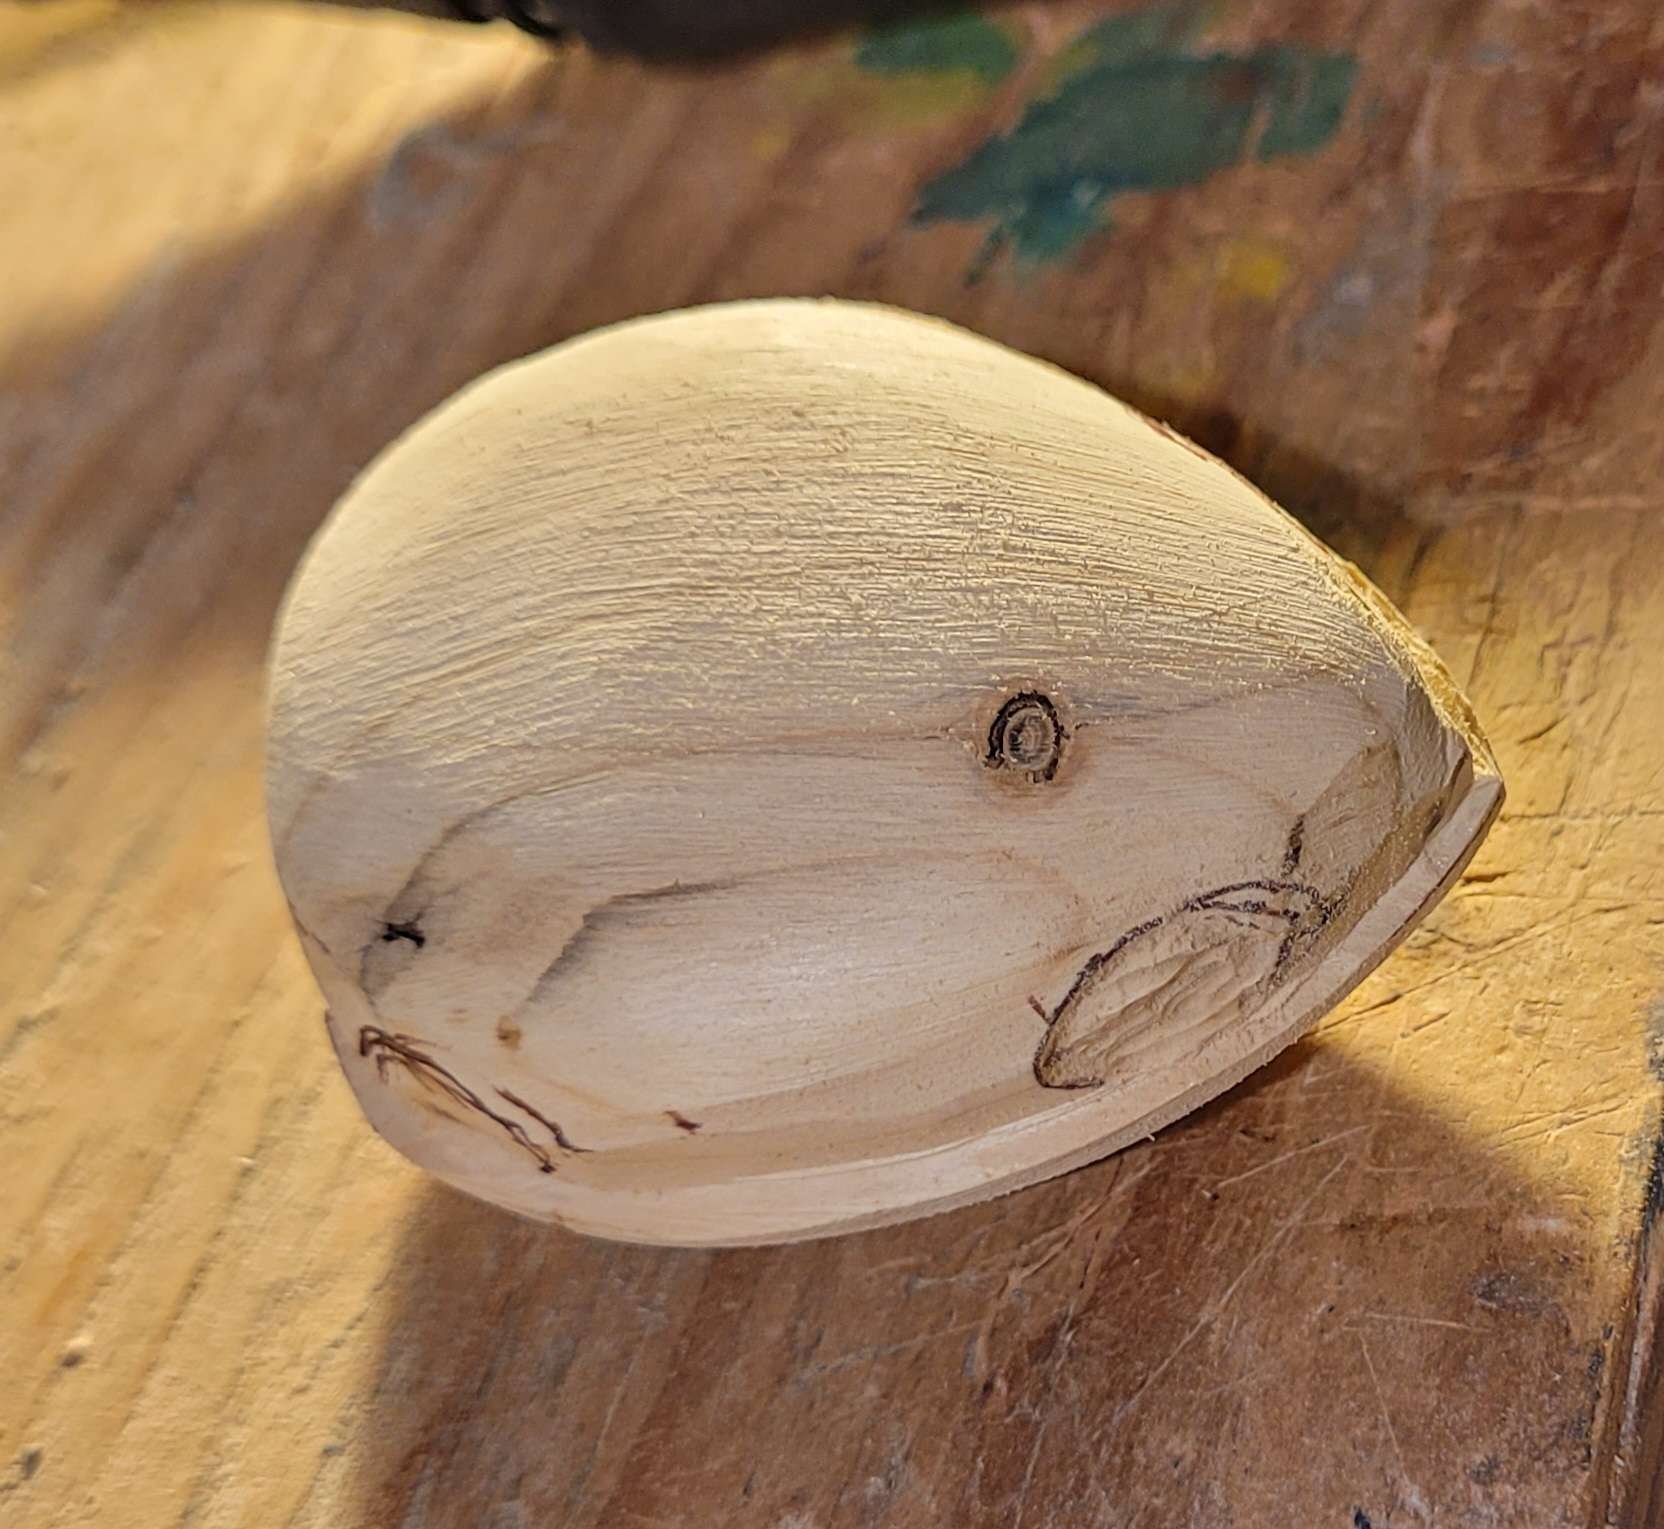
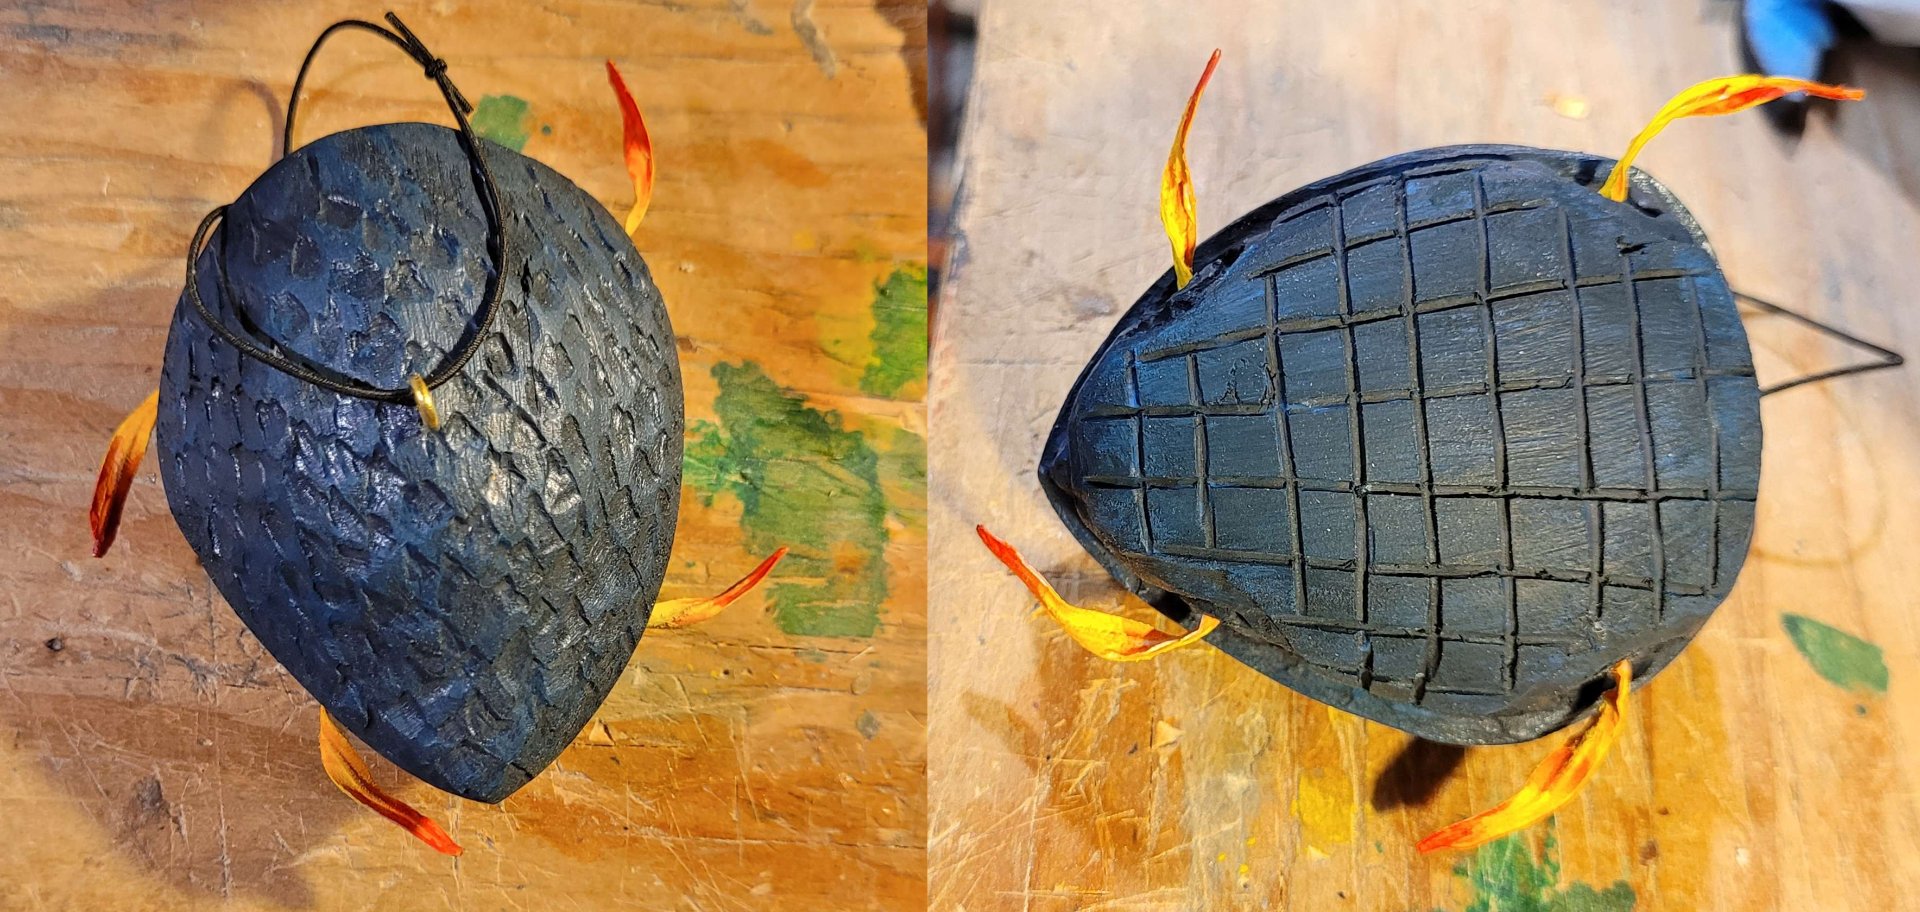
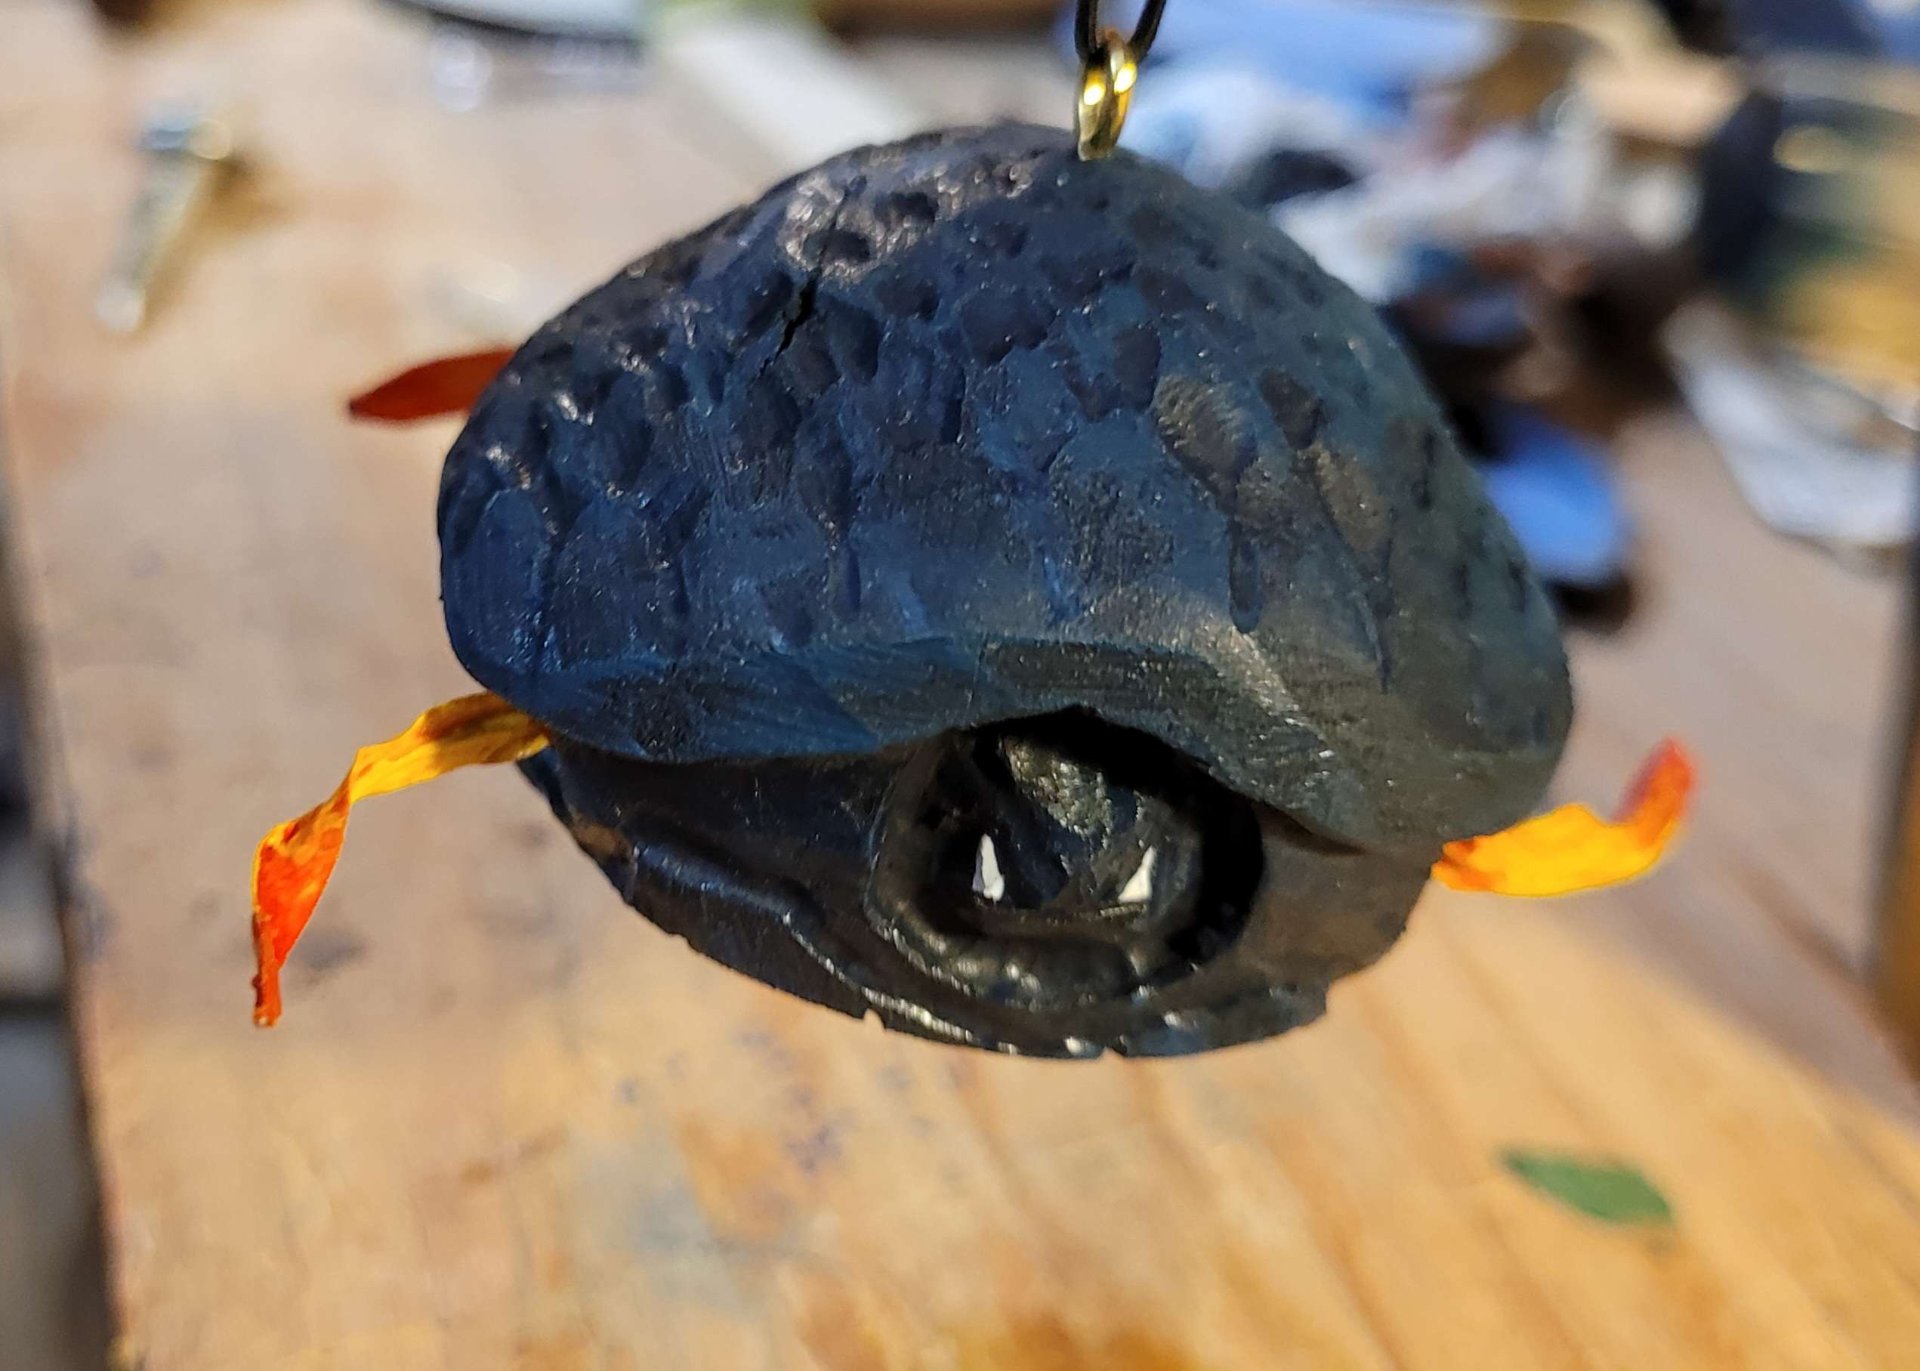
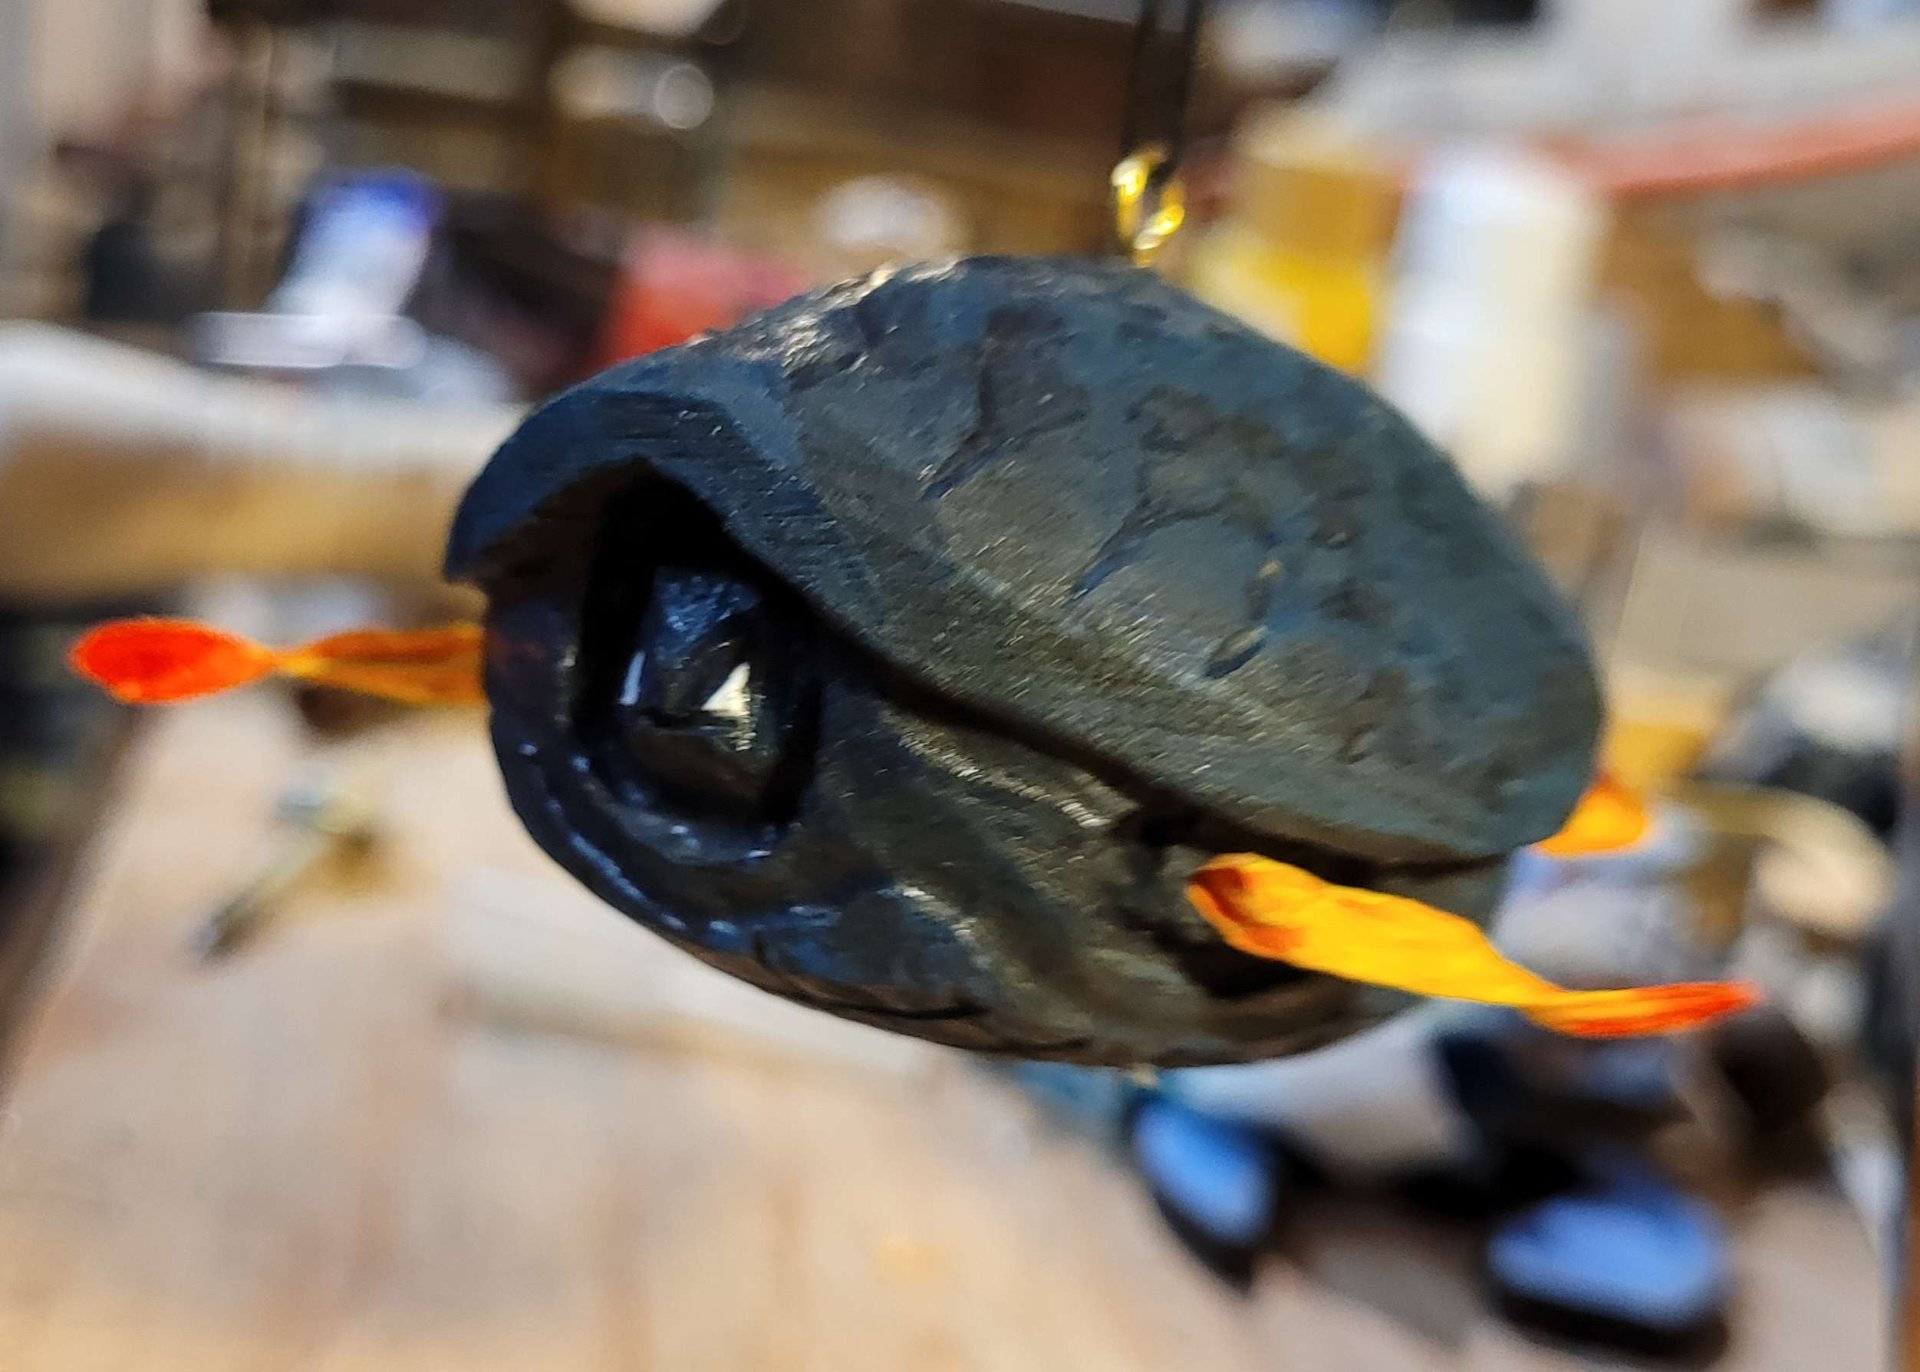
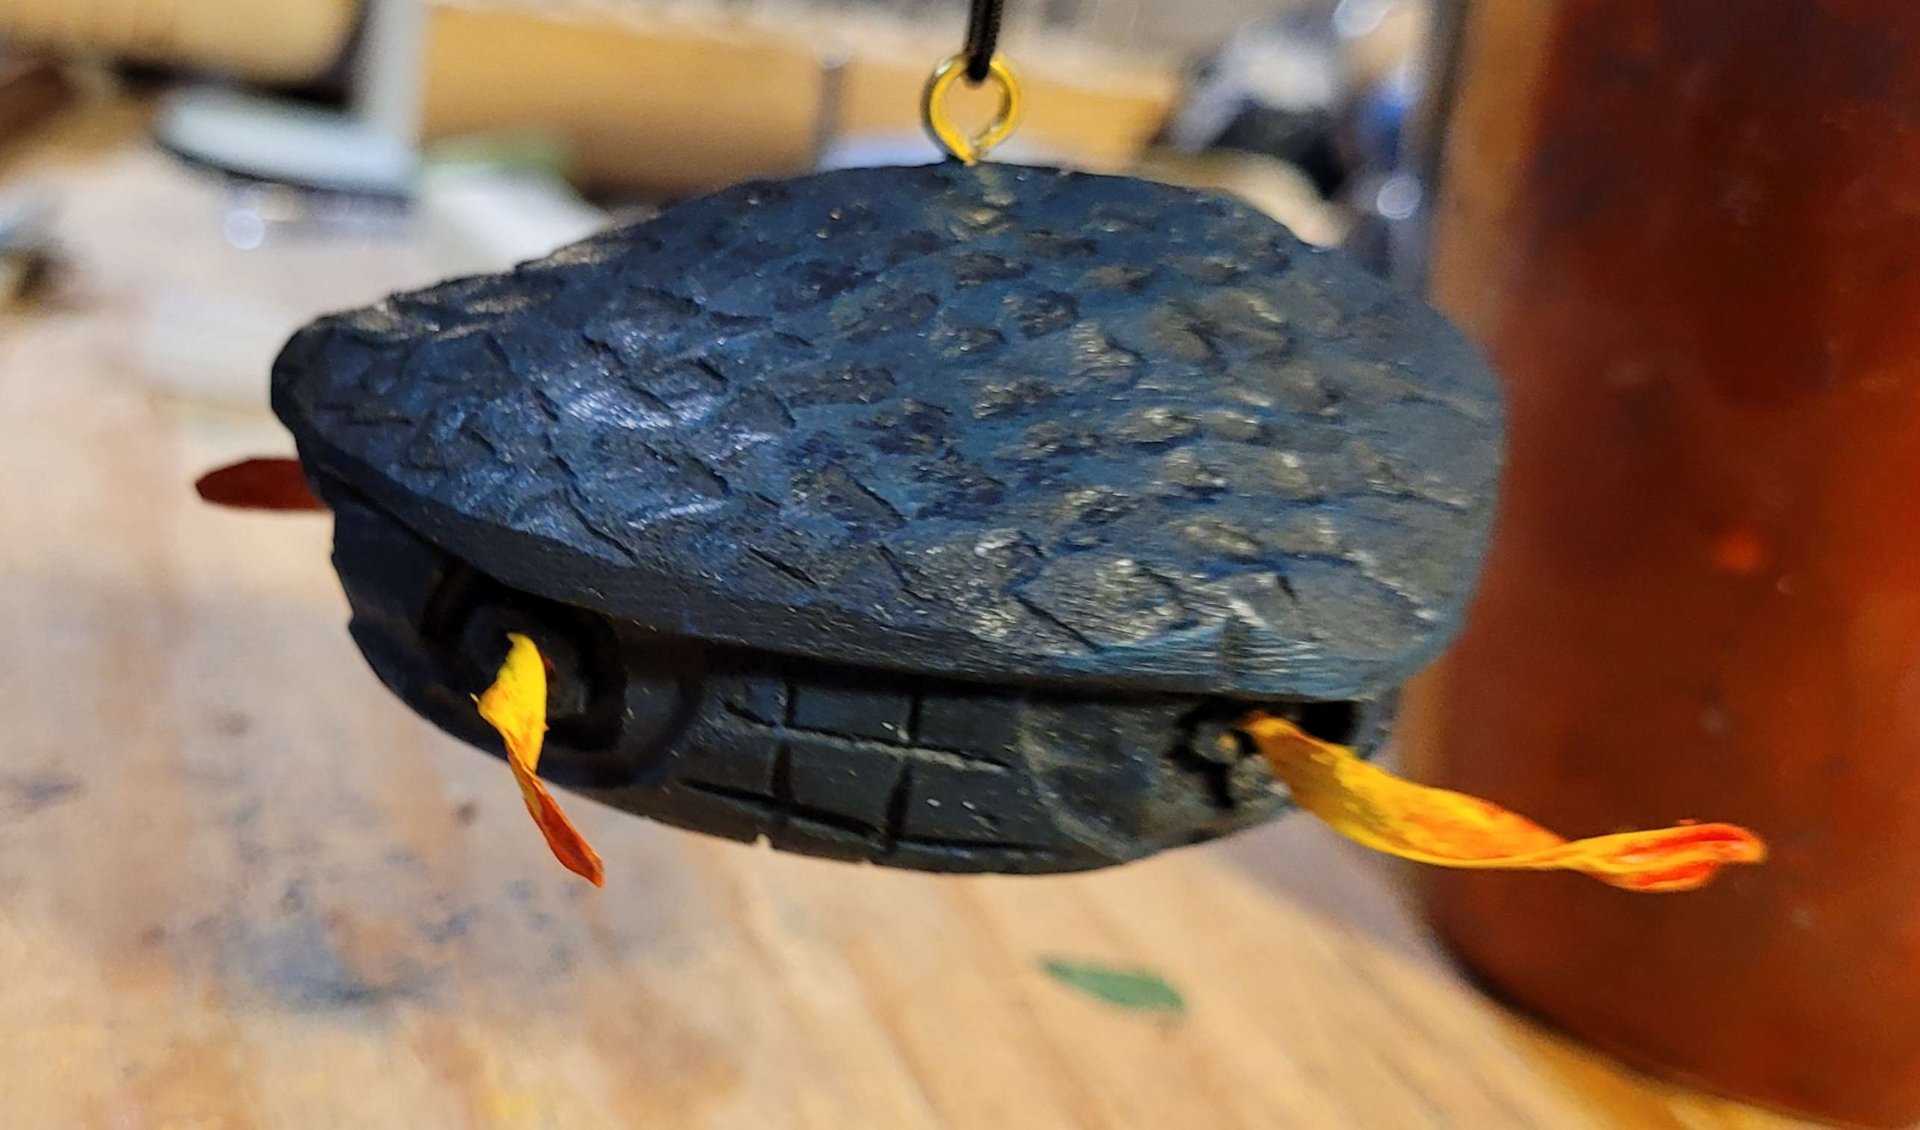
Eventually I got it smoothed down and could start positioning legs, tail, and head holes in the shell. Unfortunately, this is apparently where I stopped taking pictures. I can tell you that I needed to make this much thinner, and took a lot of material away from his belly, and flattened the shape of the shell. I cut in a pattern of the underside armor, and then removed a bit between it and the upper shell to make it more distinct. I cut the holes into the sides, but left a sort of volcano shape inside for the four limbs, so it would look like the jets from one of the movie posters. I did a similar thing for his head and tail, but didn't add a hole in the middle for fire to come out of. I also carved his head kind of pointed, with the ridges which run from snout to eye (though the eyes are hidden) and removed some material around his tusks.
On his back, I drew a scale pattern, and the worked from the tail end to the head with a dremil, cutting away the 'top' end of each scale, just below the next one, so it would look like they're overlapping. On a big animal carving, I probably would have done this more carefully, but this is kinda just a silly ornament for the two of us, so I wasn't stressing getting the scales perfect.
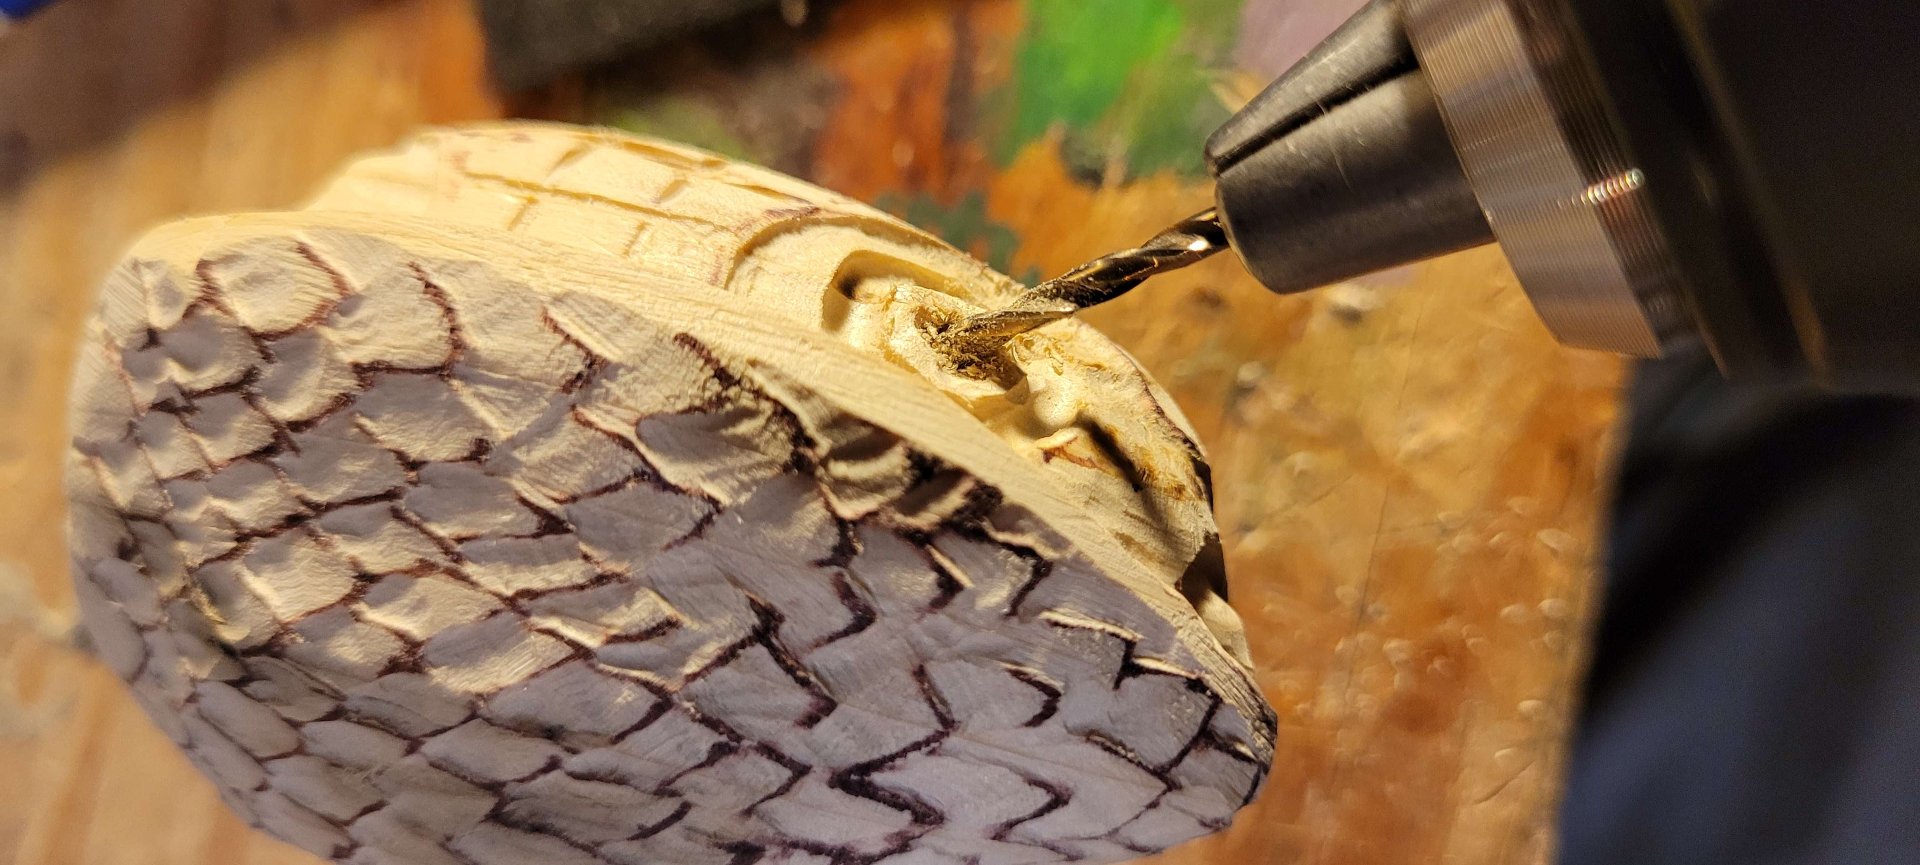
Once that was all done, I drilled holes into the 'volcanoes' sticking up from the leg holes. I hadn't decided how I'd do the fire yet at this point, but I was thinking sprigs of painted wire.
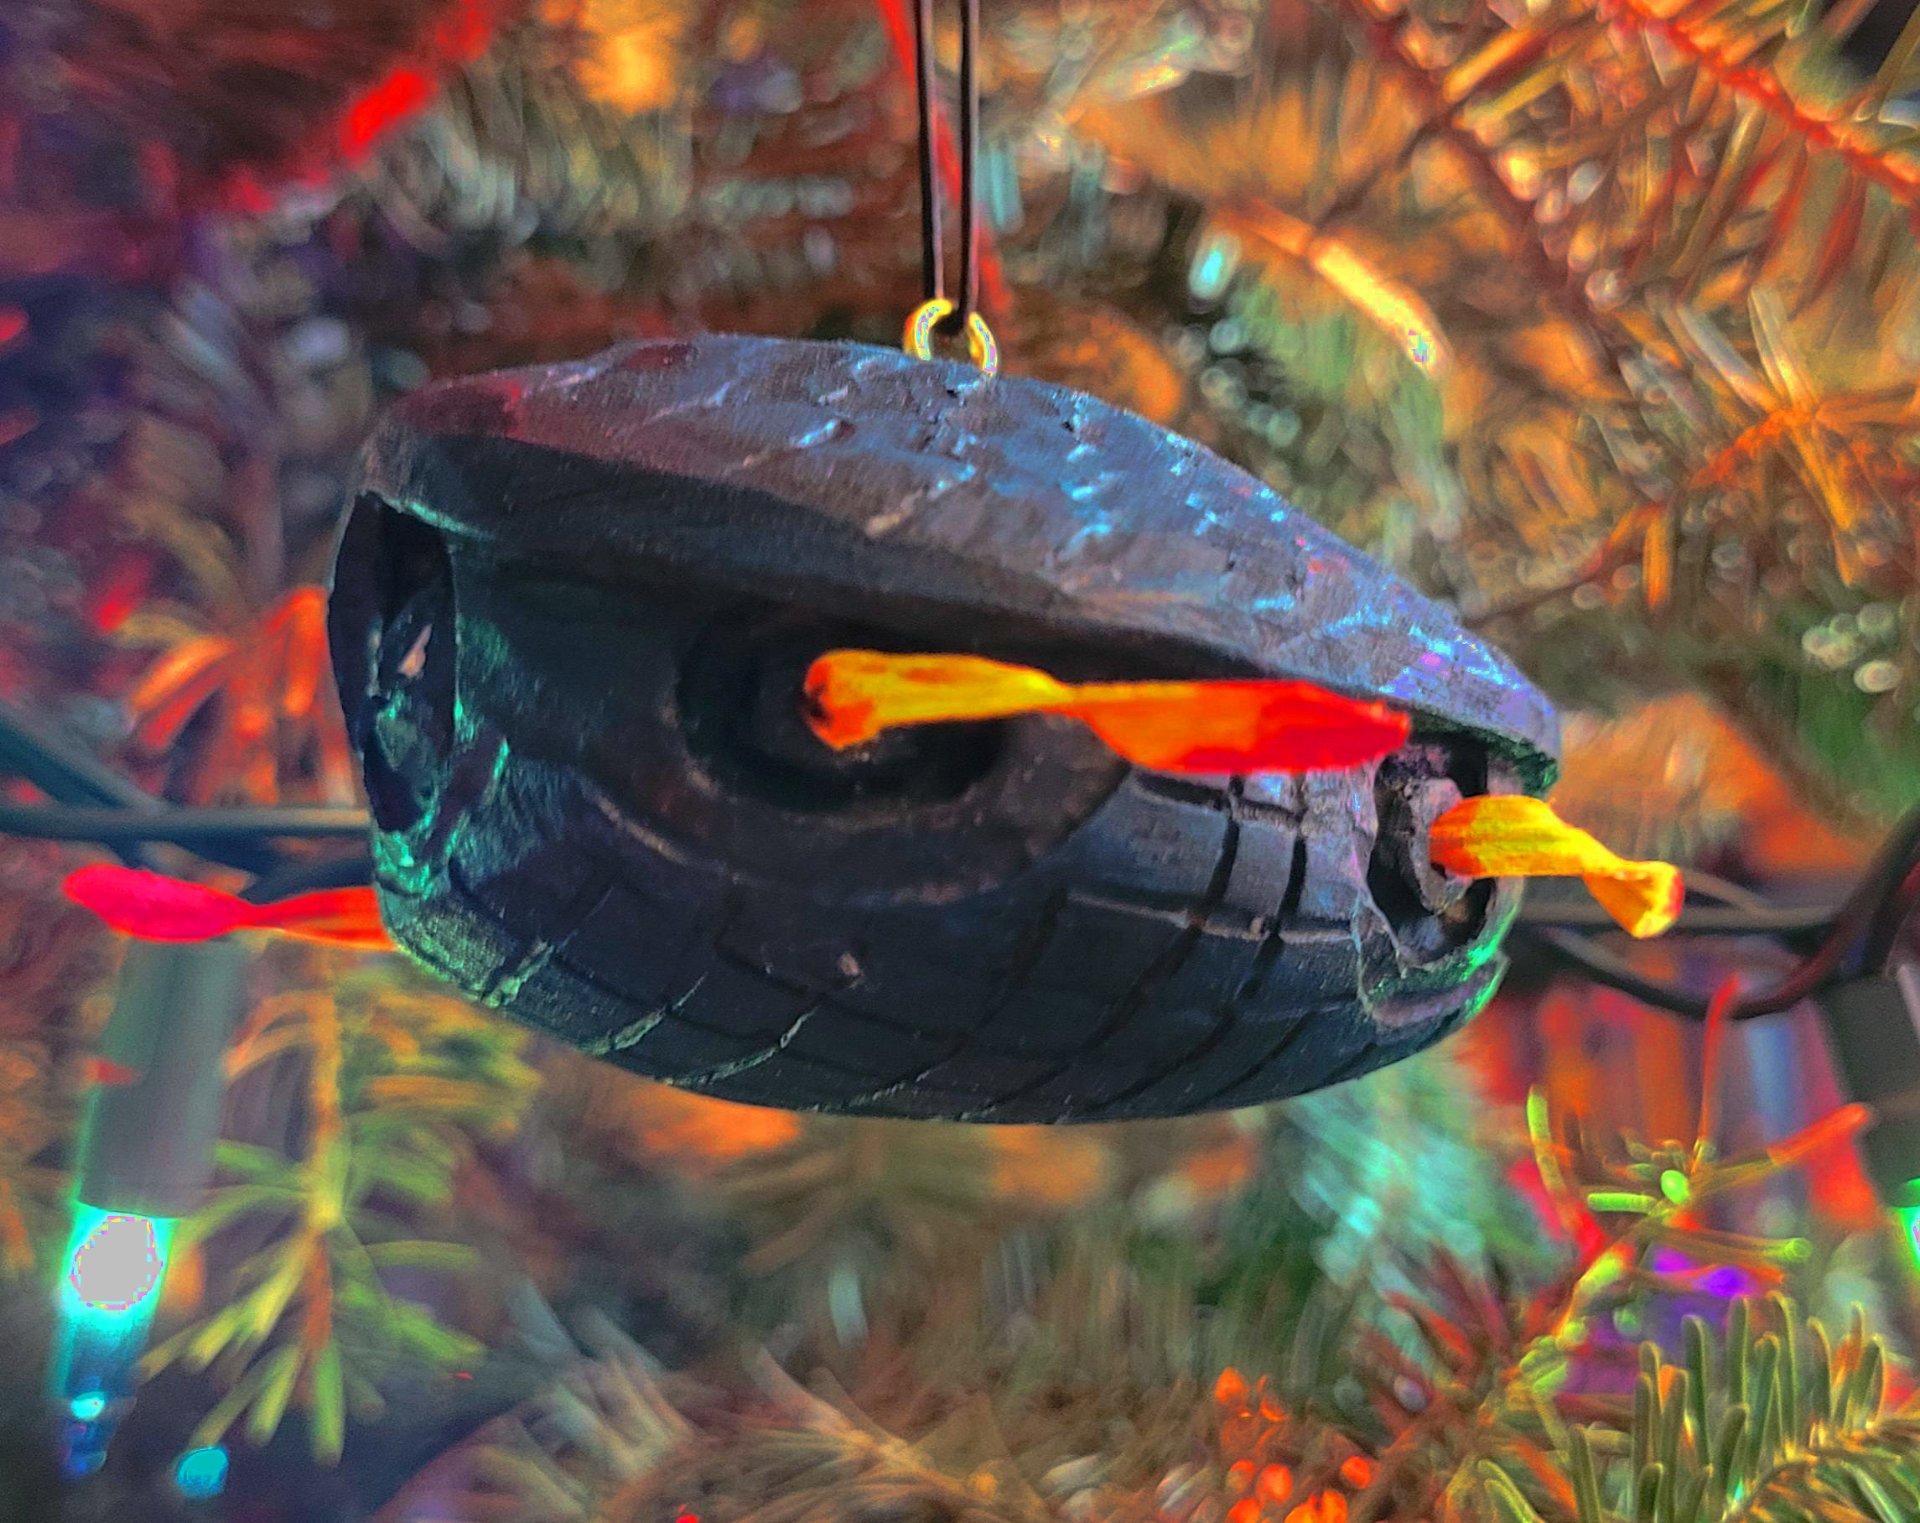
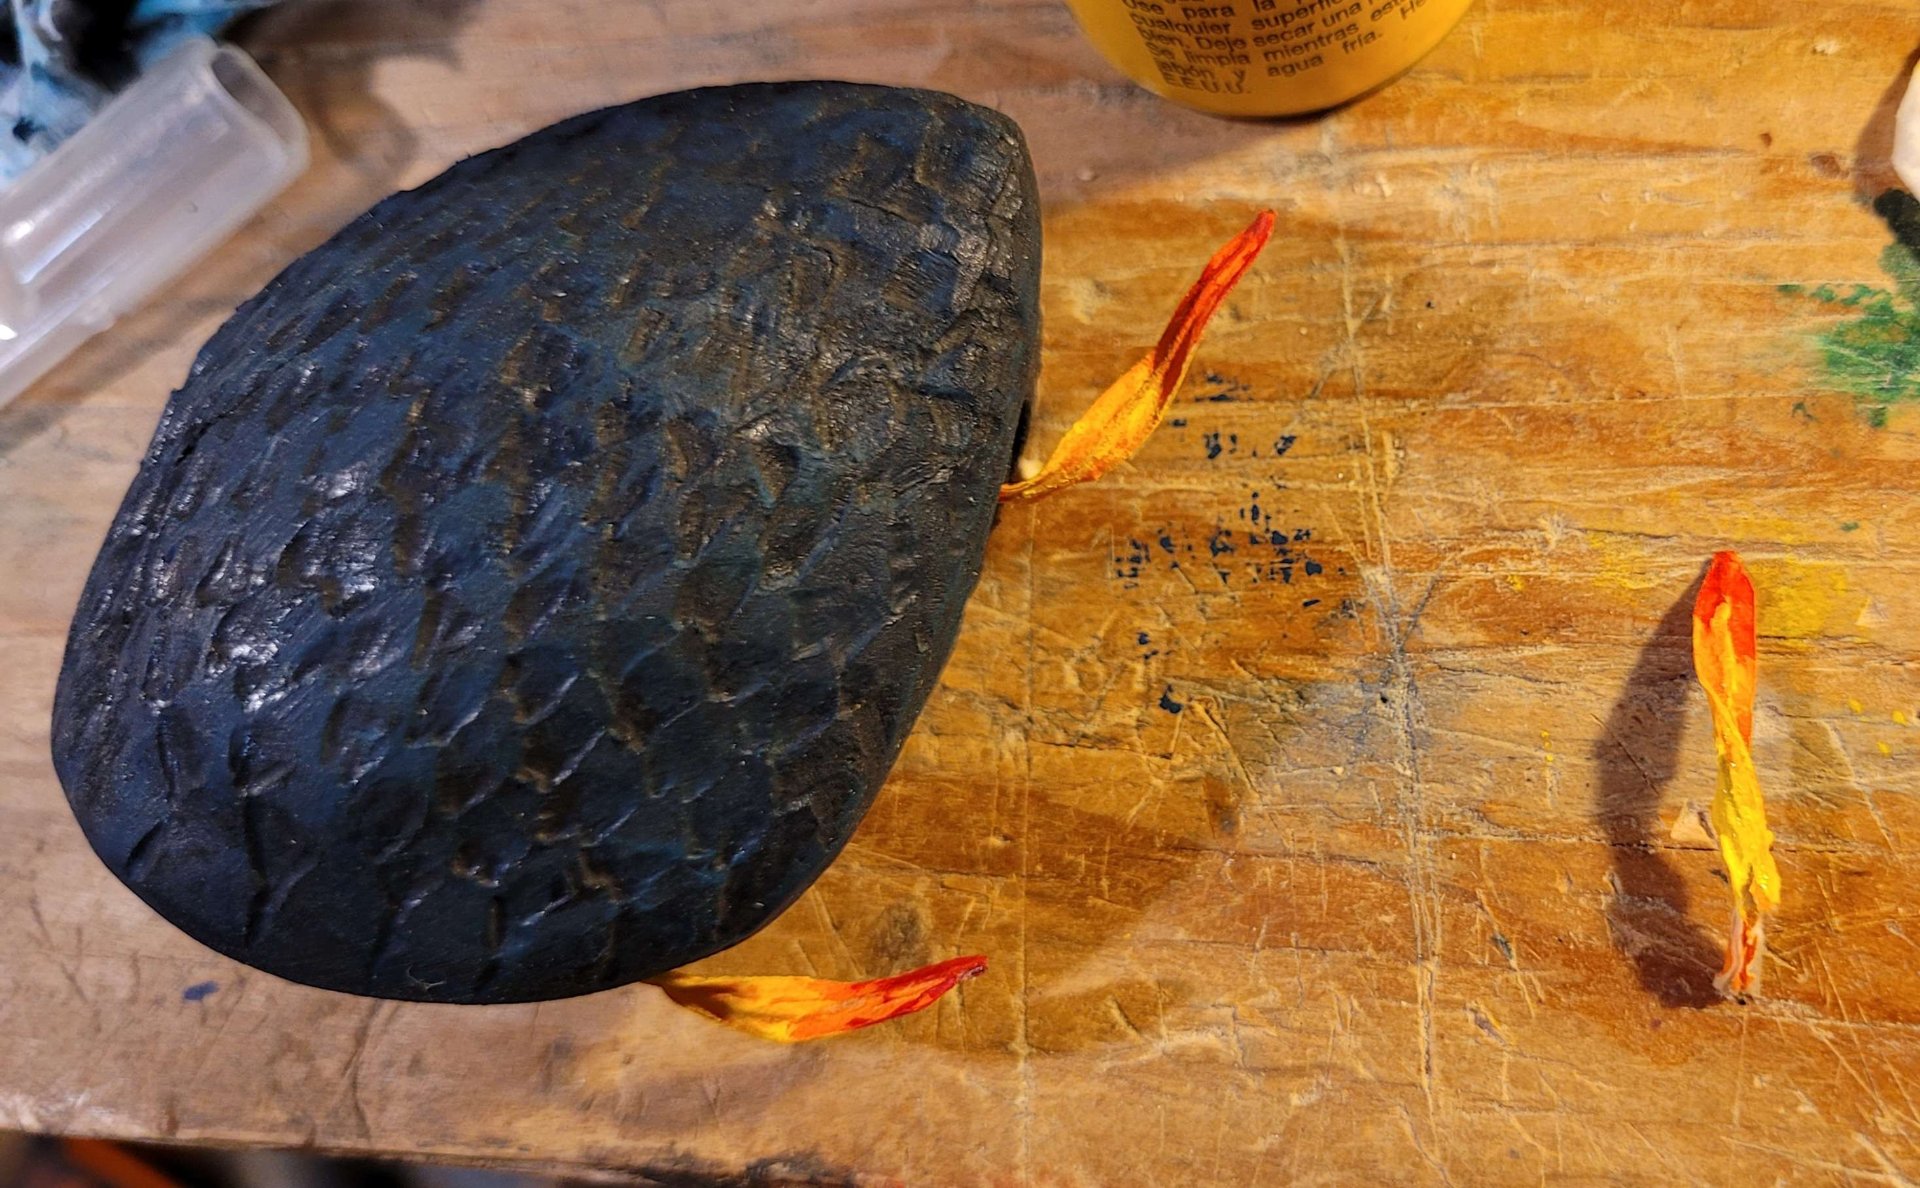
The next step was painting. All the costumes and even in the art have Gamera looking pretty one-note, color-wise. Just sort of a blue-green-grey color. I started with flat black spray paint, getting it pretty thoroughly, but in many light coats (so as not to raise the grain from the wood), then hit it with with lighter coats of brite blue from an angle, to try to preserve some of the darker color in the nooks and crannies. Then I mixed some green and blue acrylic paint and did a sort of drybrush all over. I painted black into some of the nooks around the jets, and head and tail. I painted his tusks white.
Then I got some breadbag ties, the wire and paper kind. I was going to do a small bouquet of them sticking out of each jet, but the first test actually looked quite good on its own. I cut four of them (tapering it a little so it'd go into the hole better, and so it'd look more like flame on the other end) gave them each one twist, and painted them yellow-orange-red with a bit of flame pattern. They fit in tight without any glue.
Finally I drove a little eye-loop into the top of the shell and tied an old clothing tag string through it.