

-
 chevron_right
Mushroom Garden
JacobCoffinMakes • 23 April, 2024 • 2 minutes • 8 visibility
My SO and I have been planning to start a mushroom garden for awhile now. You can buy these kits with mushroom spawn in peg form, and you just drill holes in a log and hammer them in. I'd had big dreams of going along the bike path, adding them to all the dead logs there, until I learned how important it is to properly and thoroughly inoculate freshly-cut logs in order to make sure your fungus of choice is properly established and safe from the competition. This was a bit of a problem as we live in an apartment and the circumstances where I'd cut down a healthy tree are seriously slim, and don't include providing food for mushrooms.
But one of the perks of having a big family is that one of them is always doing yard work, and when one of their birch trees bought it in a recent snowstorm, I was ready to jump in and claim a few pieces. They were happy to get rid of it; they feel grey birch burns poorly - and I was happy to take some because it supposedly turns beautifully on the lathe and it's a suitable medium for shiitake mushrooms.
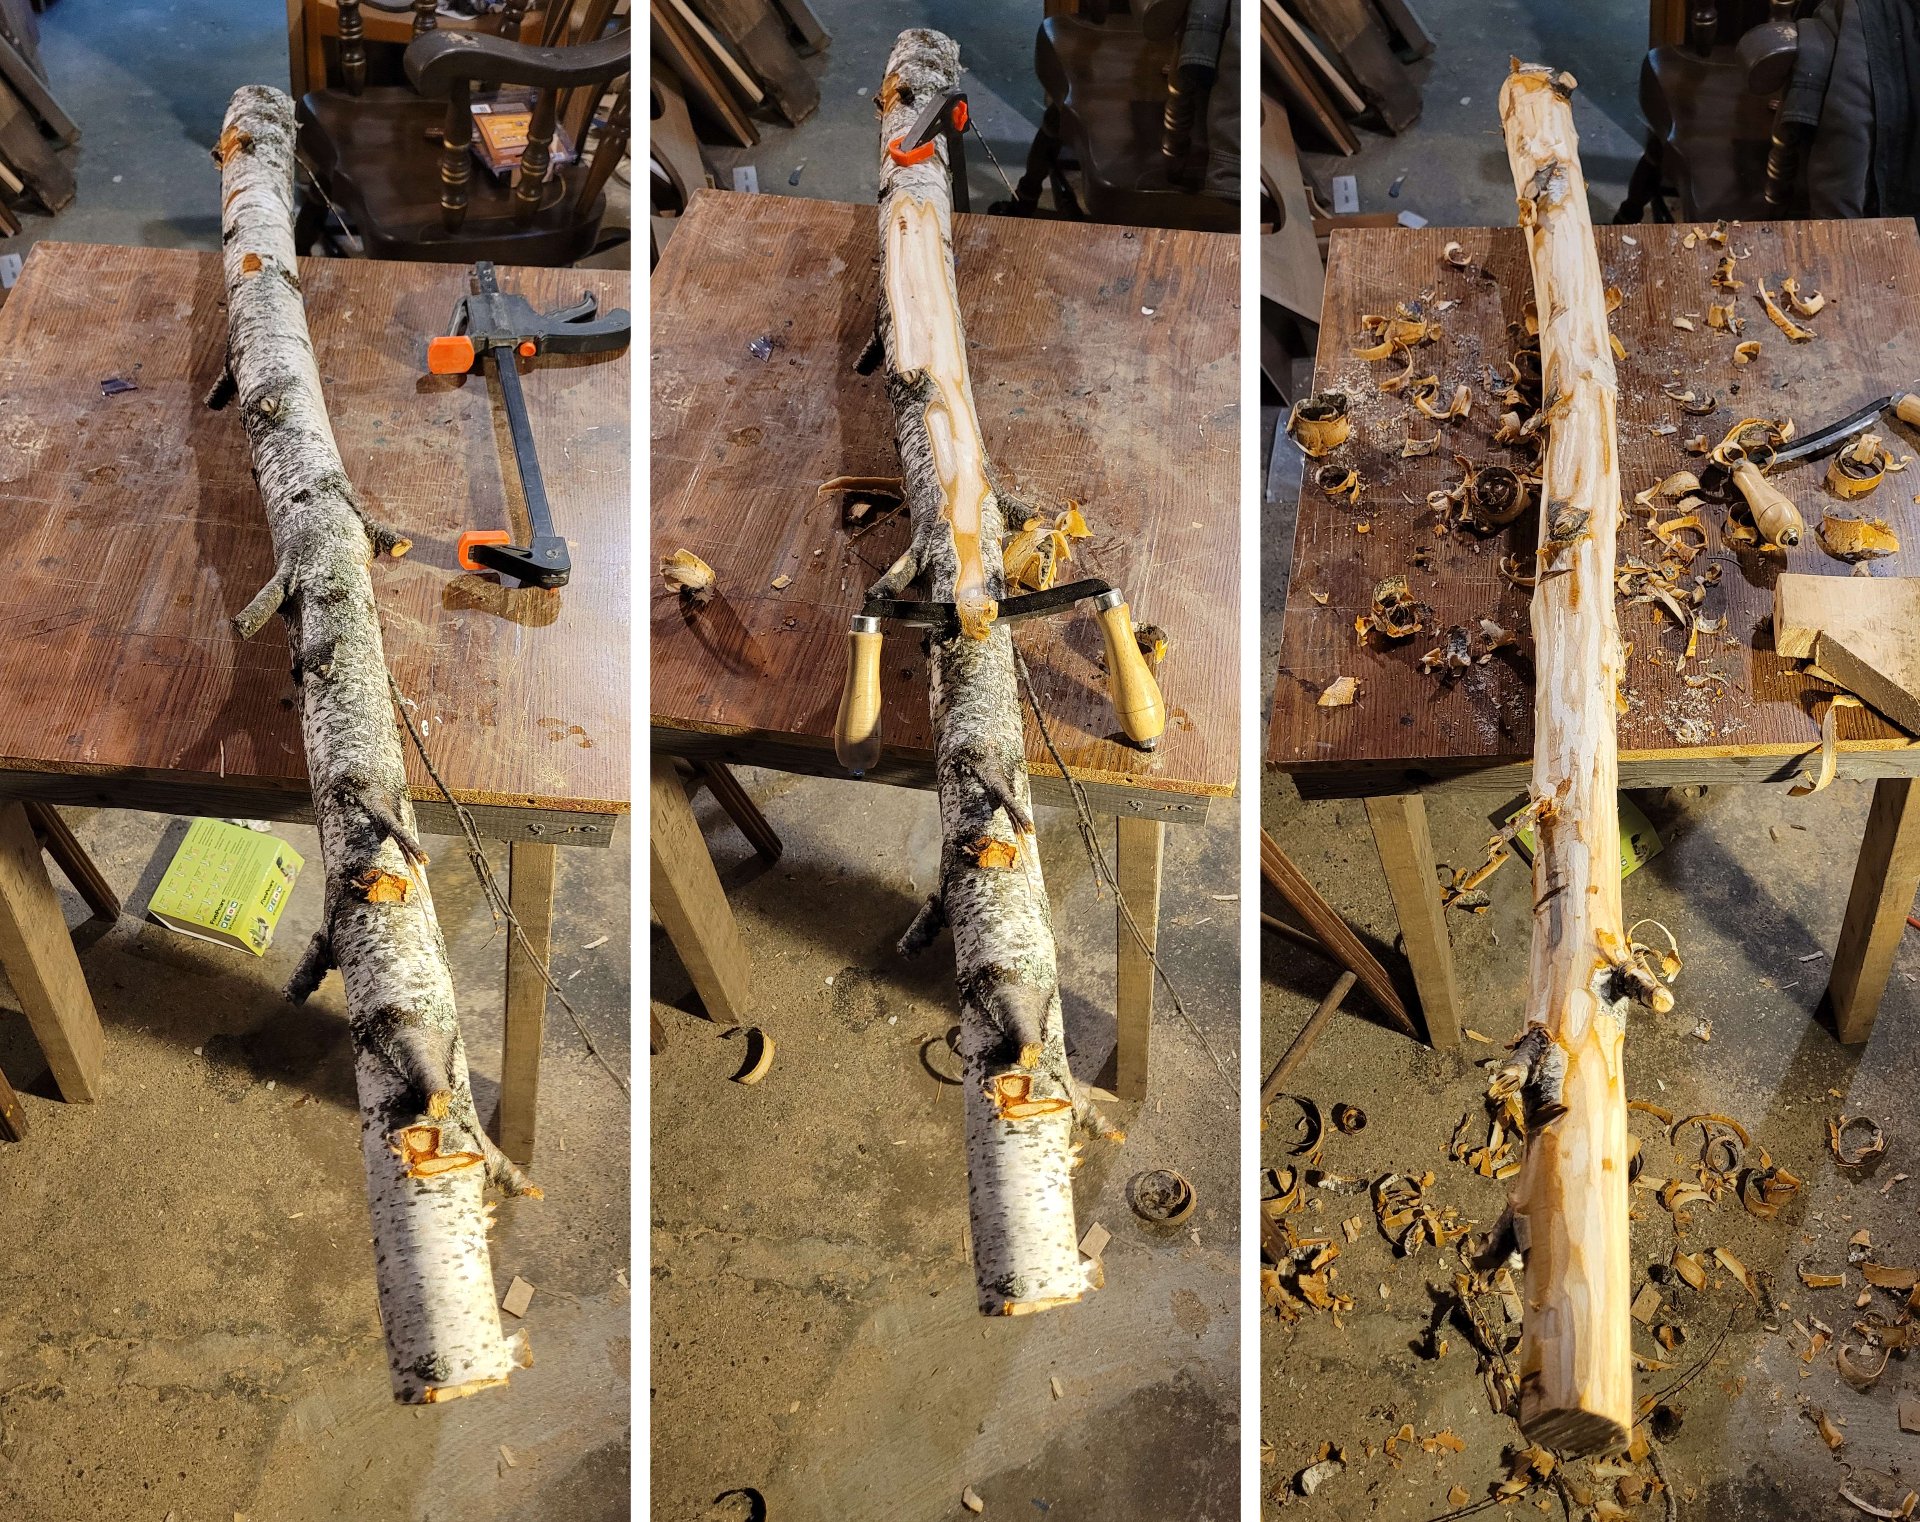
As an aside, I prepped one thinner piece for use on the lathe. I clamped it to the table and used a draw knife (and a regular carving knife) to strip off the bark, before painting the ends with wax. This helps prevent cracking and checking due to uneven drying from the ends, and spalting/mold/rot from moisture under the bark. Assuming it does as well as the maple and oak I've done previously, it'll be ready to use in a year or two.
Okay, back on to the mushrooms! We bought our kit from a company called Northspore who provided pretty thorough guidance. Their instructions said that logs 4-6" thick and 3-4' long would be good, and one of ours fit that nicely. The instructions also said our log had been cut at about the worst time, after the buds on the branches had begun to swell. So... sorry, mushrooms! Hopefully you'll figure out how to make that work.
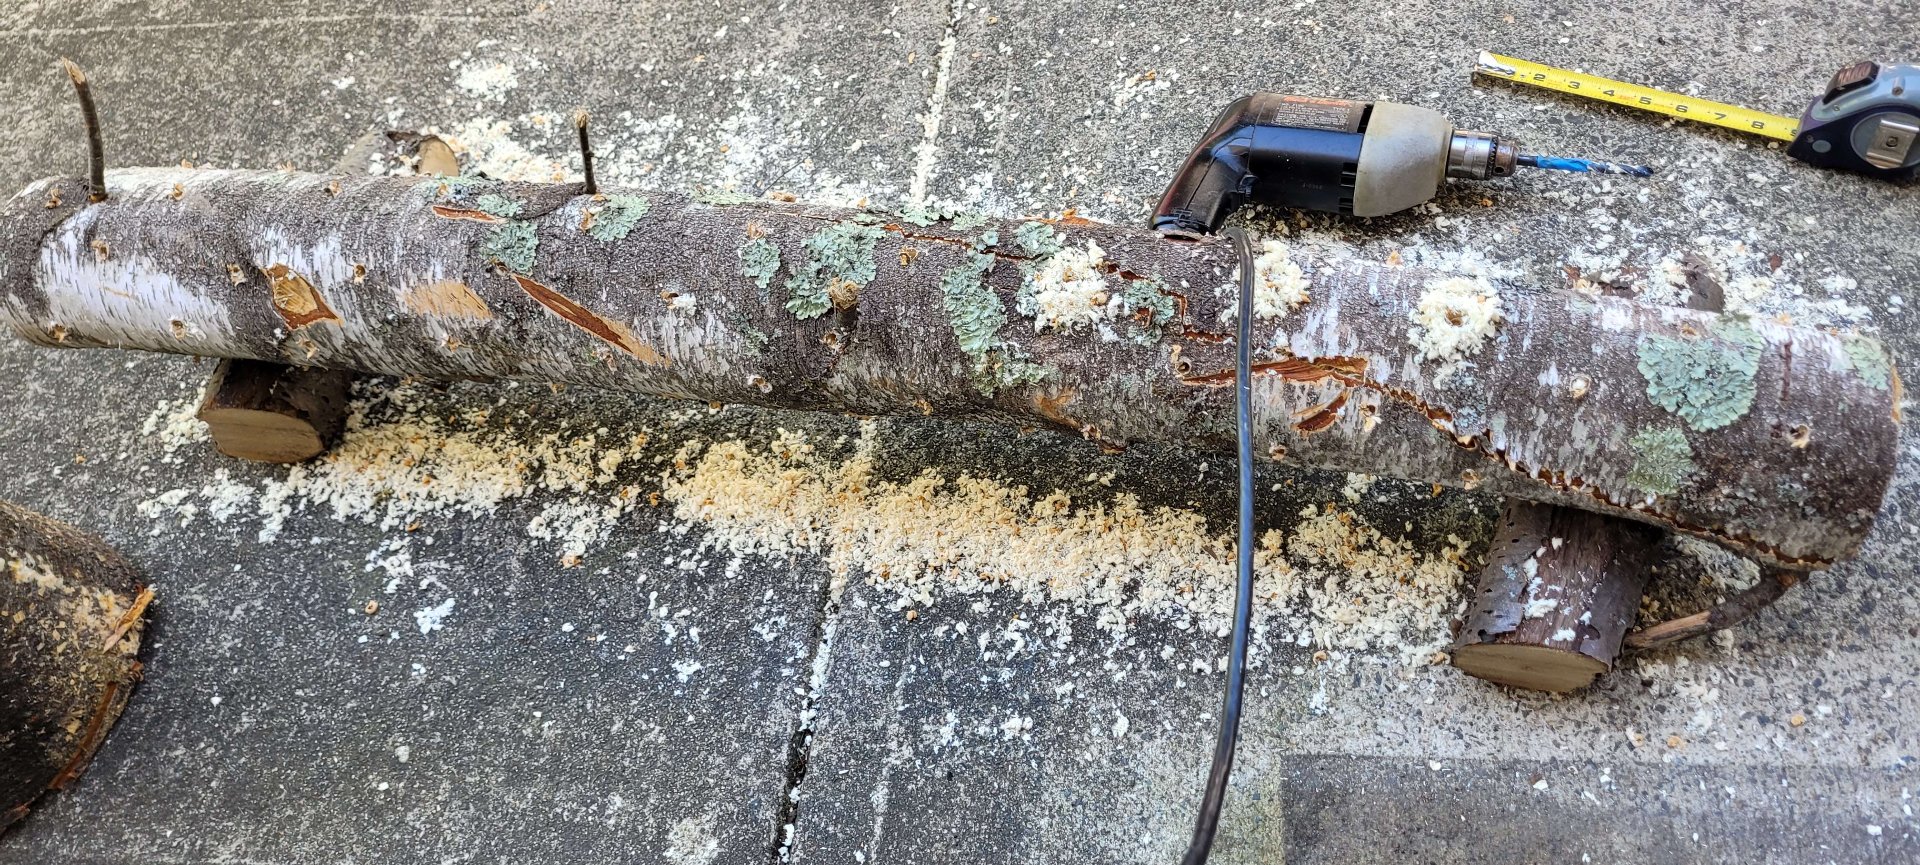
They provided a drill bit, instructions on how deep to drill (1") and where (in staggered rows, each hole 4" apart, 2" from their neighboring rows, so it makes diamond patterns). I grabbed a drill and measuring tape and set about drilling all the holes.
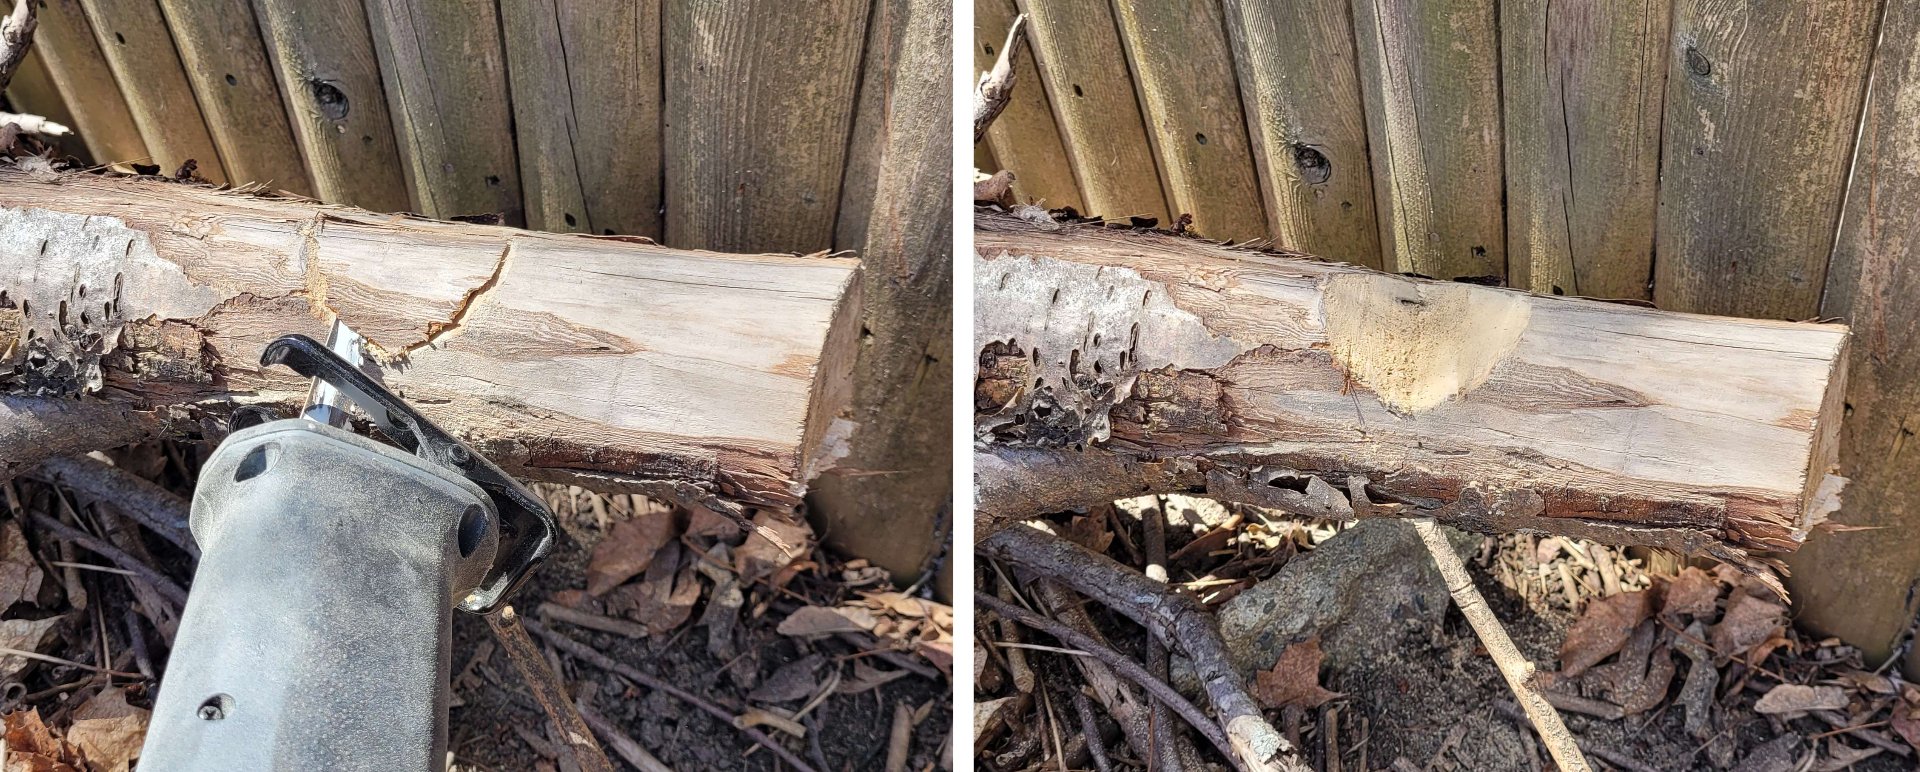
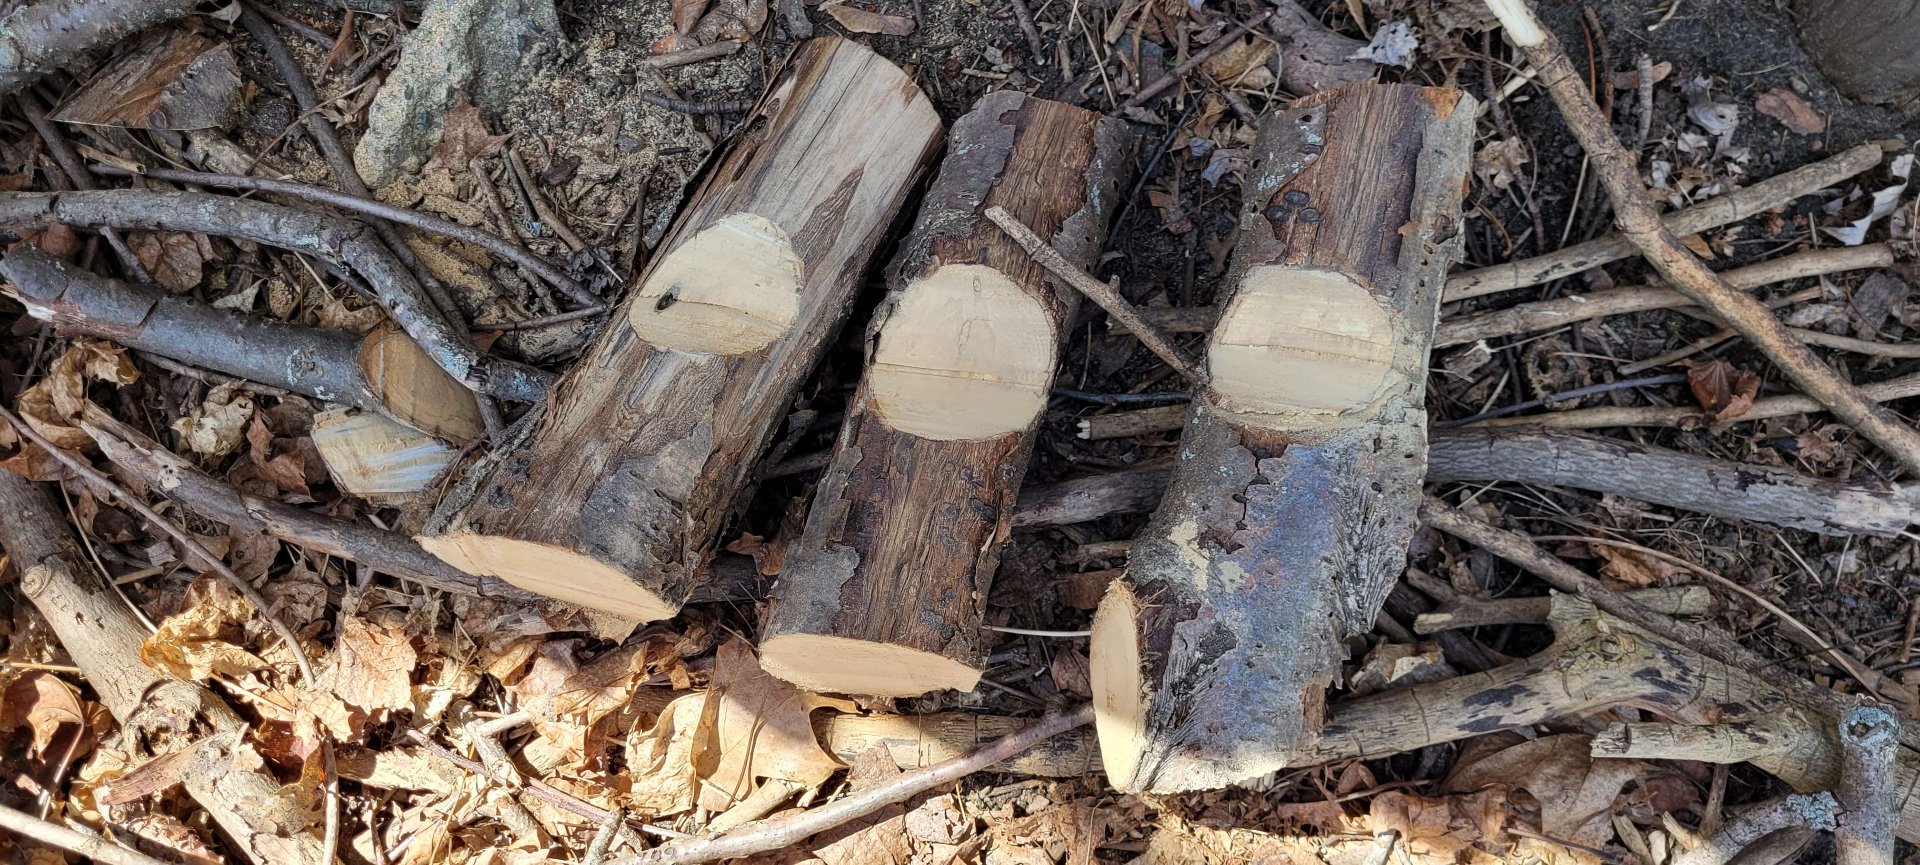
(I also cut a couple risers out of a dead log to keep the mushroom log off the ground)
Once all the holes were drilled, we started hammering in the pegs with a rubber mallet.
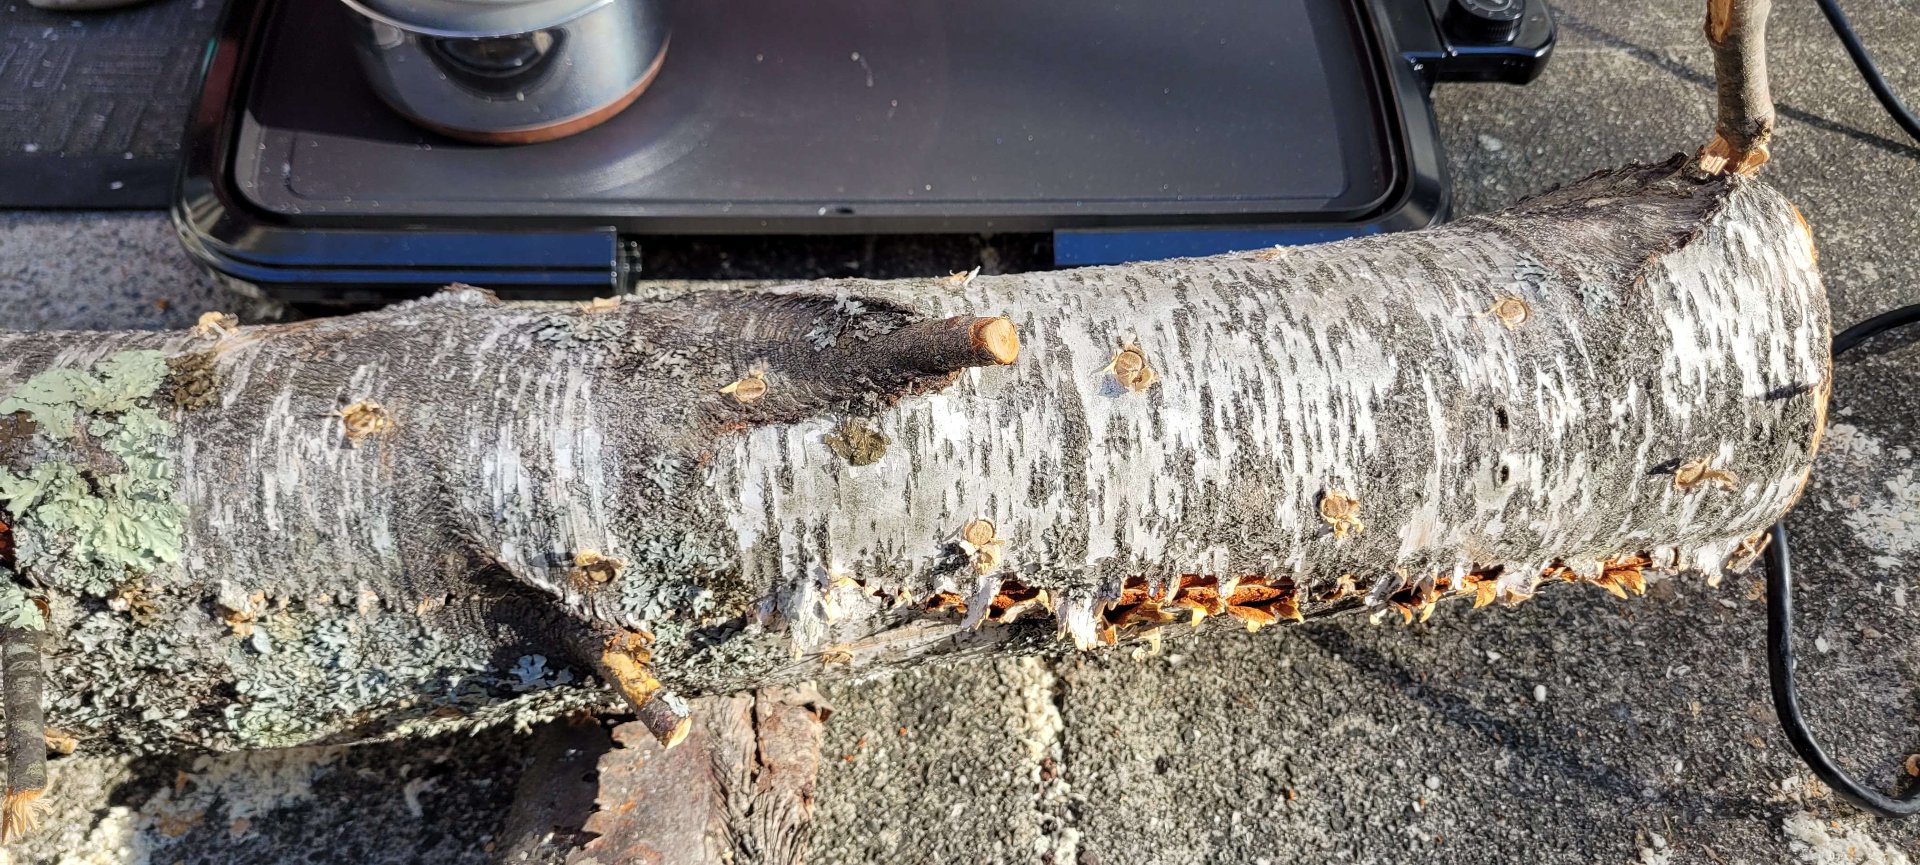
I don't have great photos of this step (it was a lot of fun) but here's one of the log after we got them all driven in.
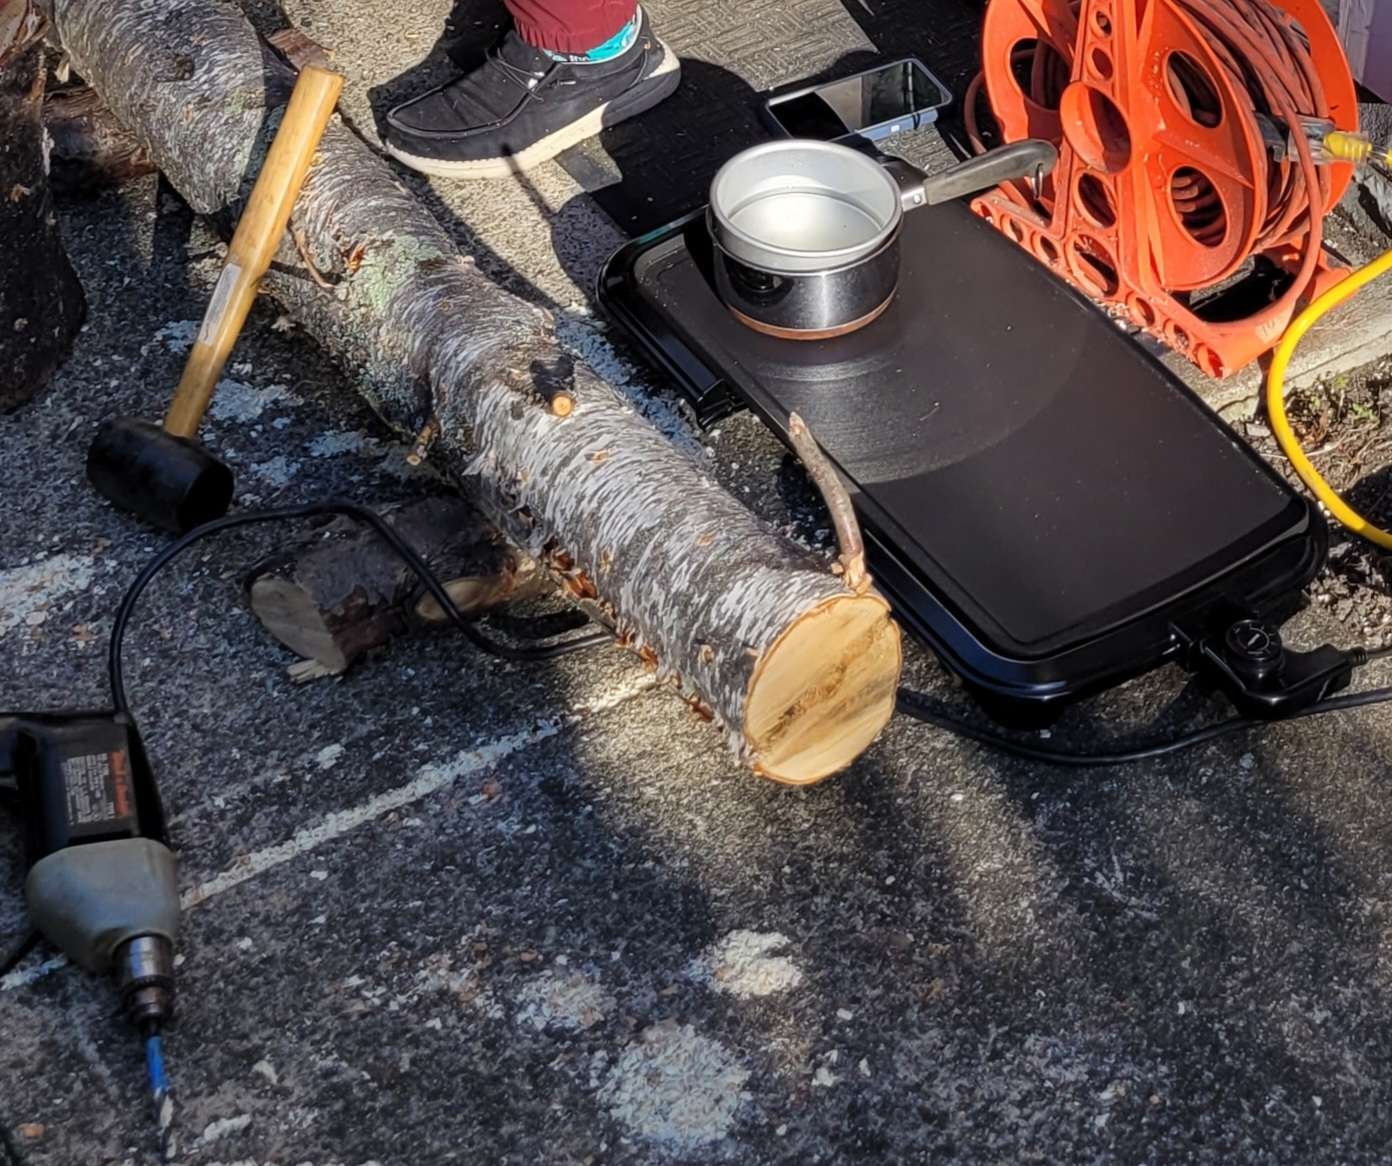
The last step was to seal all the pegs in place with melted wax. The kit provided powdered wax and a little fuzzball on a wire handle for applying it. We set up a double boiler on a hotplate and melted the wax while we added the pegs.
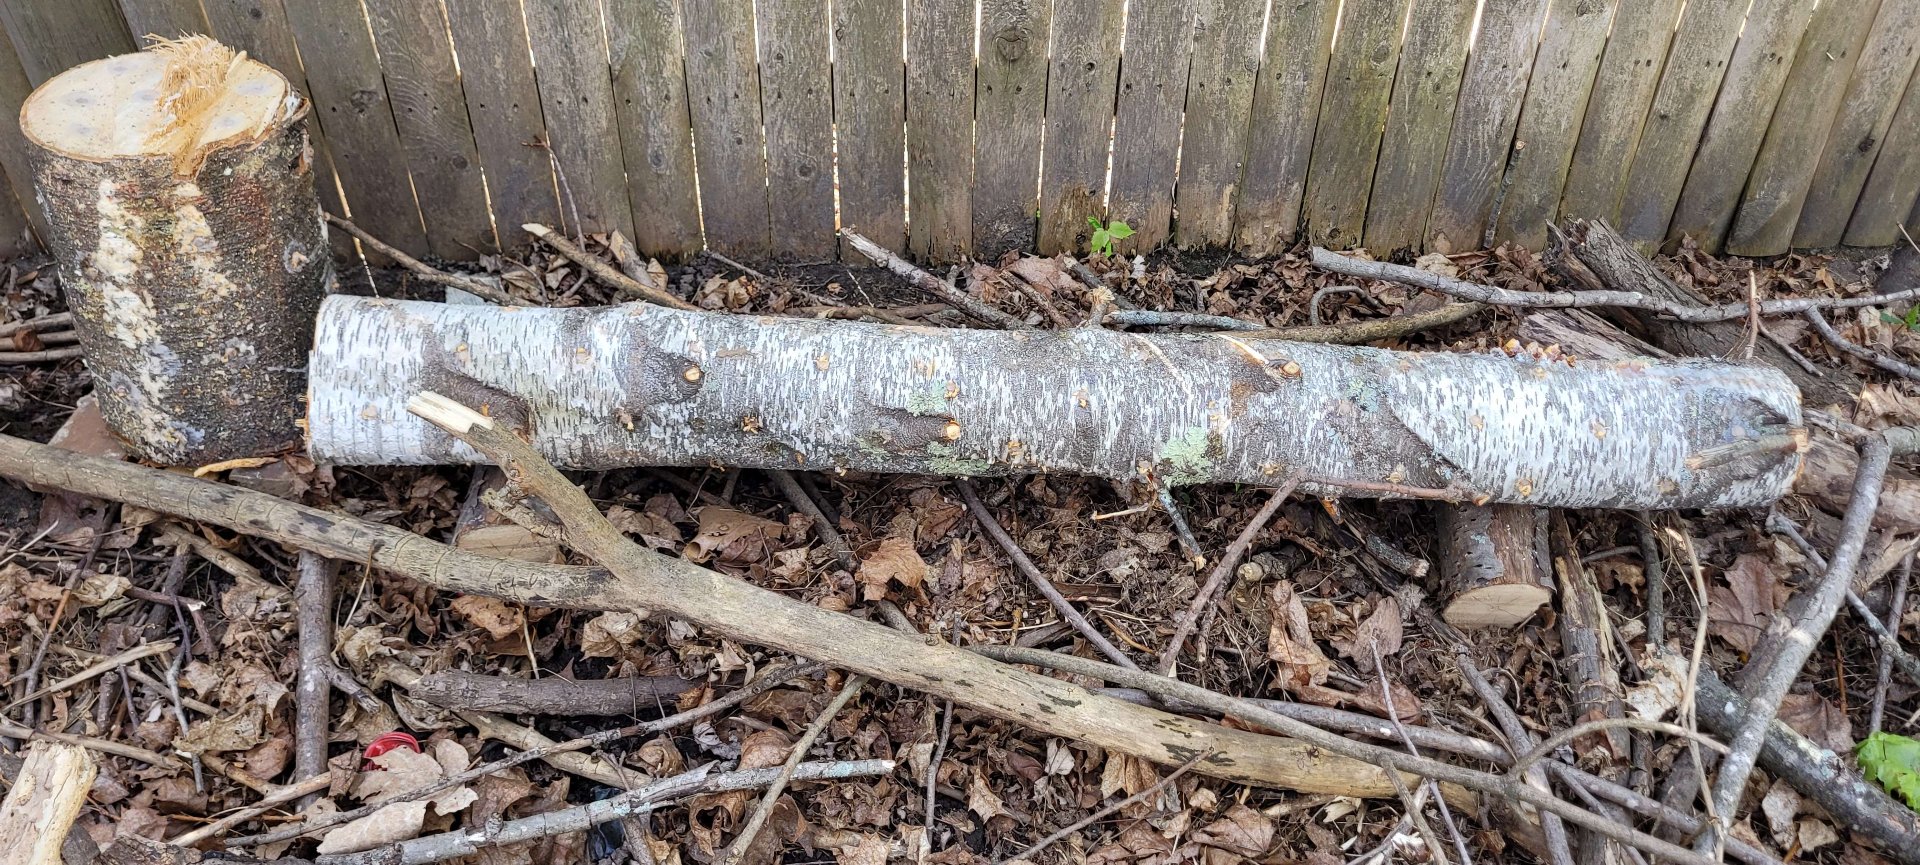
We hid our mushroom log in a shady forested spot near the apartment fence. If all goes well, I'll be back with mushroom pictures sometime next year.