

-
 chevron_right
One Button Sound Recorder made from spare parts
JacobCoffinMakes • 7 February 2024 edit • 9 minutes
My grandmother recently lost her vision. She wanted a sound recorder so she could continue writing/recording her stories, but she’s never been comfortable with computers or small electronics, even when she could see them. One of the features she really wanted was automatic transcription voice to text. But all the voice recorders I could find online, even simple ones, seemed like they’d be hard for her to use. They had small buttons, recessed into the case (she has trouble feeling stuff like that), switches on the sides, multiple modes, screens she couldn’t see, etc. After the last year of trying to find various devices for her, and of being frustrated at how overly complicated devices supposedly intended for the elderly and vision-impaired still are, I decided to just build something that would actually fit her needs. Unfortunately, I had just a week to do it in before I was heading up to visit.
The goals:
- It had to be aggressively simple to use. No modes, no settings, no buttons combos to remember.
- It had to support advanced features (transcription was one she really wanted, but just being able to get the voice files out to relatives easily was big)
- Sturdy design
I googled around and found this tutorial for making a spy device from a raspberry pi. It was pretty much perfect - when it detected motion, the device was meant to record audio, transcribe it, and then send the transcription out to the ‘spy’ as an email. That was perfect - email is a robust system all my other relatives are familiar with, figuring out what to do with the files, renaming them, forwarding them as necessary is well within their abilities. Plus the email account could act as a backup.
I started with setting up a button. I used this tutorial as my guide, and used an old arcade button left over from helping a friend build an arcade cab. I soldered a 220 resistor in line with the button per the tutorial. The arcade button was a good fit - it’s designed for this kind of project and mounts easily to a hole drilled through a board, it’s big and raised up, meaning its easy to find.
Then it was on to the python code:
The changes I had to make were mostly around the motion sensor. We were going to replace that with a single button. Push it once, it plays my voice saying ‘recording’ and starts recording. Push it again, it stops recording and says ‘stop’. It’s been years since I wrote python code, but all I really had to do with identify the parts relevant to my requirements and make changes. I ended up using this code for preventing button bounce, since the built-in GPIO features failed to prevent it. The only change was a minor adjustment to the end of look_for_triggers() (which will show up in my code,) because it was preventing the second button press from being detected. I basically just stitched the button_callback() function to start_recording() and replaced the for loop in audioRecording() with a while loop to support variable-length recordings based on the button press. And I used pygame to play my voice audio. The other change I added was to the email feature. I added some try and except error catching, so failing to send an email (like if her wifi goes down) won’t crash the program. I won’t be around to start it up again so I wanted it to be robust, and to degrade gracefully. I explained that if it says ‘email error’ after ‘stop’ that just means it couldn’t send an email, but the file is still saved and the program still works.
After getting email to work, the next job was to make sure the program ran as soon as the raspberry pi booted up. My grandmother has lots of friends who love to help, which often means unplugging things, moving them around, losing them, finding them, reorganizing her house, and mailing back audiobooks she hasn’t listened to yet. I needed this thing to be able to survive power loss and general curious fiddling. And if it crashed, power cycling would be an ugly but functional way to restart the program.
I used this guide and modified the line to say @reboot python3 /home/audio/sound_recorder_good.py
Once that was done, I found I had to replace the ‘input(“Press enter to quit”)’ line at the end of the main function with an endless while loop, because the program was no longer running from the terminal and couldn’t use input.
You can find my code here: https://mega.nz/file/OJV1hZJB#pVeddKWKu6EwC6yxiMMsSVSCQdoTUkhtcfWM6ryAYIw
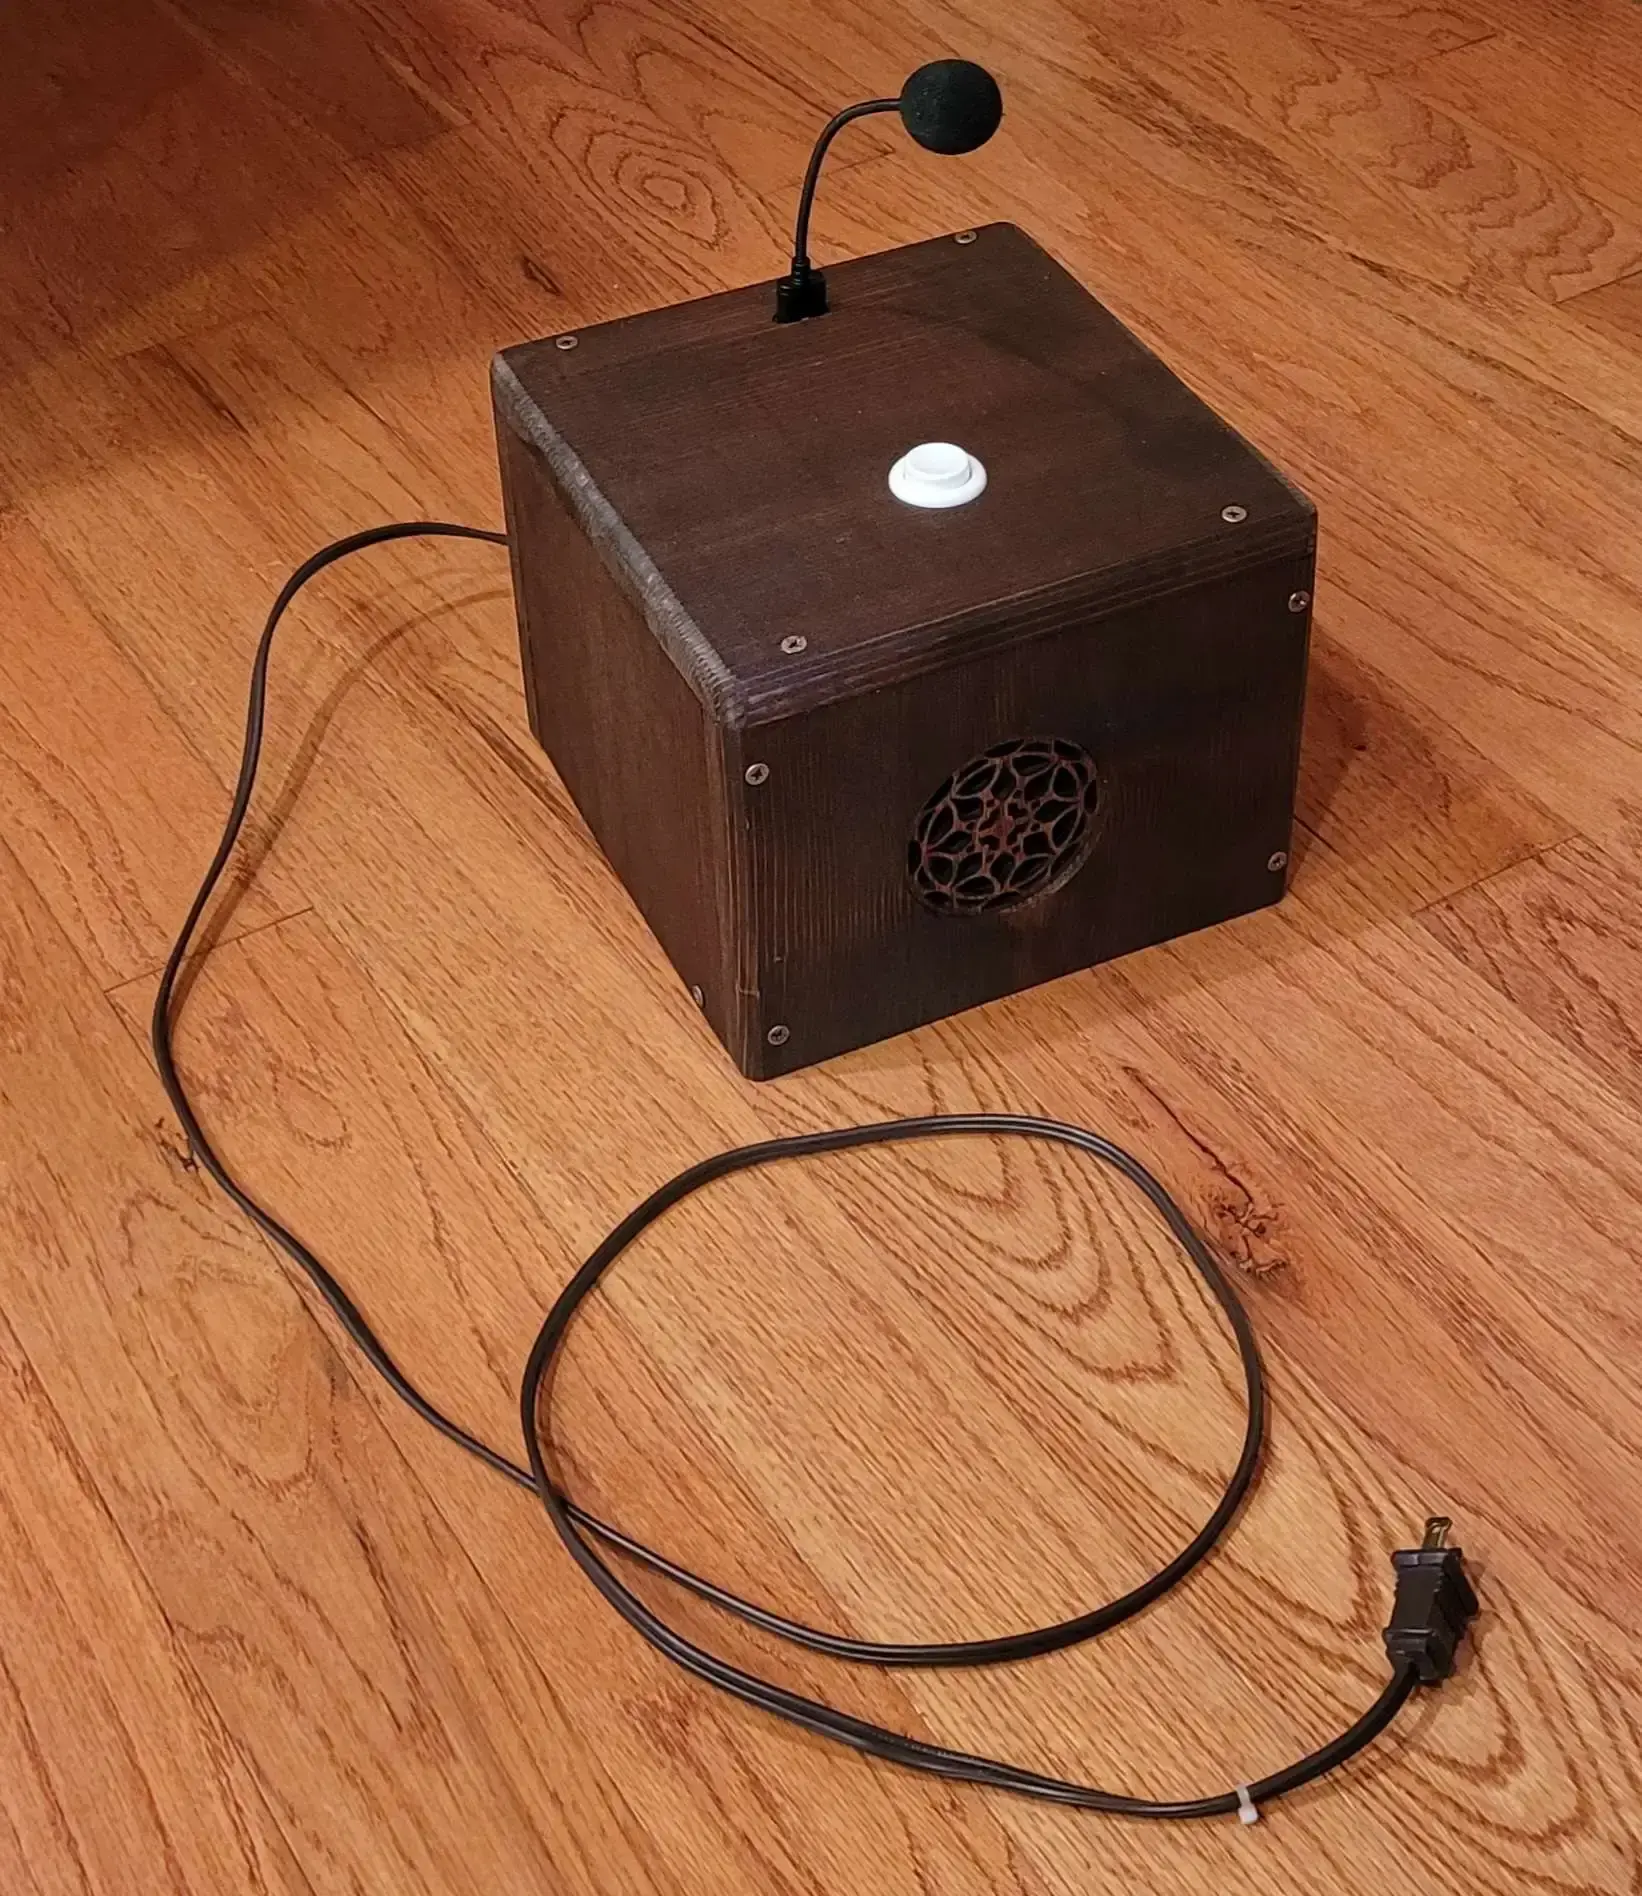
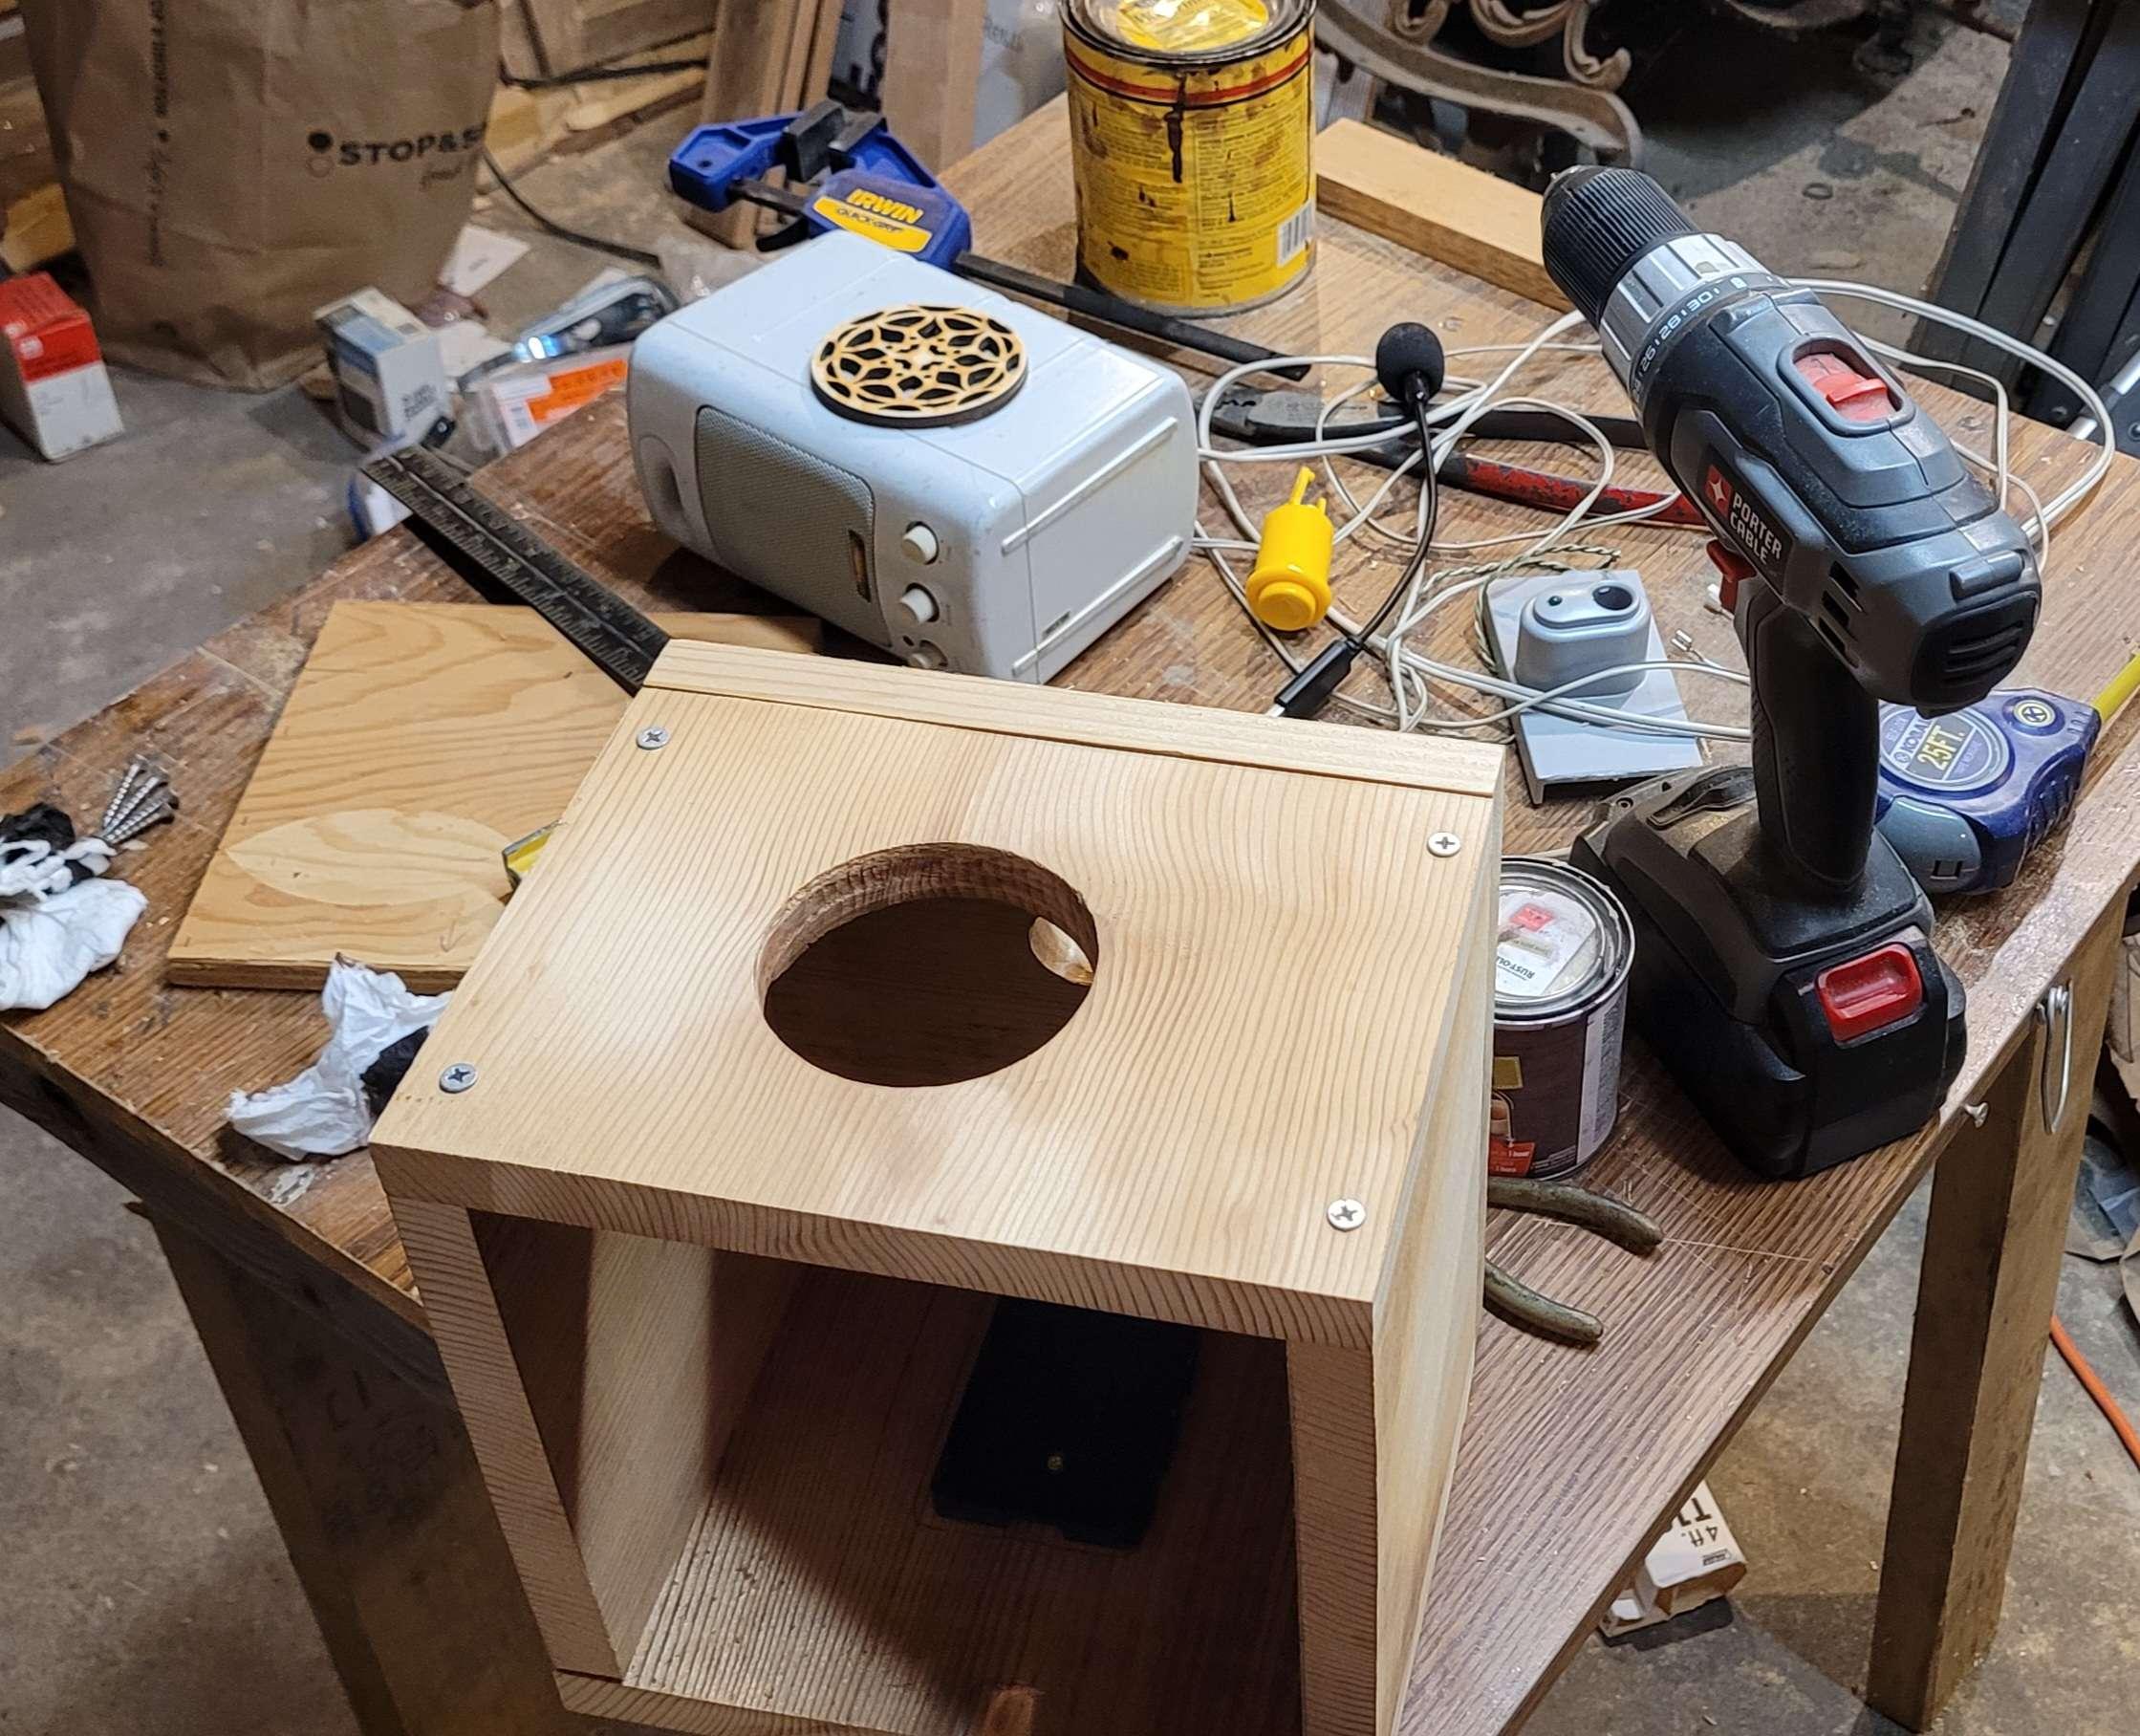
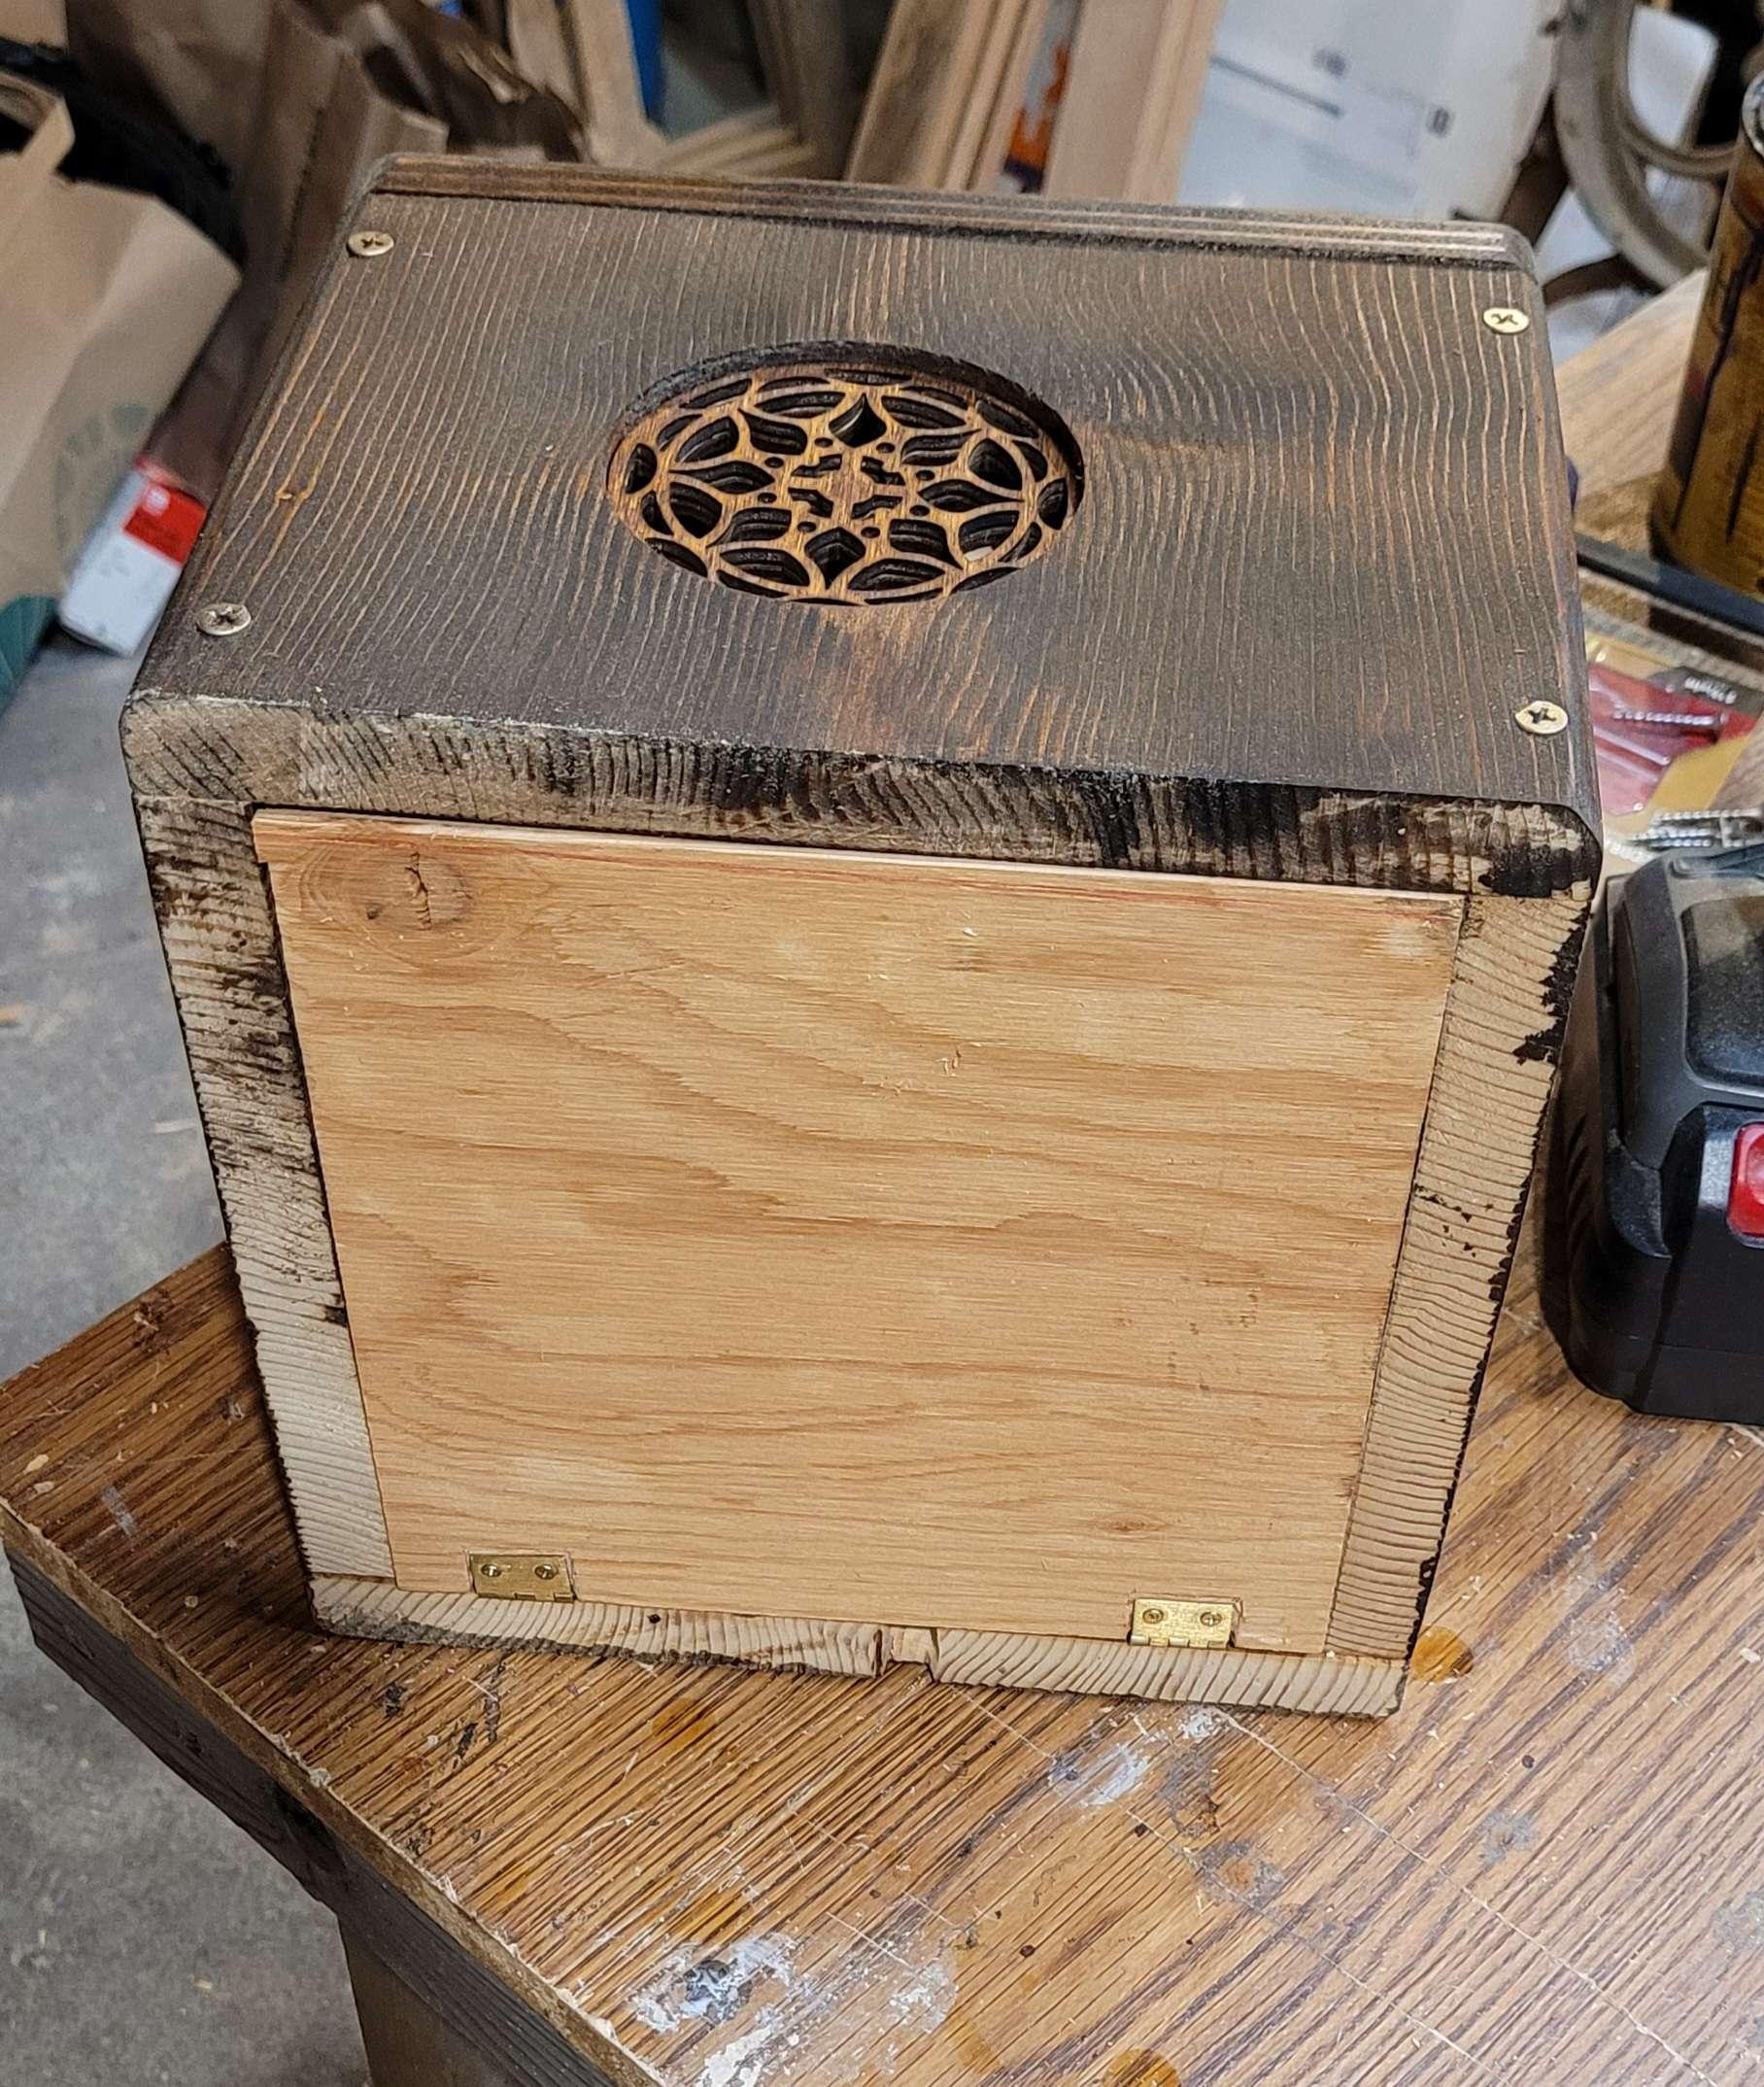
At this point, it was pretty reliable, so I started work on the physical case. It’s basically just a wooden box containing the pi, a button, a speaker, the microphone, and built to keep people from opening it up, unplugging components, or fiddling with the speaker settings. I'd been joking with my spouse that it would look like a bad prop from the twilight zone, just a wooden box with a single button, a speaker, and a microphone sticking out. But I think it came out okay for how quickly I had to make it.
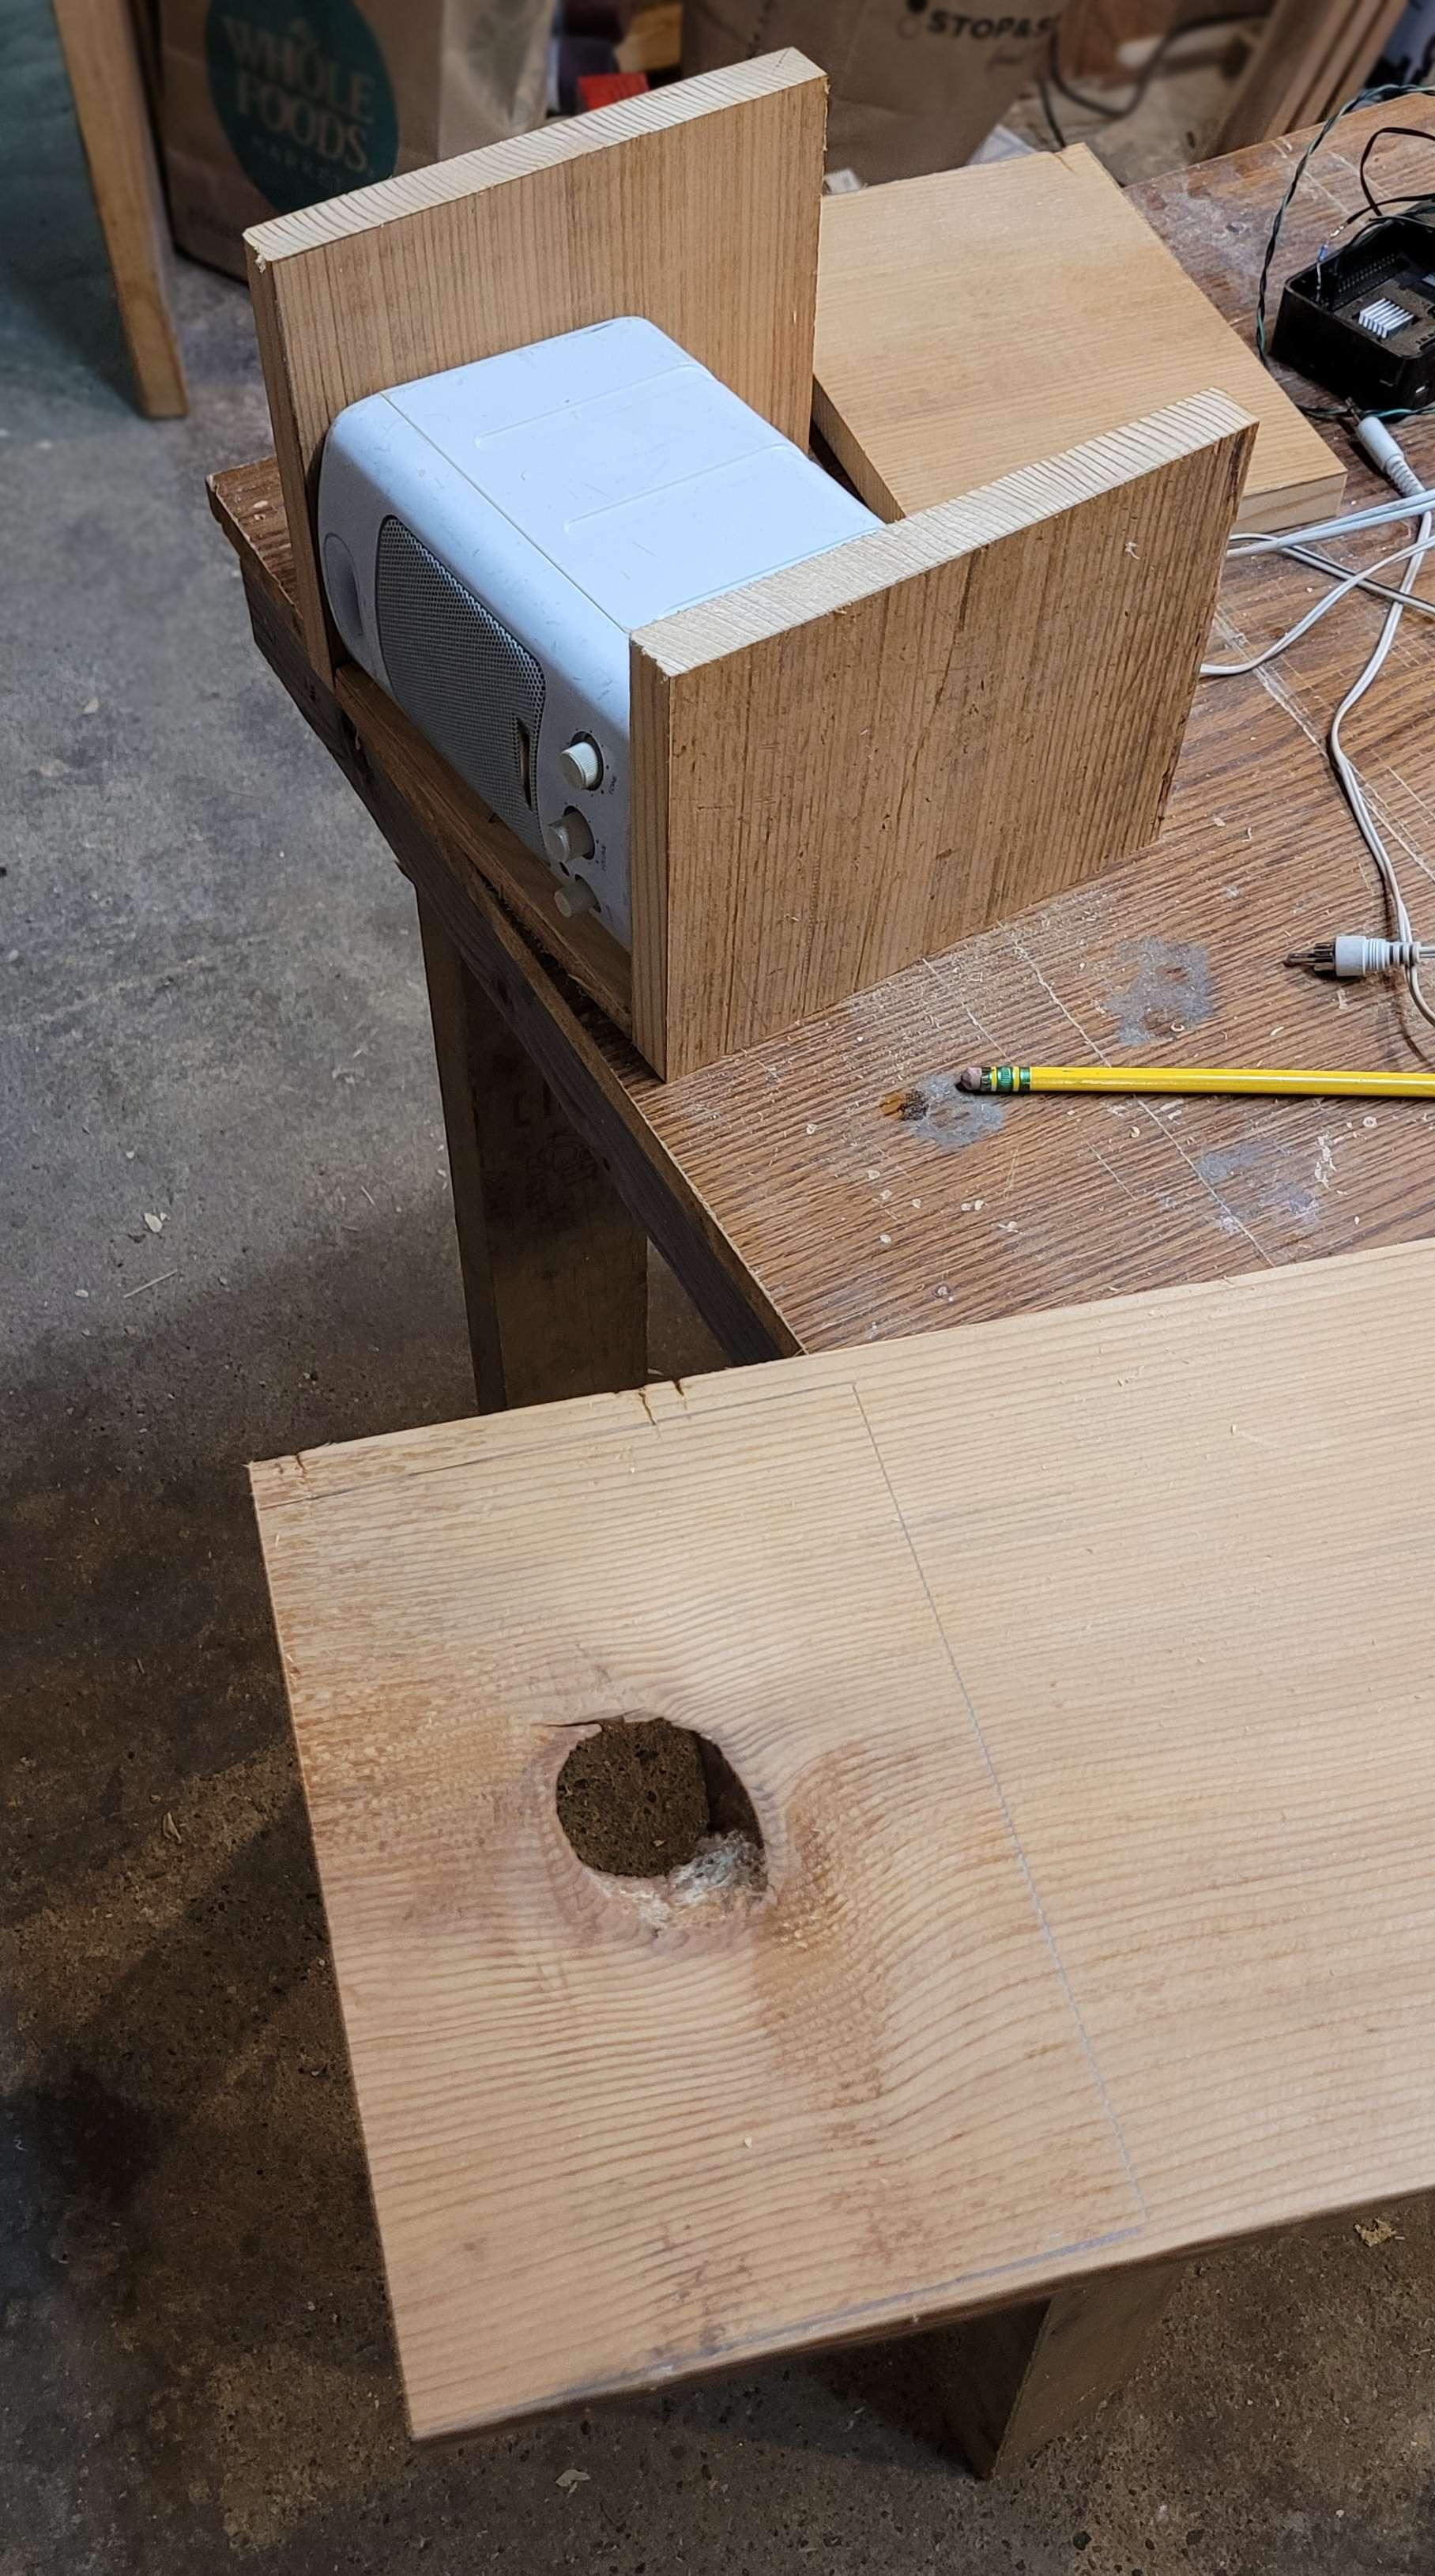
I measured my interior components, tried a few layouts, and finally cut up a board I'd gotten from my local Everything Is Free page. It had been a floorboard in someone's attic for years before they renovated.
My planned layout had the computer speaker on the bottom in the front, with the button above that, and the raspberry pi stuck to the back wall with a square cutout above it lined up with one of its USB ports. This way the microphone could just be plugged in, and it wouldn't be in the way when you reached for the button.
In the picture above, the sides, back and floor are already cut. The front is ready for cutting in the foreground (I used the hole saw to cut out a speaker hole around the knot hole, so I wouldn't have to waste any wood).


The top from the side, with the square hole cut to fit the microphone
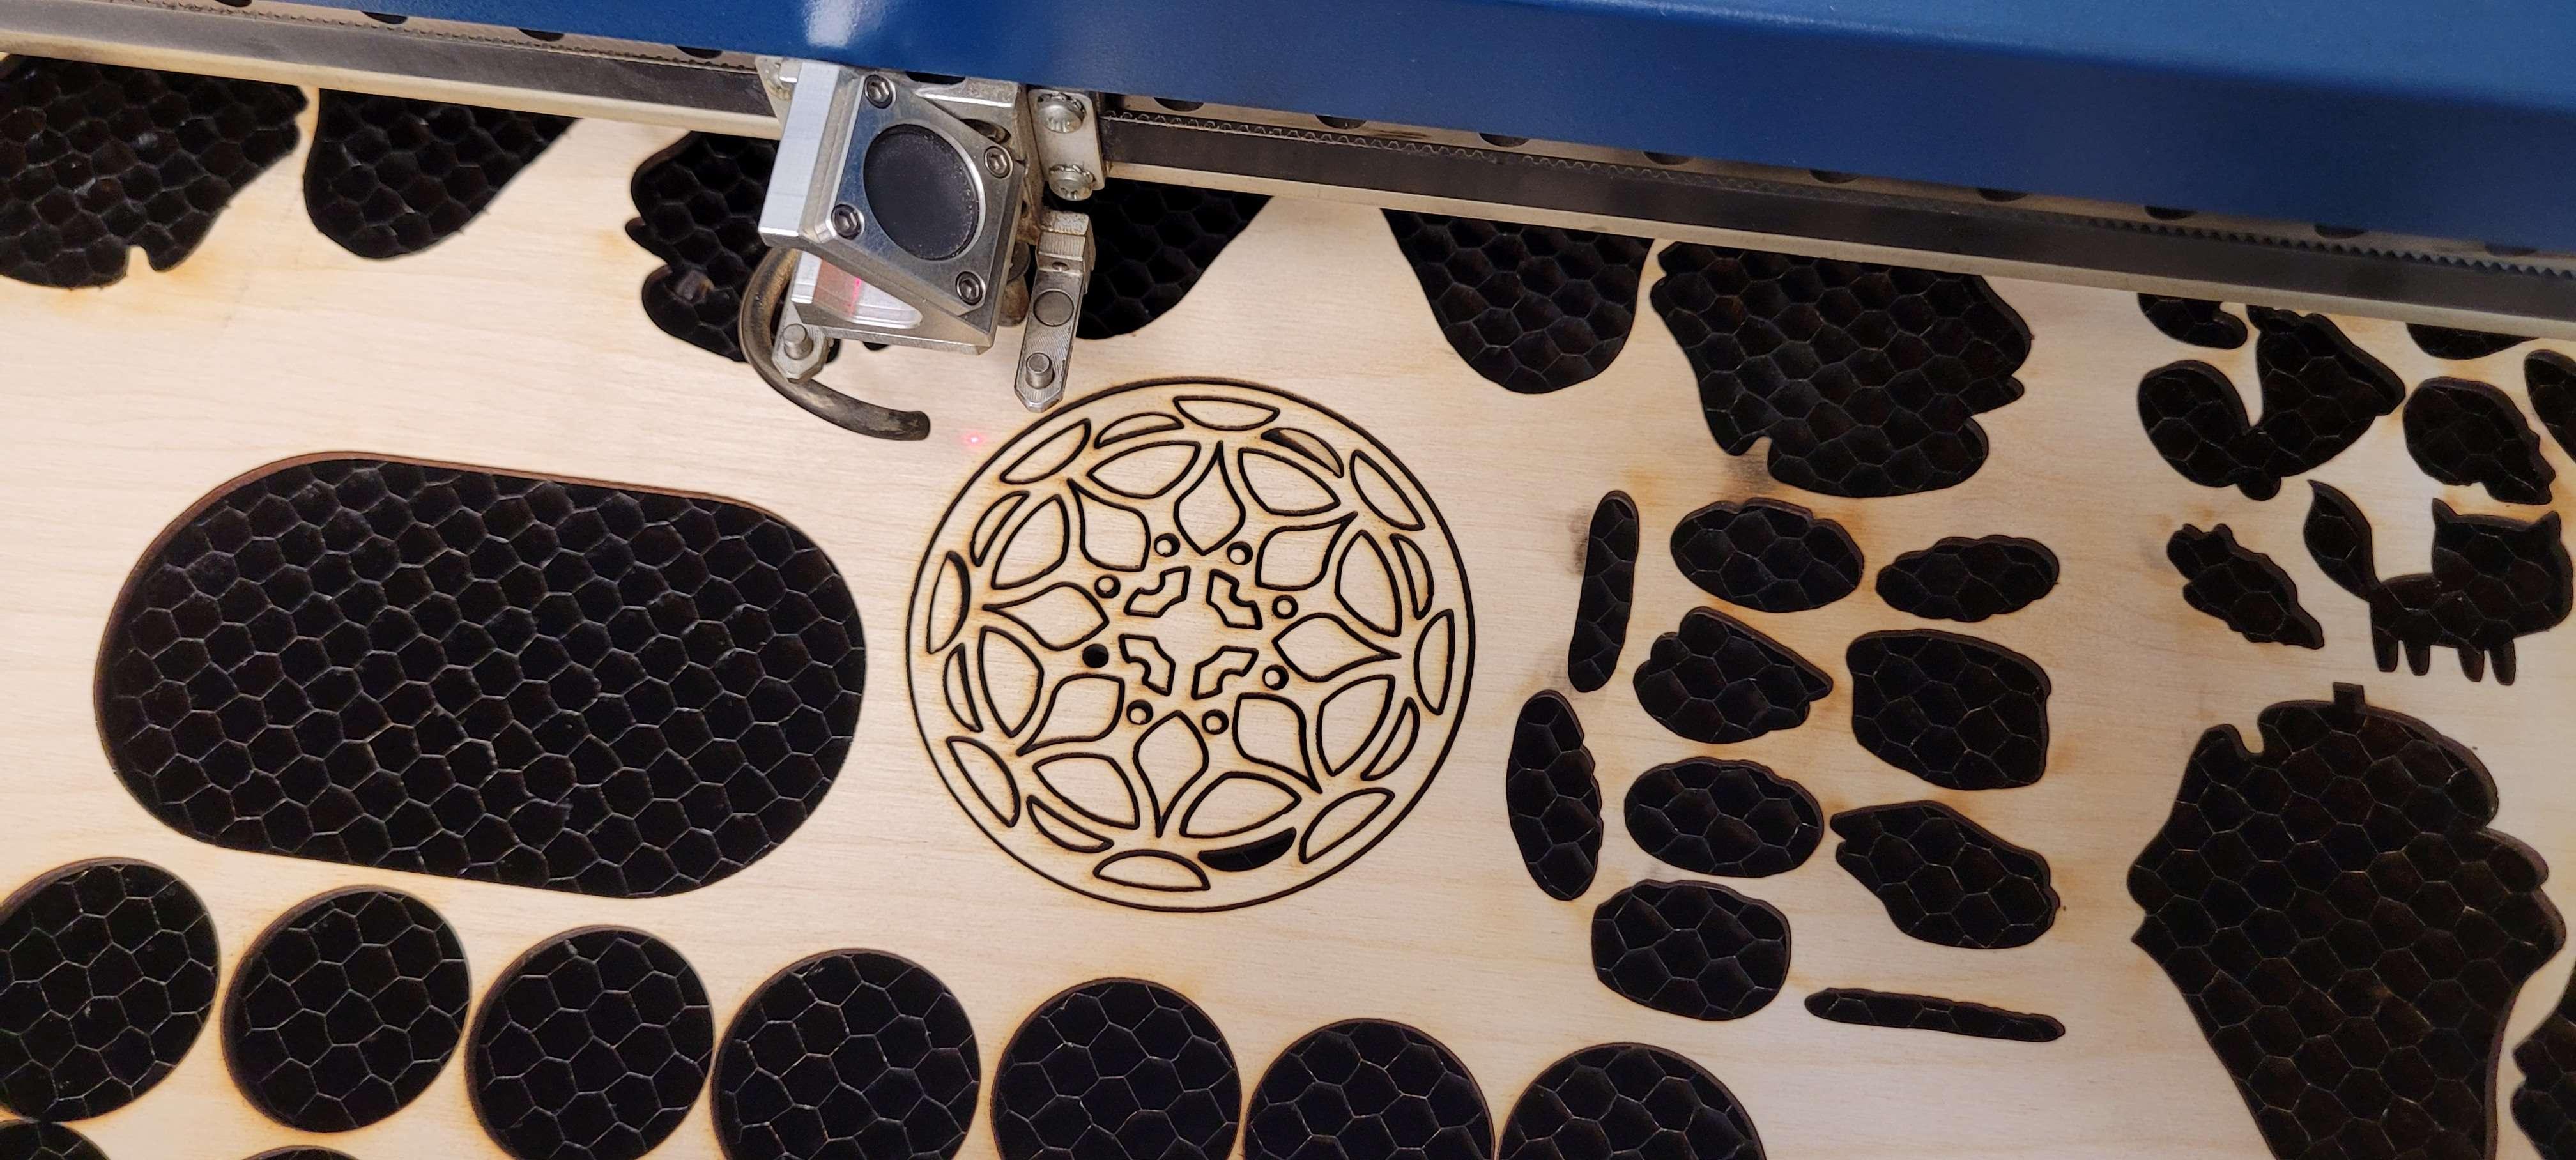
That night, my SO and I visited our local makerspace and borrowed their laser cutter.
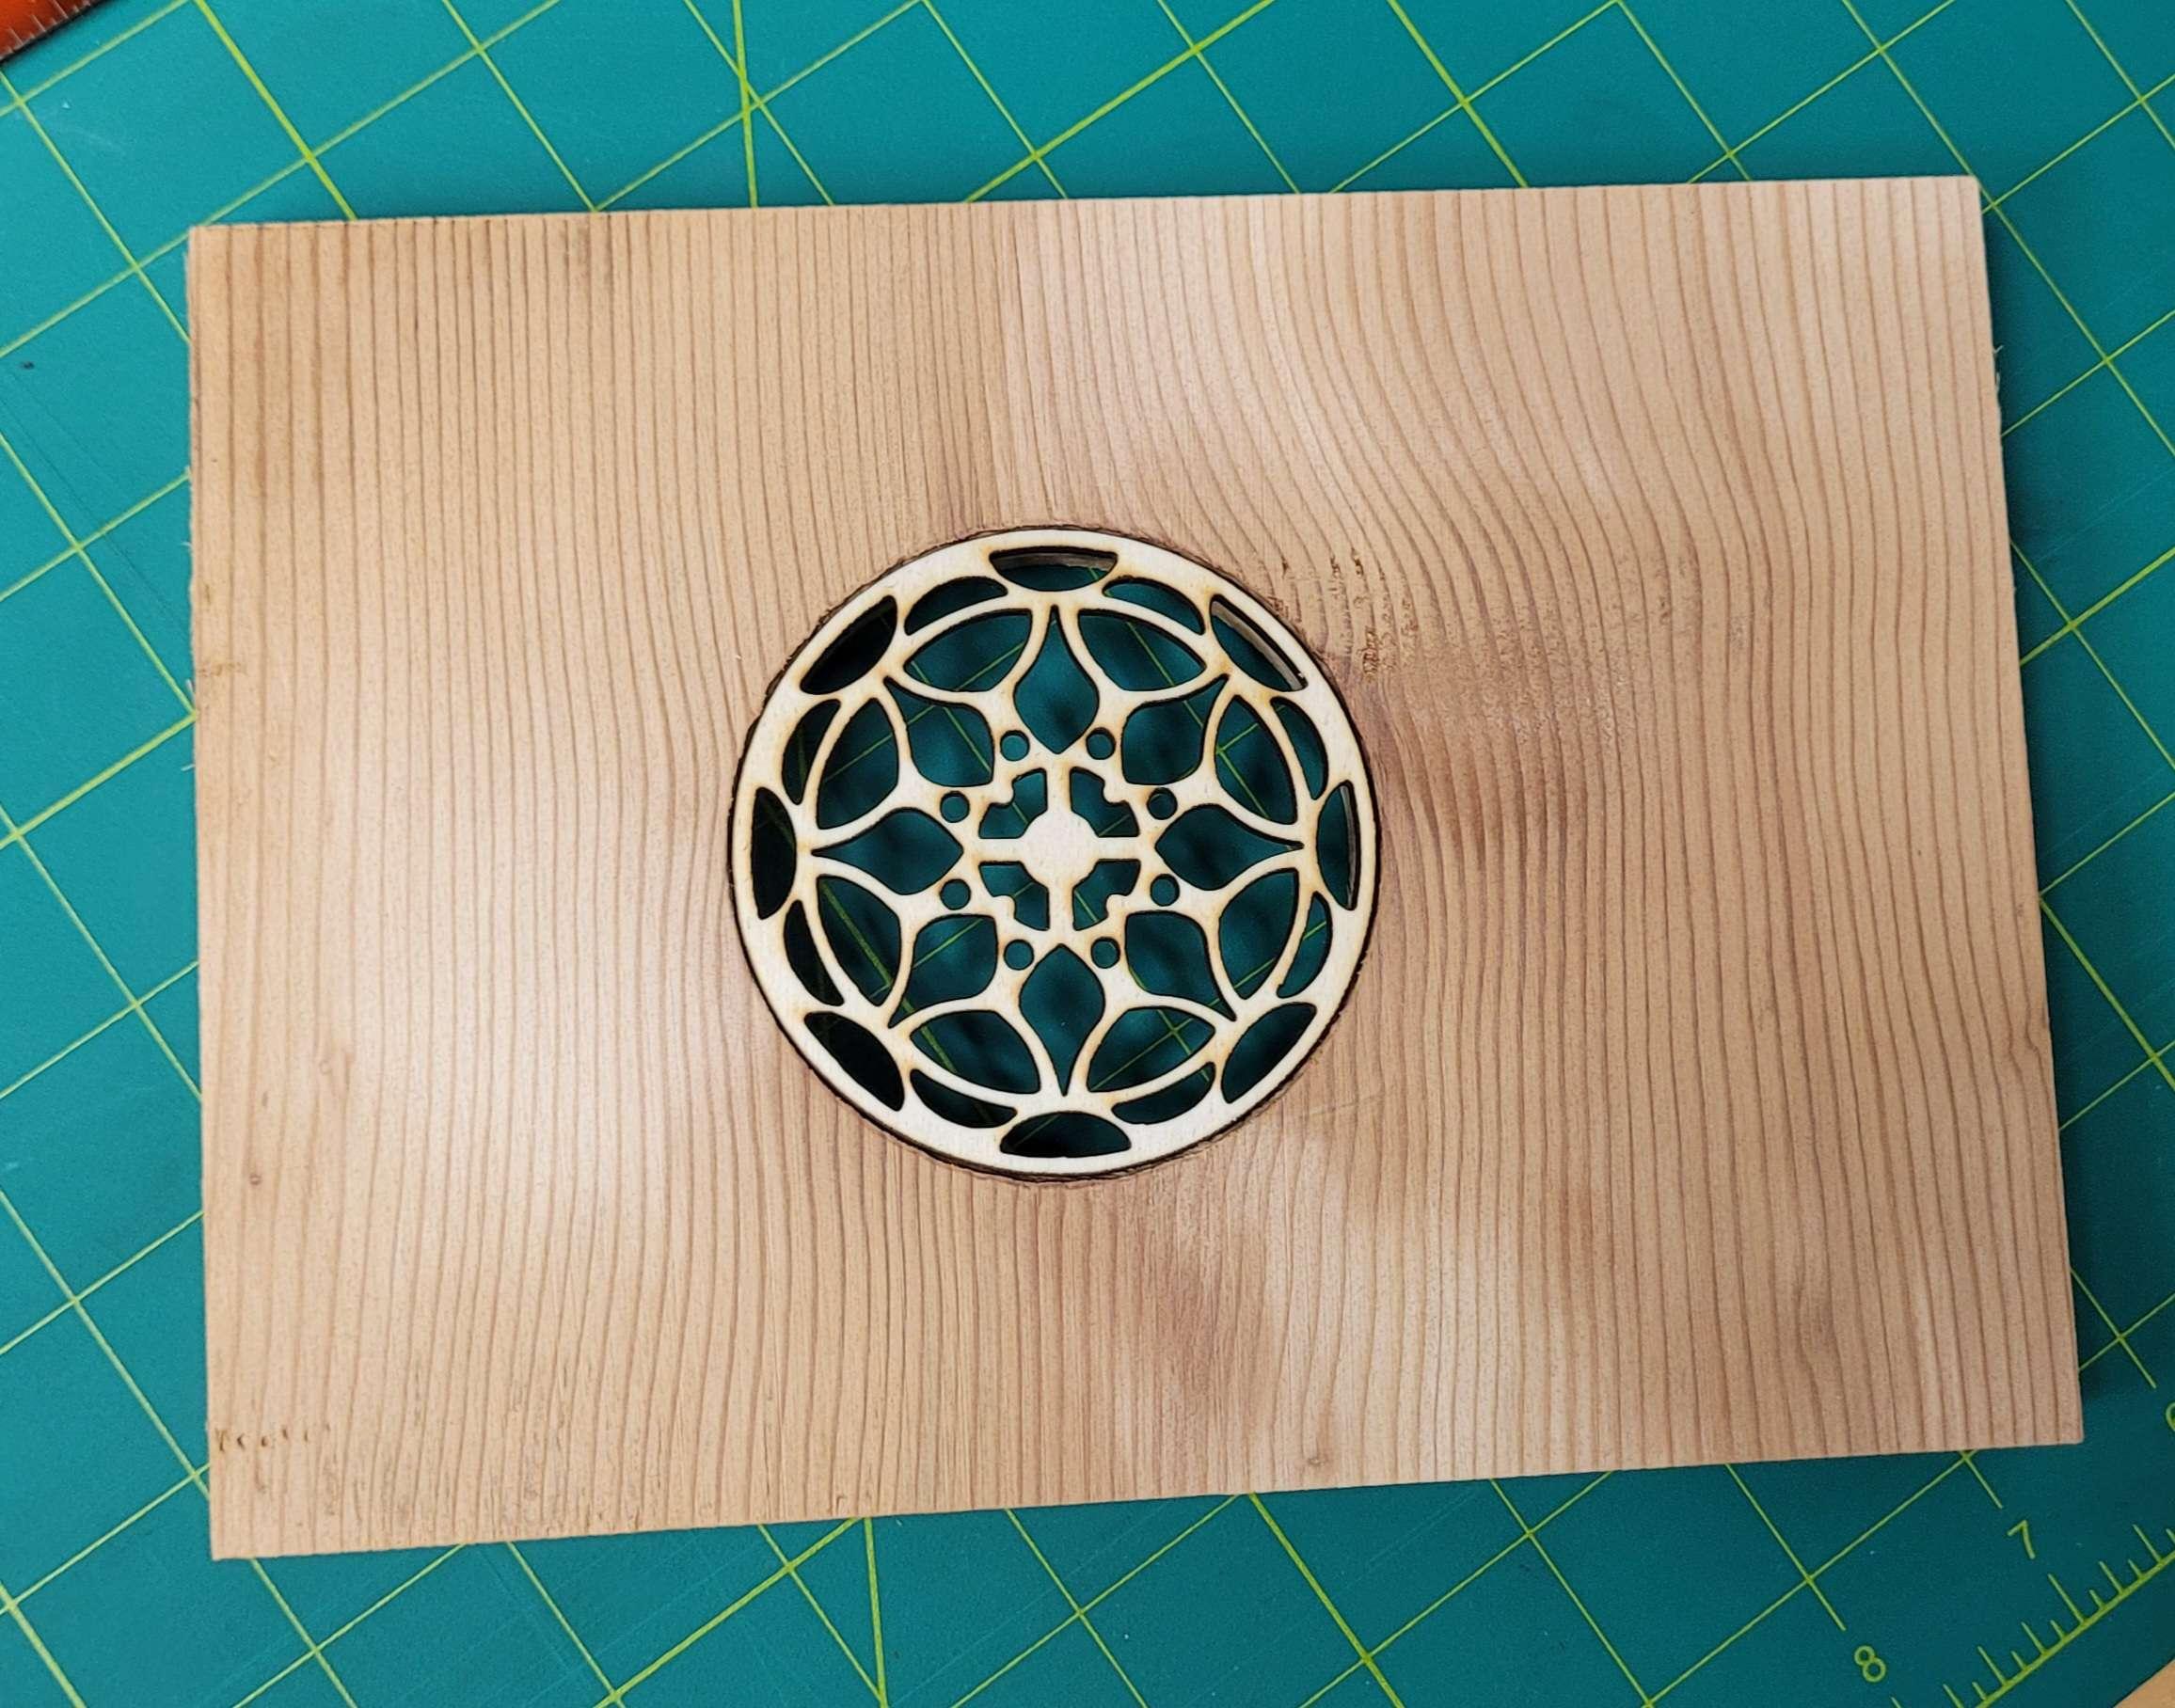
Test fit for the front plate. Given that the cutter can do just about any shape, no matter how elaborate, we decided to give the grille a little flair. Maybe the twilight zone and 1950s stuff was still on our minds.
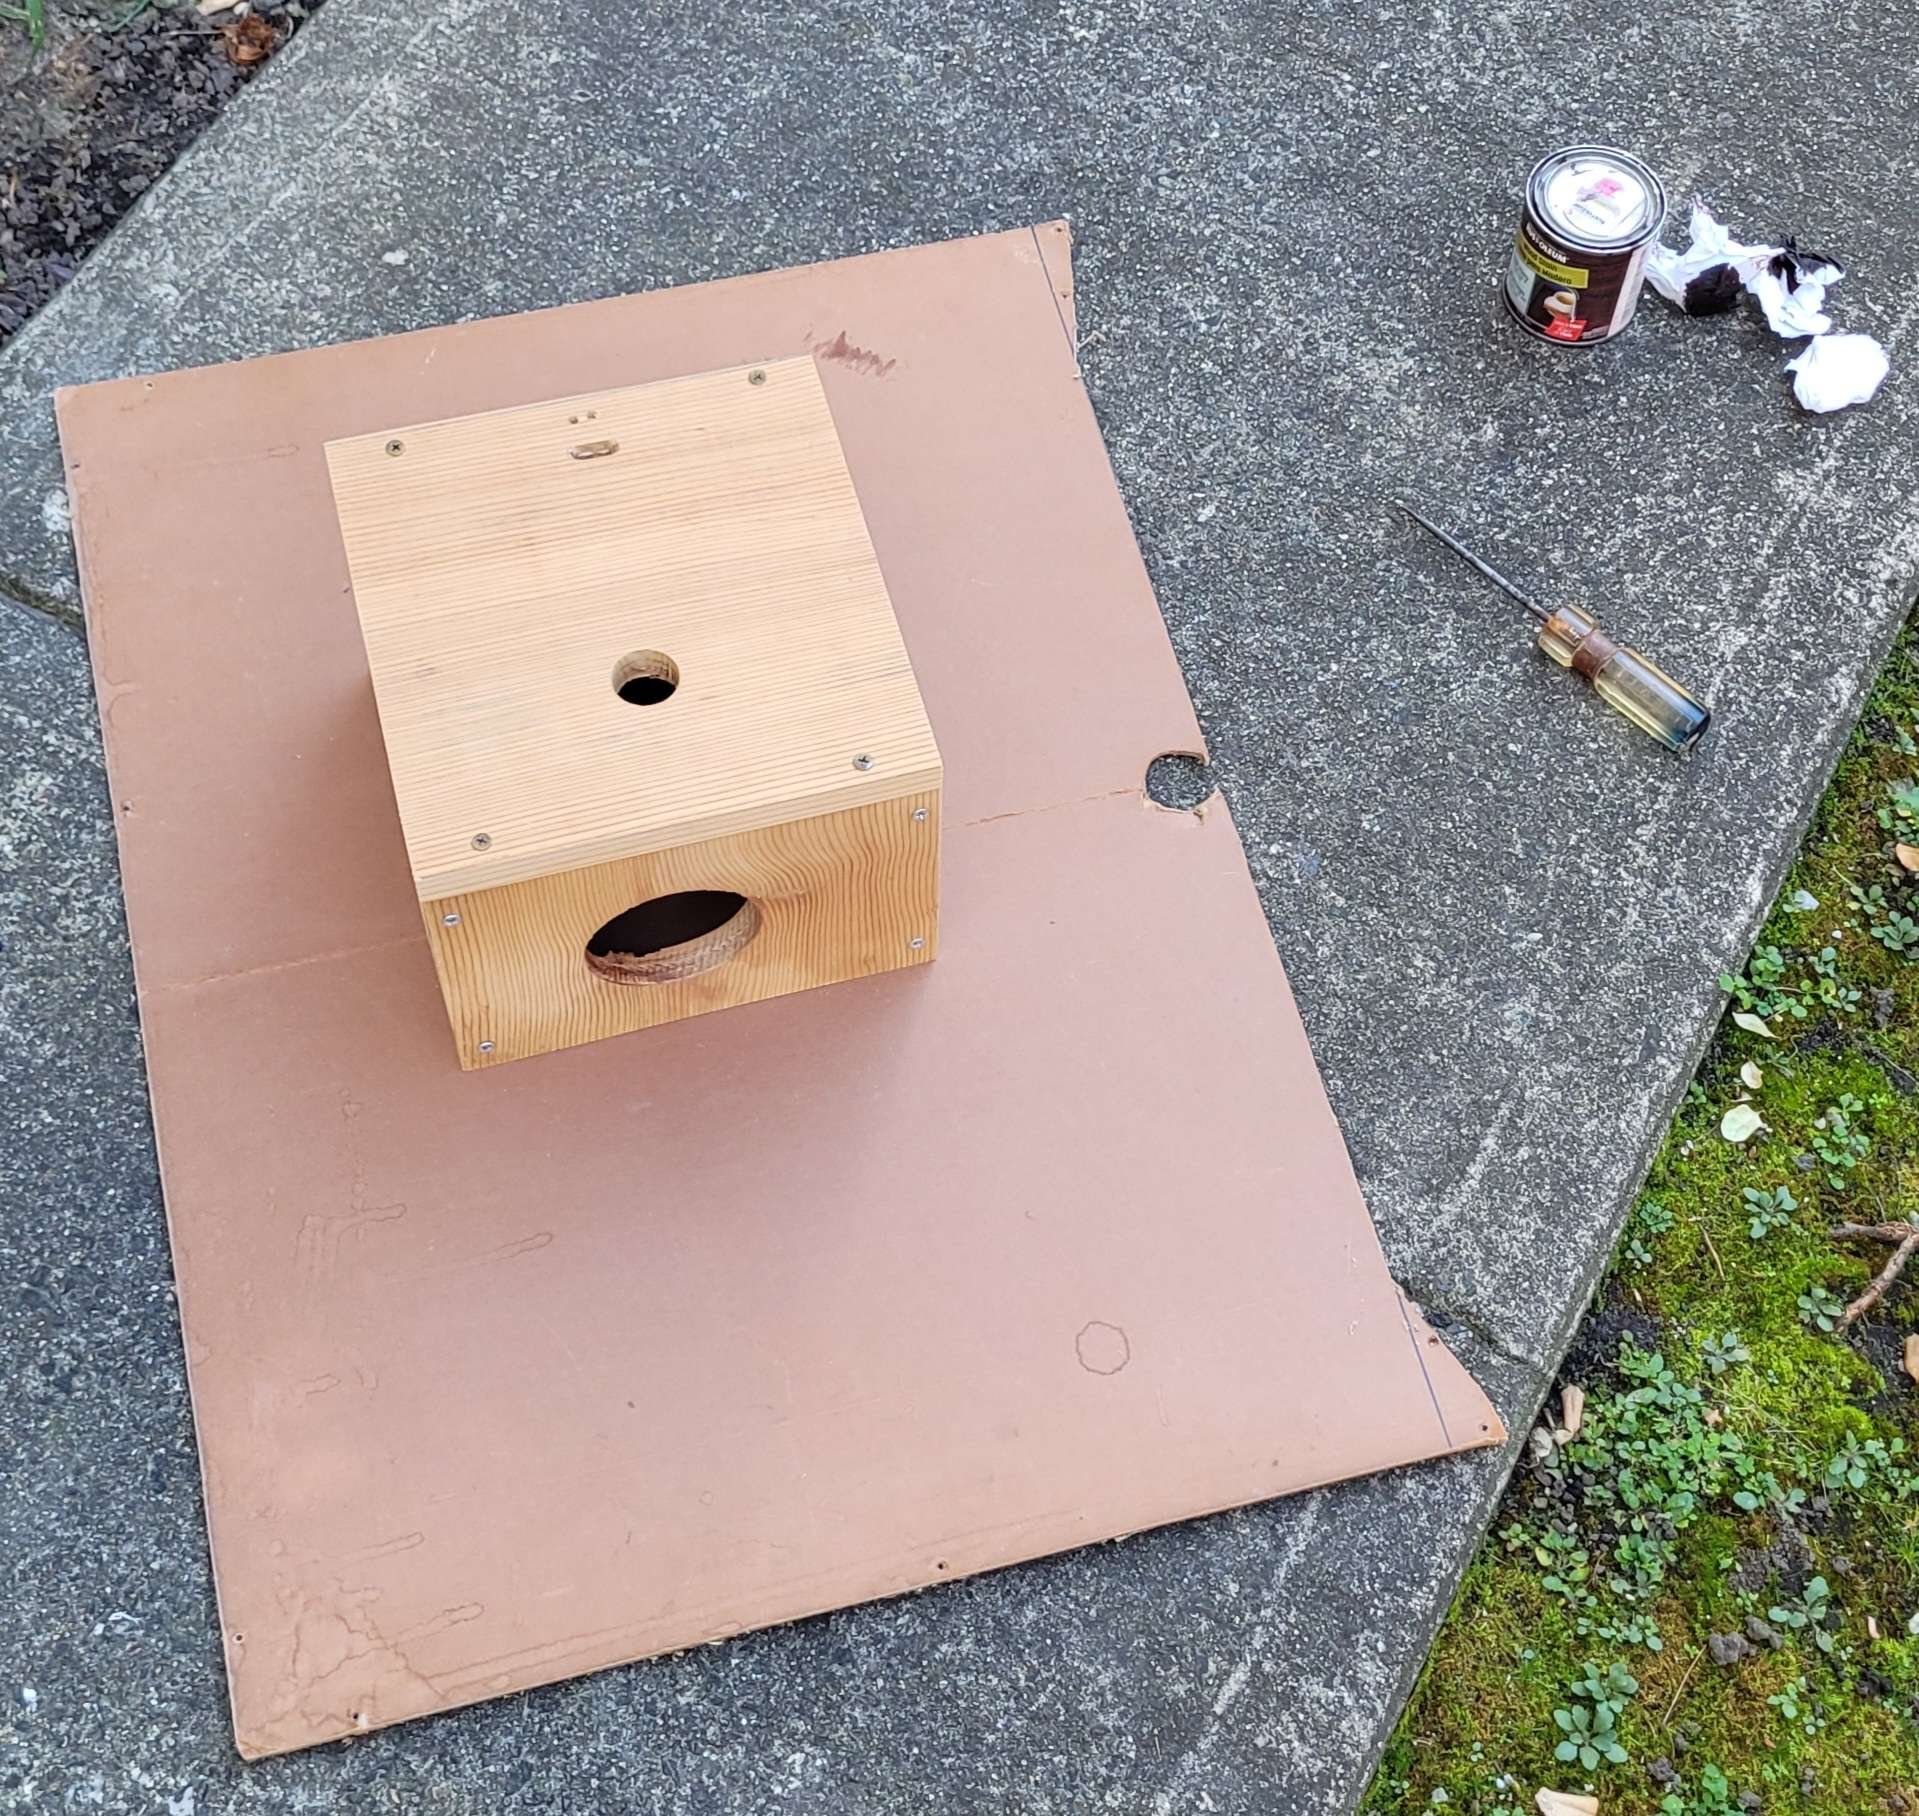
The case during fabrication, looking like a big birdhouse. I assembled it so I'd have it in one piece while I sanded the sides and corners, stained it, then replaced the screws with ones I'd spraypainted gold. The old screws just went back in the box or got painted and used.
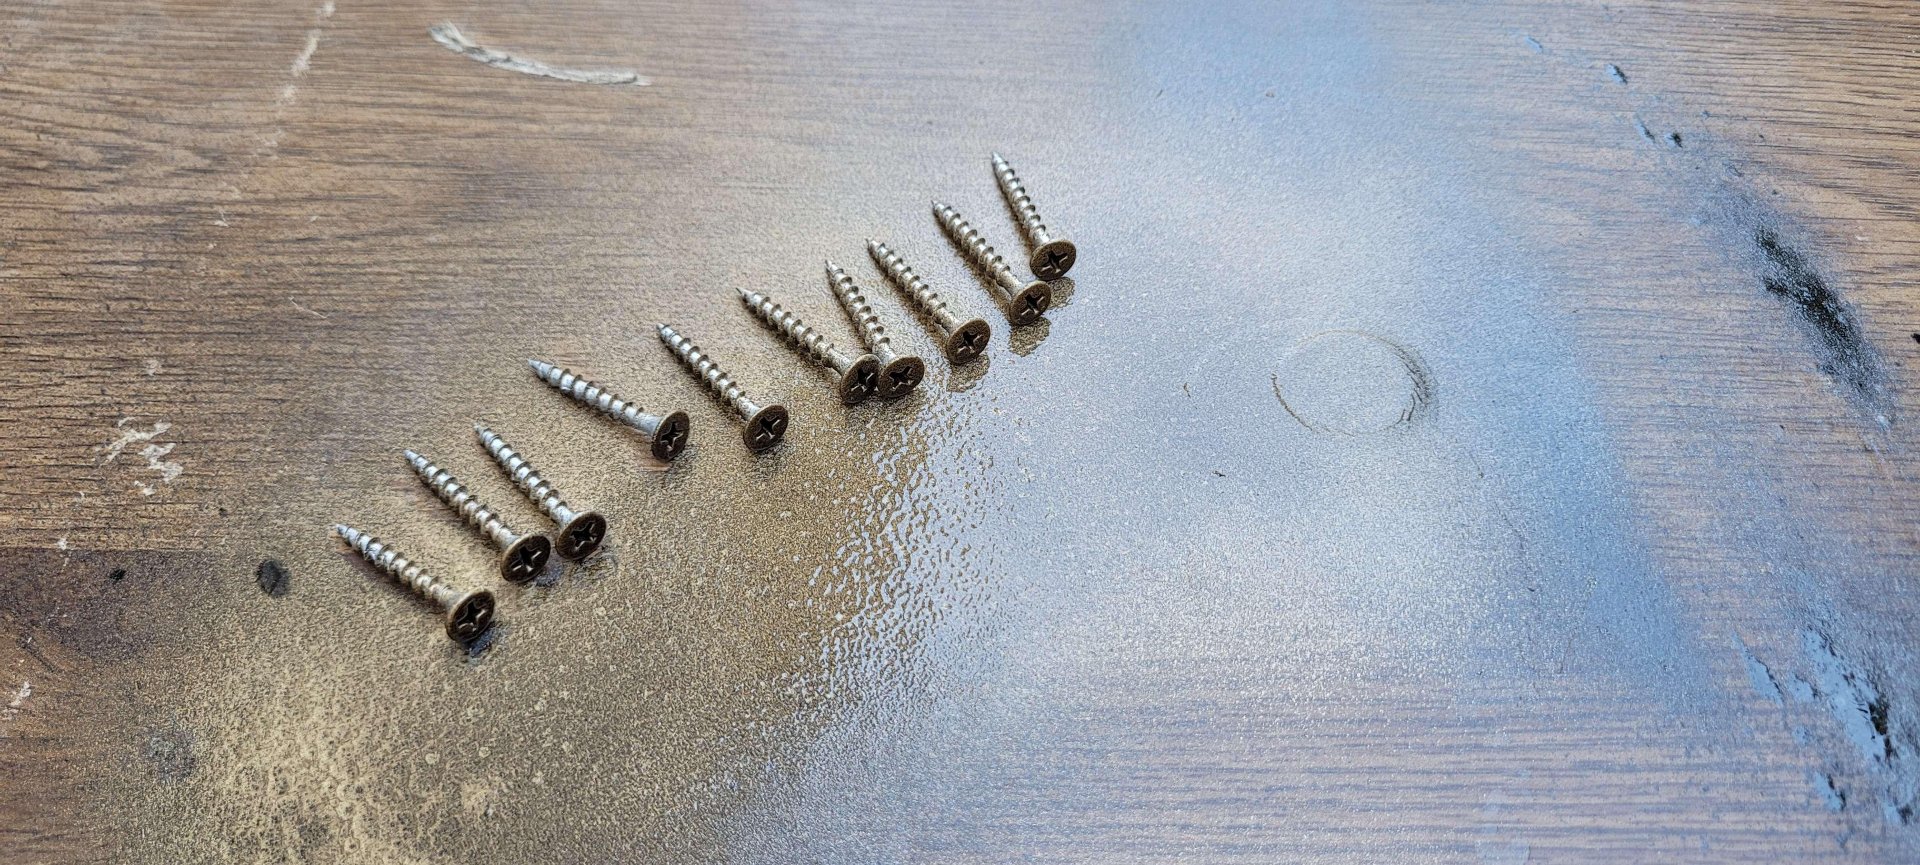
I pre-drilled all the holes before screwing it together, so I wouldn't split any of the boards. Pine is more forgiving than oak, but pre-drilling doesn't take much more work and it's well worth it. I also like to use the fillips bit, stick it into the hole on its own, and run it for a second, making a divot space for the screw head, so it can't act as a wedge and split the wood.
A little gold paint to go with the dark wood
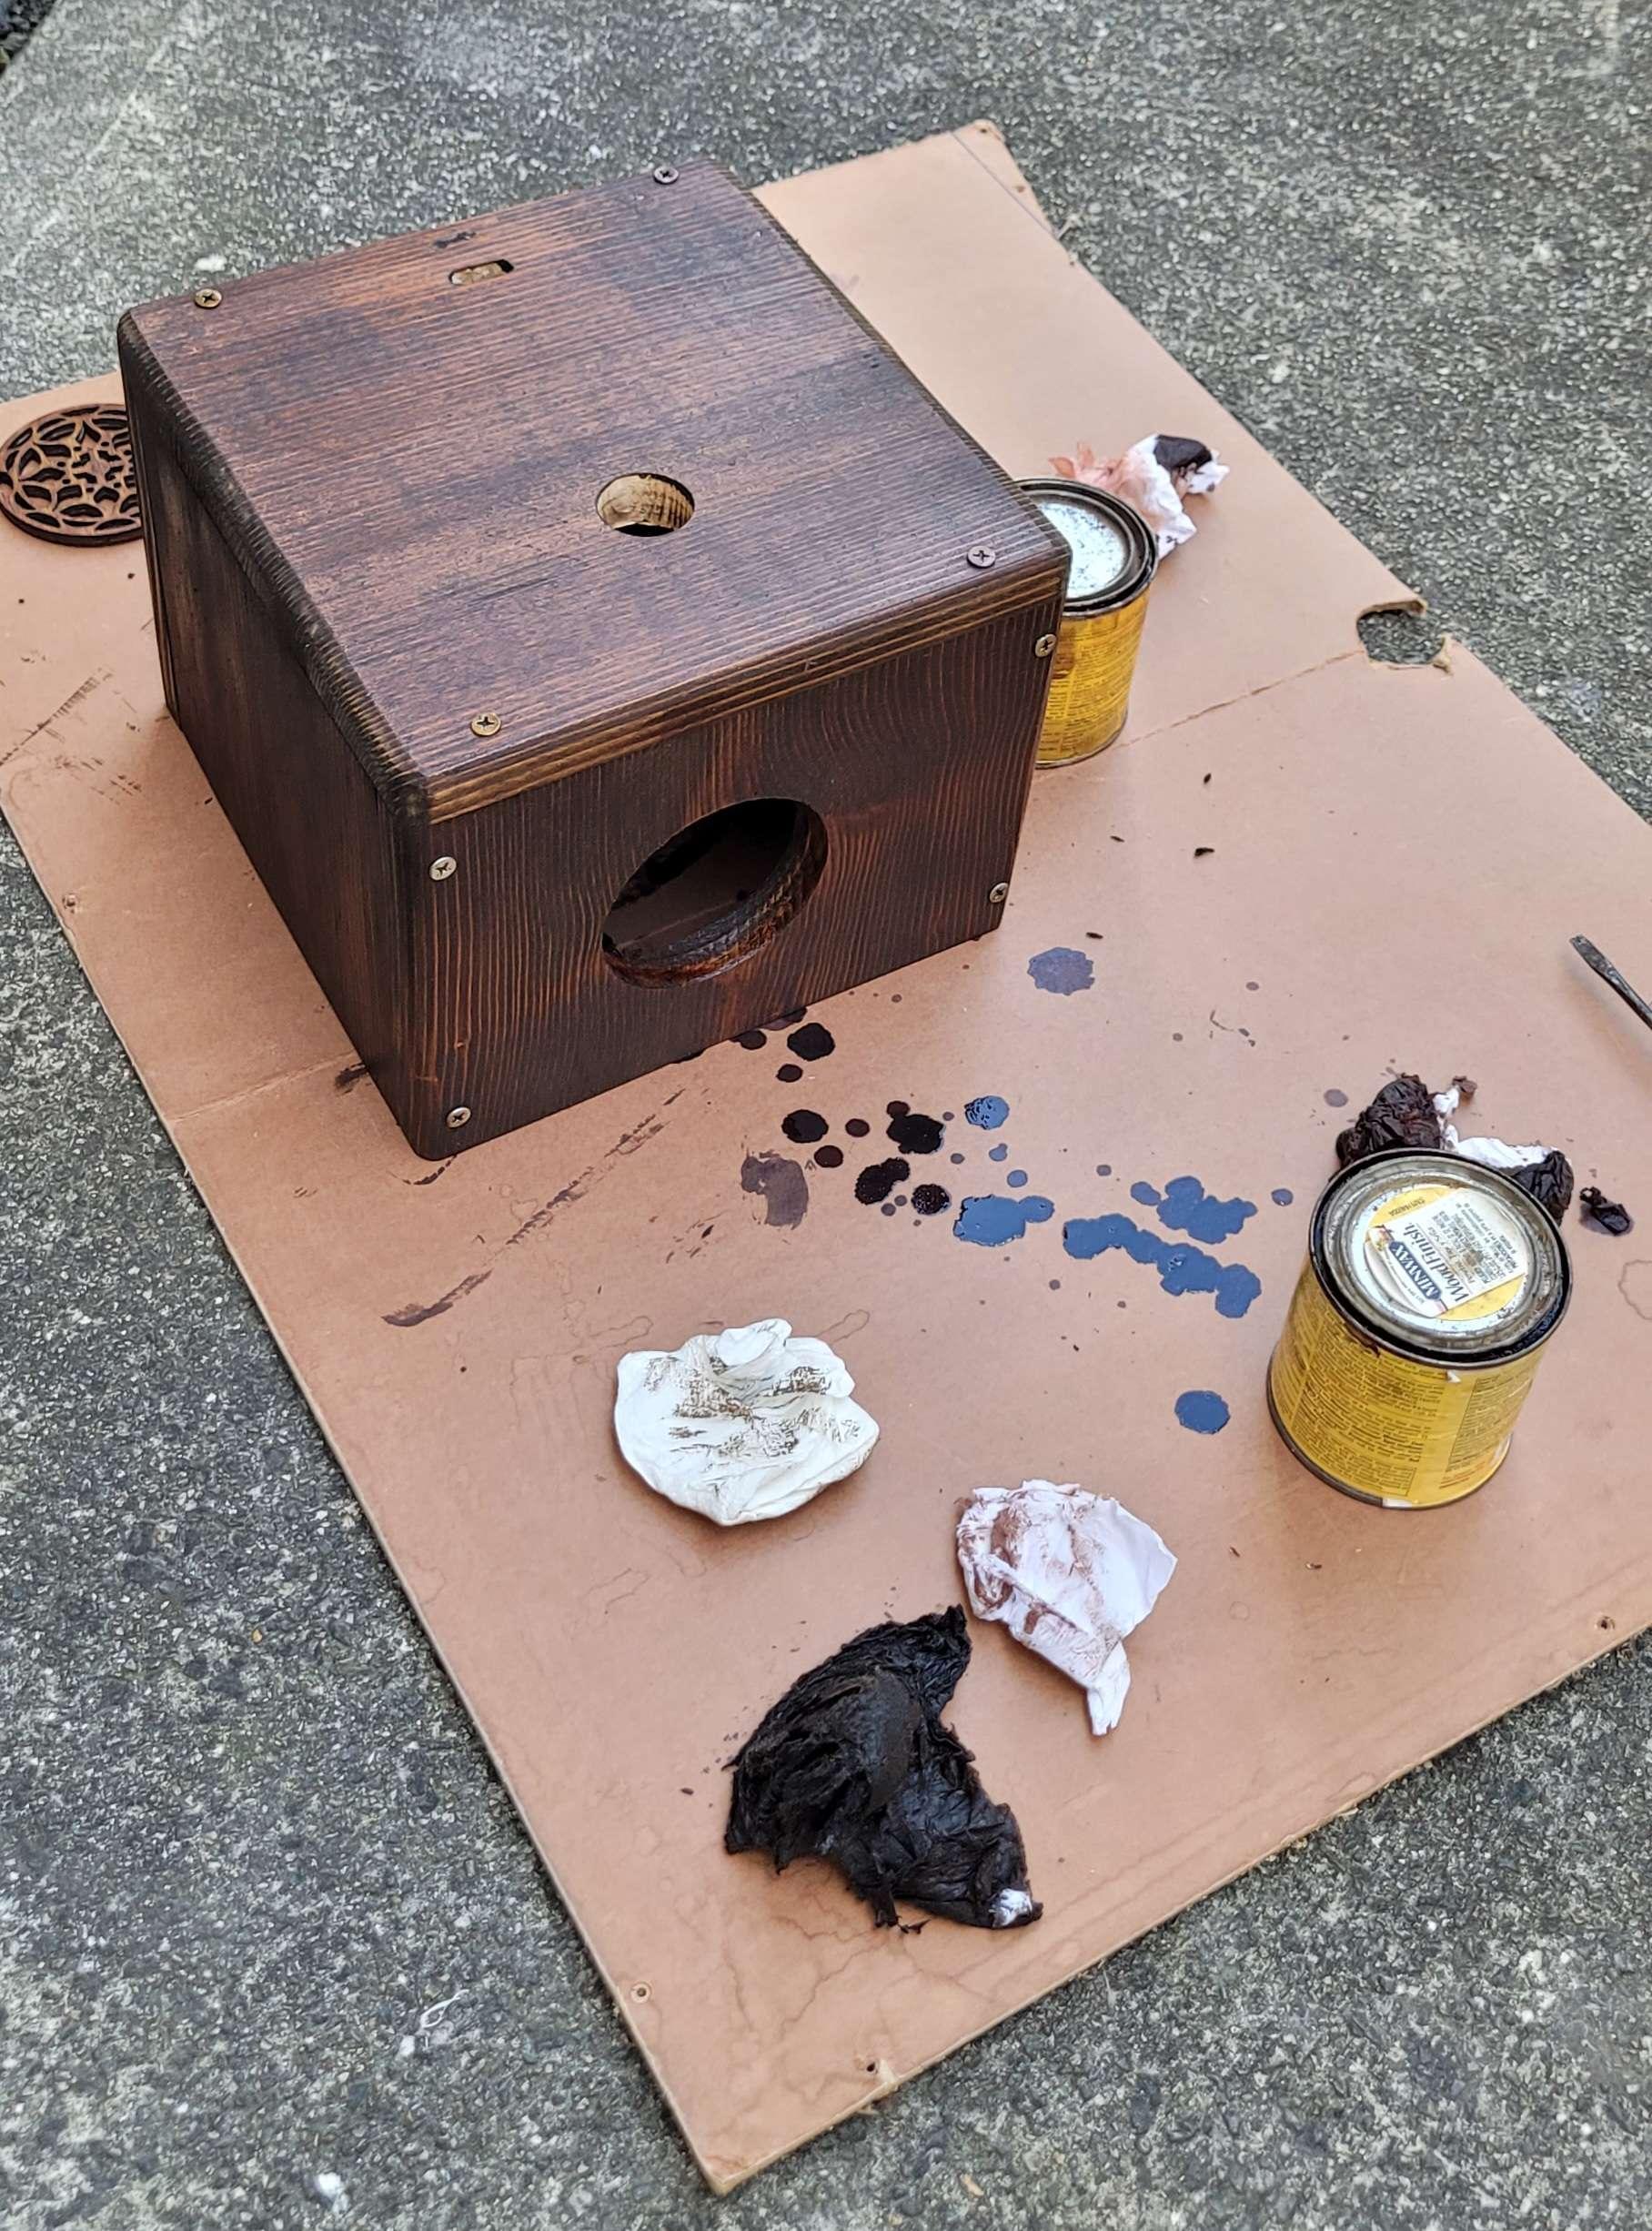
A quick coat of Dark Walnut.
The bottom is really simple, just some extra hinges I had, recessed into the wood enough to have good range of motion. To hold it shut, I drilled a hole and drove a screw in from the left side. After backing it out and driving it in a couple times with the screw gun, it could be done by hand easily.
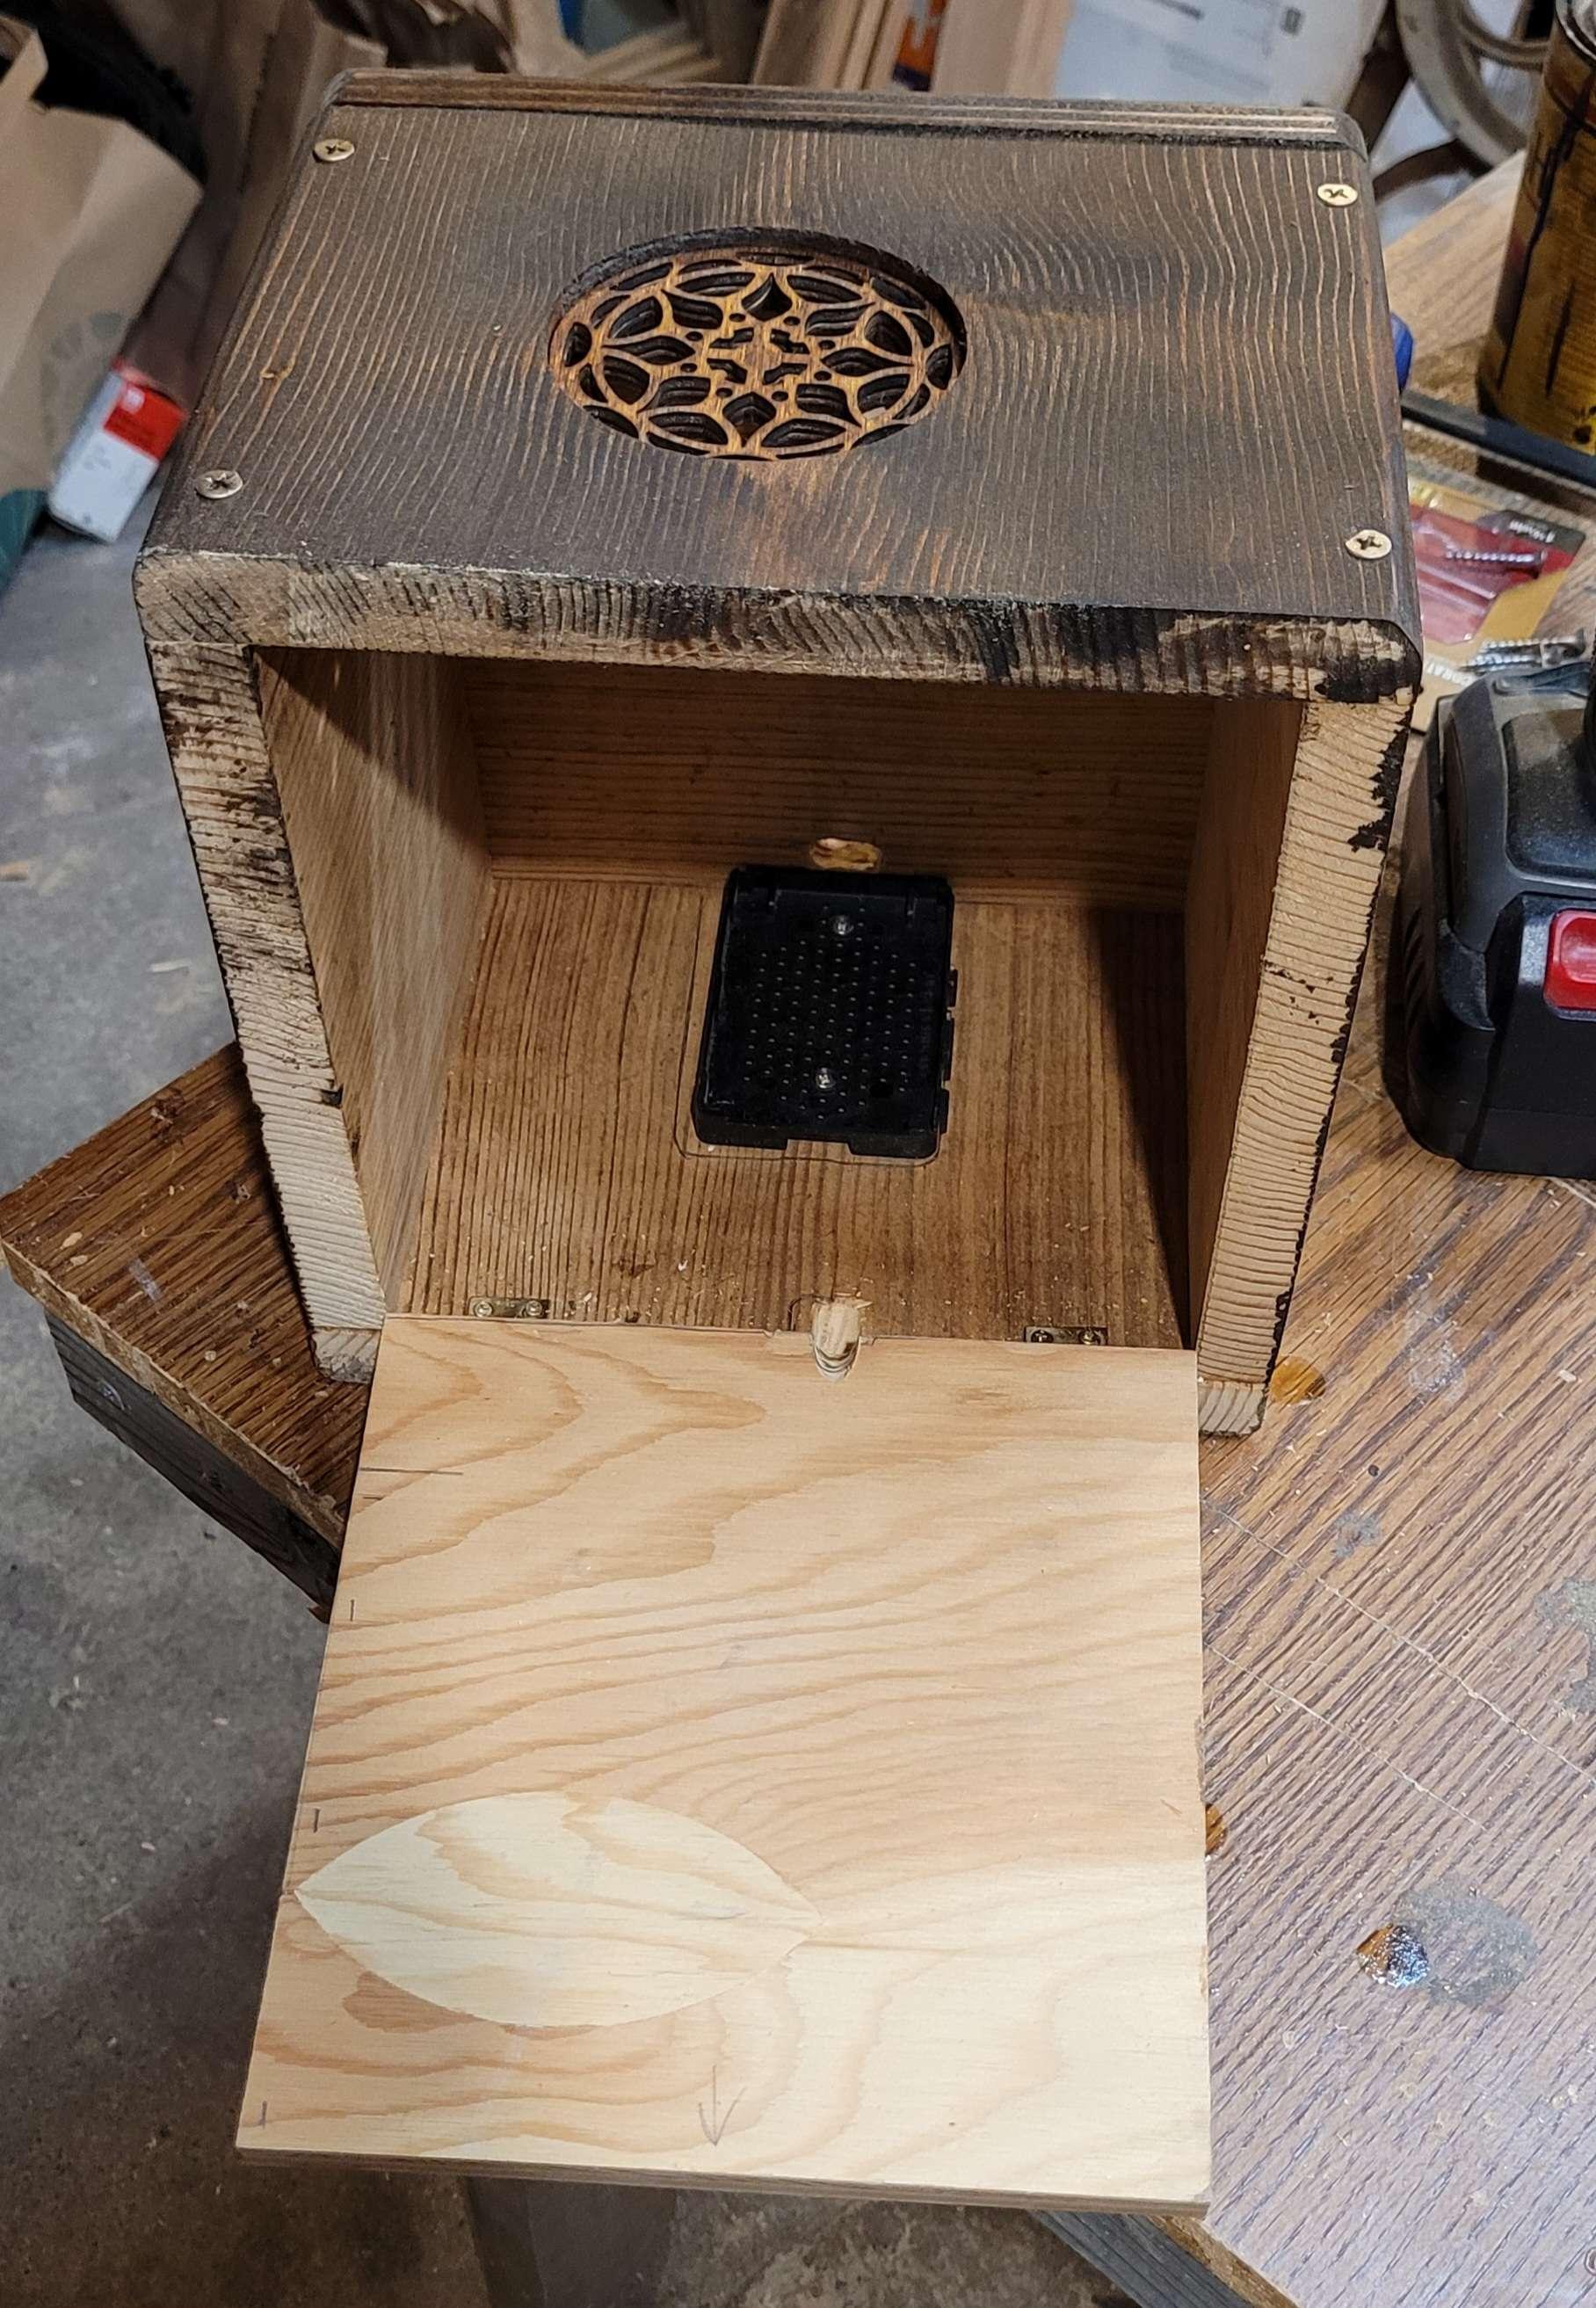
The raspberry pi had this plastic case when I found it in e-waste, I just took it apart and screwed the back of the case to the inside of the bigger wooden case.
The small notch between the door and back plate is for the two-prong extension cord I'm using to power the pi and the speaker.
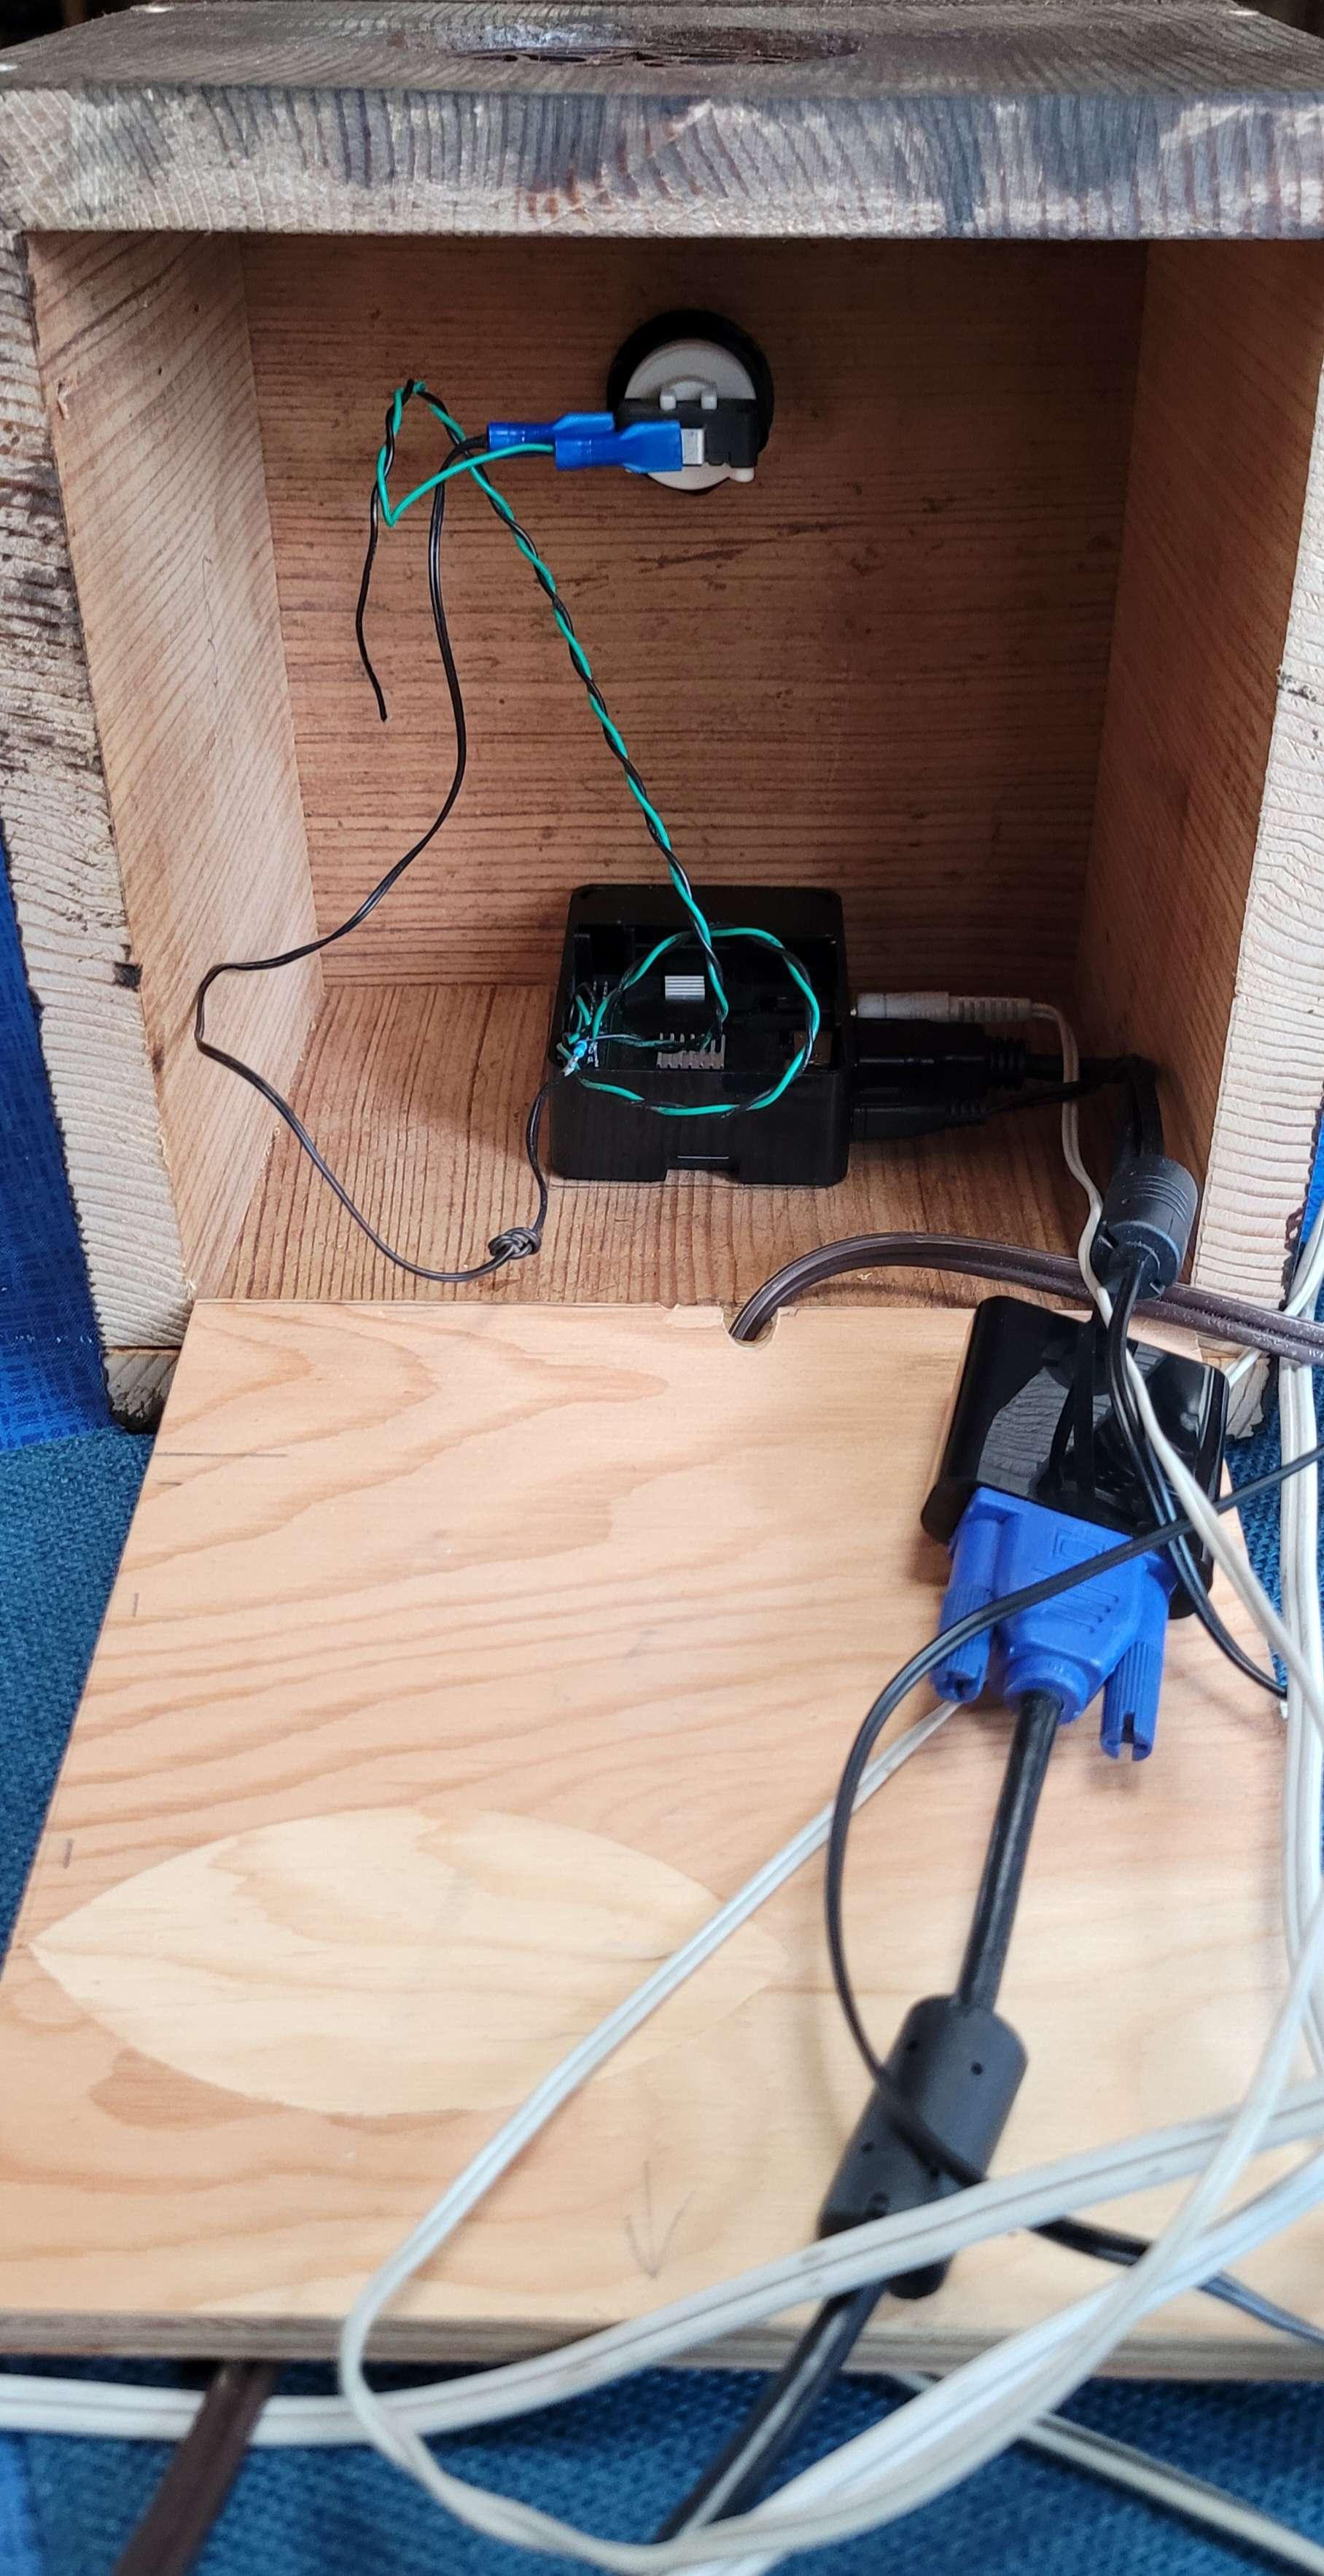
The case during setup, with the button wired up.
The last of the setup was just connecting it to my grandmother’s wifi, packing it all into the case, and making sure it still worked before showing her how to use it.
She liked it, especially the simplicity of the design, but wanted the transcription capability because she wanted to use it to write.
My first attempt was to use spchcat:
Originally I’d planned to follow step 3 of the Pi Spy tutorial but found that DeepSpeech was no longer supported(?) and hadn’t really been made with anything less than a Pi4 in mind (I’m using a 3b). Luckily, a bunch of other speech recognition options are available, and I settled on spchcat mostly because it was the first one I found that fit my use case.
If you’re going to install it on a raspberry pi, I very much recommend their issues page for getting through dependency hell. Especially if you put a 64bit OS on your pi. (Remember to get the :armhf version of whatever library it needs.) Pulseaudio also seems to help.
This is a pretty short post, I mostly just wanted to make my updated code available. It’s… not great. I’m not a programmer by trade, and I’m a strong believer in ‘finished not perfect’ even when I know what I’m doing. It seems to be functional, that’s about all I can promise. Maybe don’t let anyone shout bash commands around it. There’s also still no error catching around the length of the recording, or the transcription, though that at least doesn’t seem to cause any issues when it fails.
This is definitely more of a jumping off point than a proper finished product, but hopefully it’ll be useful to someone who’s trying to make the same thing or something similar. Even if it’s not perfect, maybe it’ll save you from repeating some of the work I’ve done so far.
The updated code is here: https://mega.nz/file/LQlz1BjQ#3R6E9_k1jfmjzFUcBXq_Qi3IGf46iuYtZ95fQlAO-HI
She used it for awhile until a power outage corrupted the SD card. I rebuilt it, this time using a raspberry pi install with a GUI so I could support Team Viewer, per a recommendation here: https://slrpnk.net/post/3586855
In order to run the program from startup in the desktop environment, I had to skip crontab and take advice from the last post on this thread to edit /etc/xdg/lxsession/LXDE-pi/autostart to include @/usr/bin/python3 /home/audio/sound_recorder_good.py
This time I skipped spchcat altogether and went back to my older code, and redirected the email to point to another relative. I bought them a nice program for transcribing audio, and helped install it on their desktop.