

-
 chevron_right
Bookbinding Continued: Trying Canvas Softcovers
JacobCoffinMakes • 22 July 2024 • 3 minutes
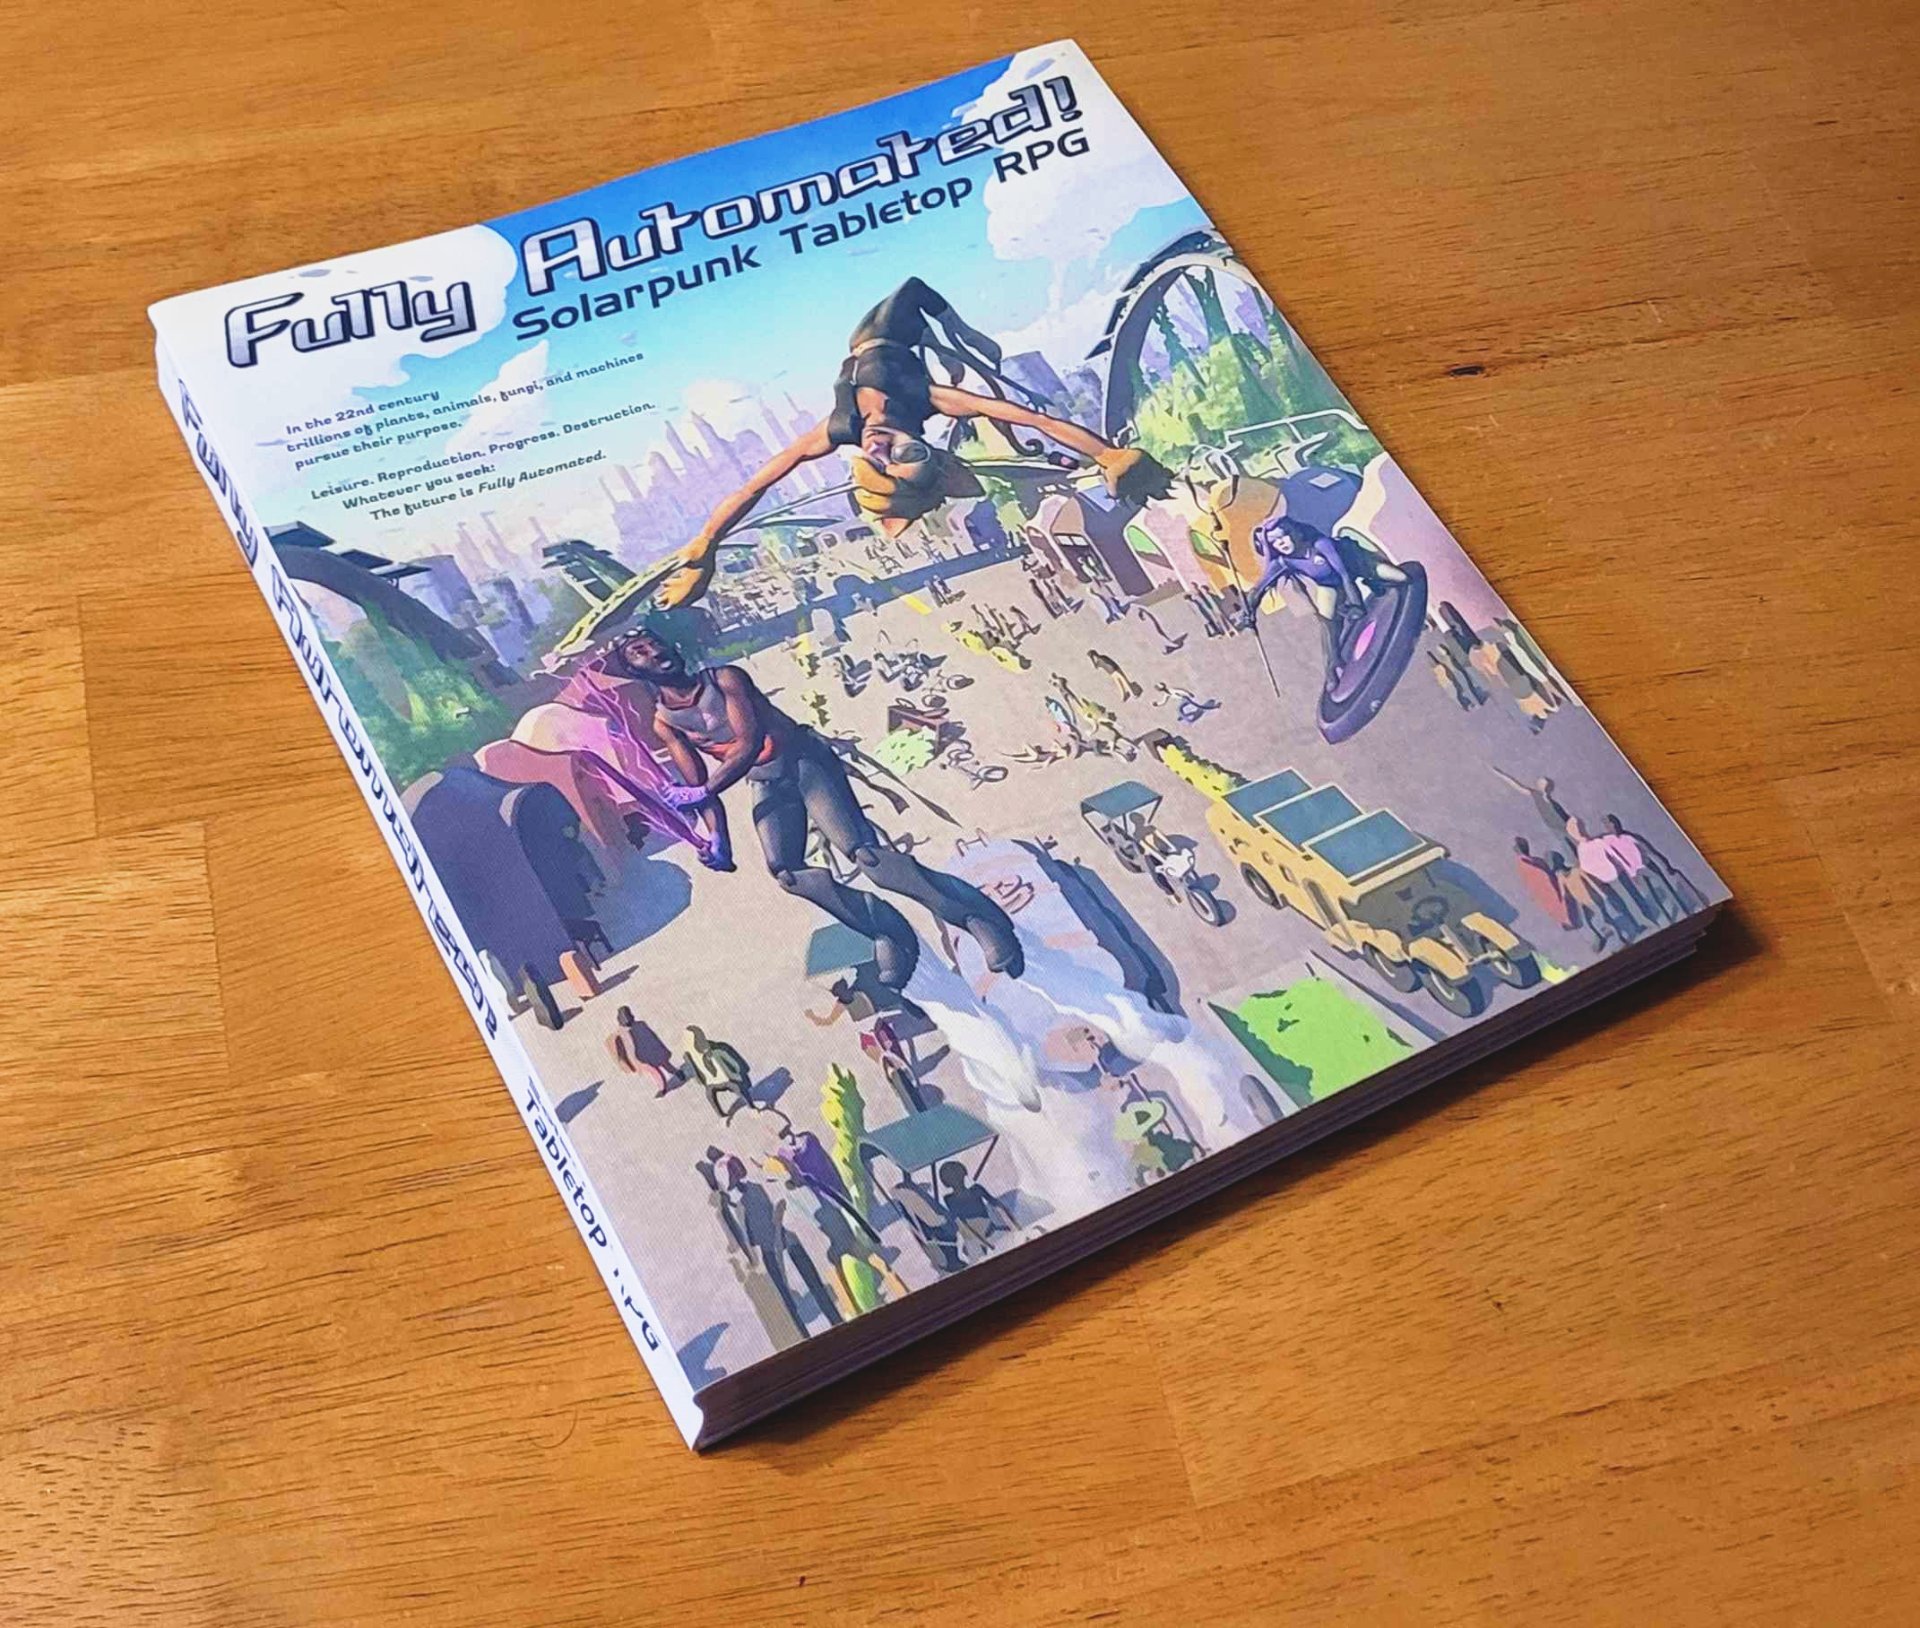
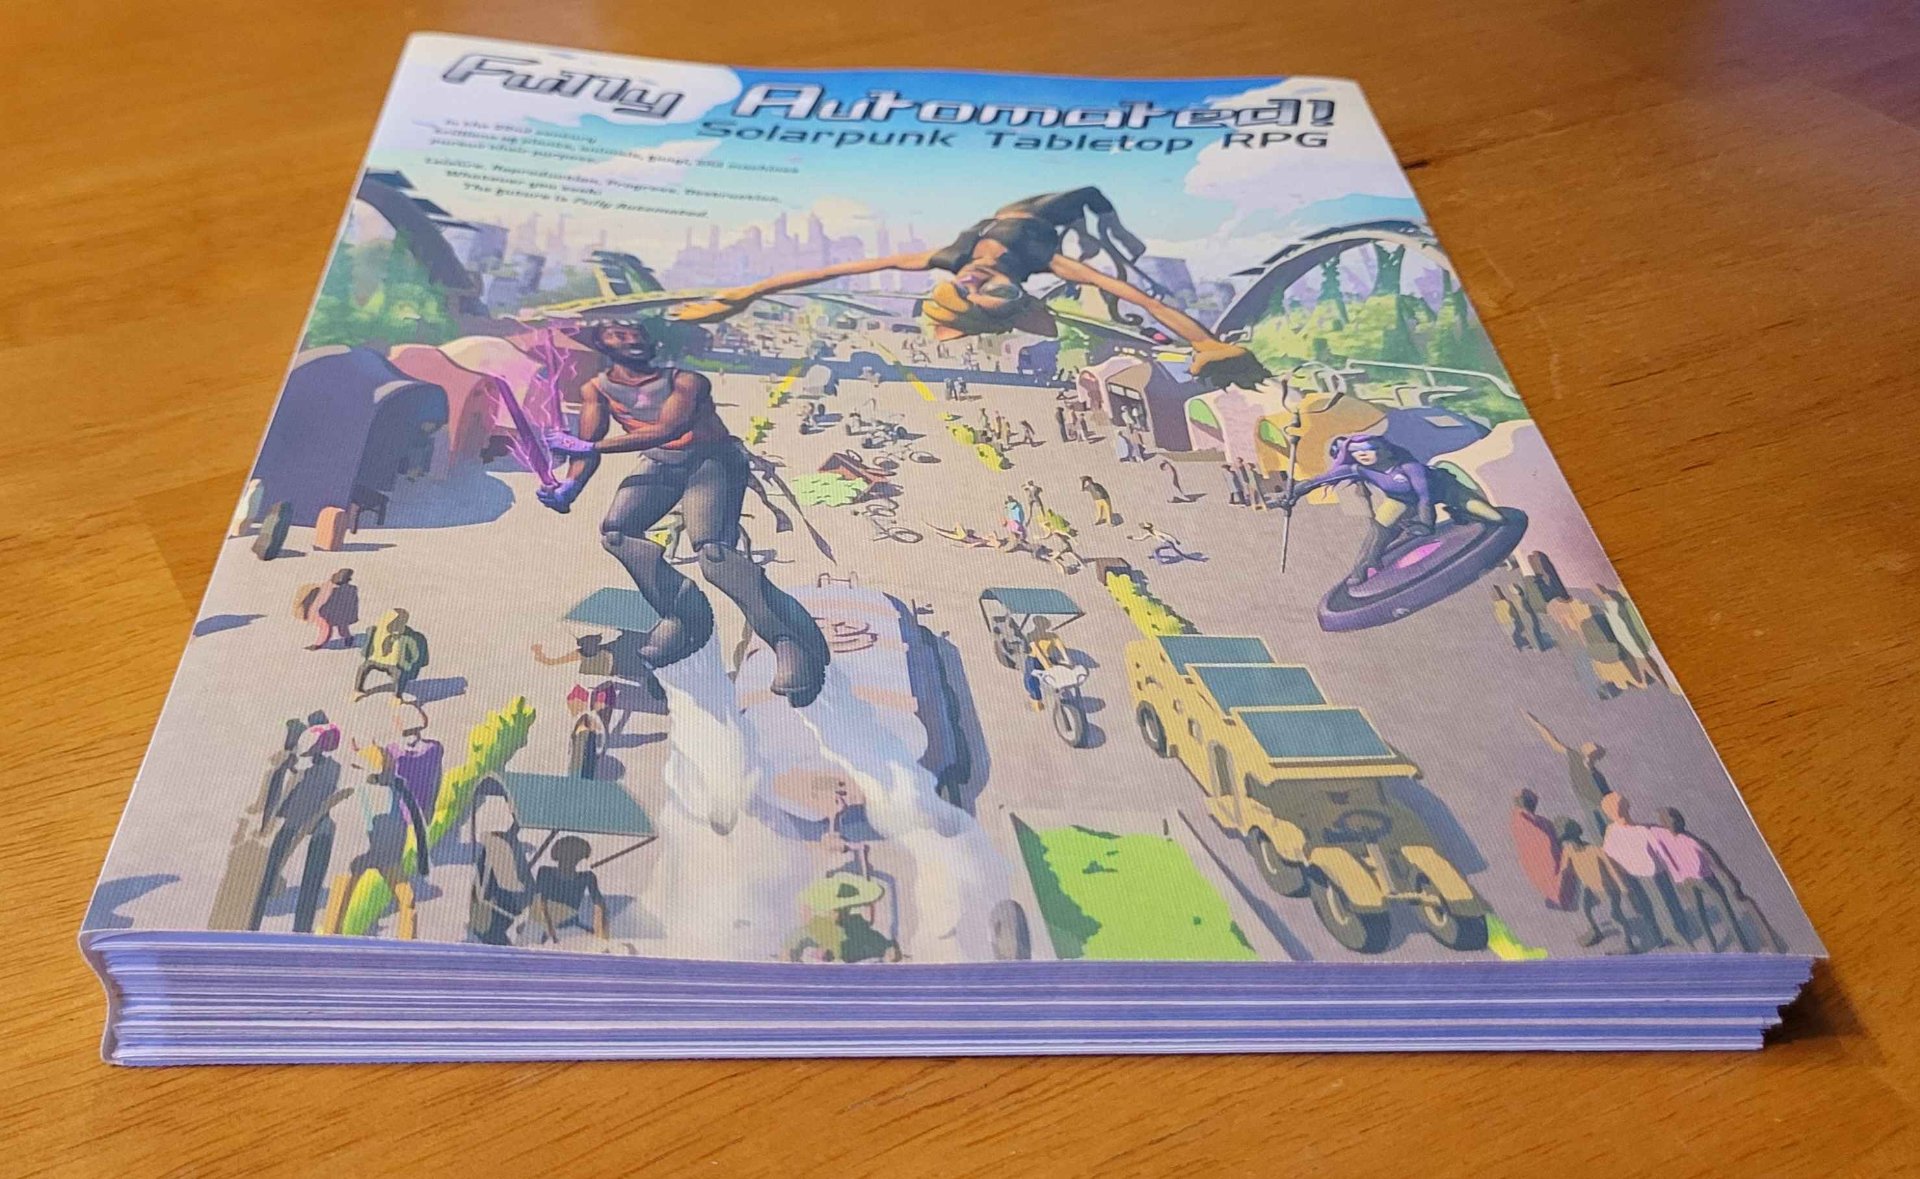
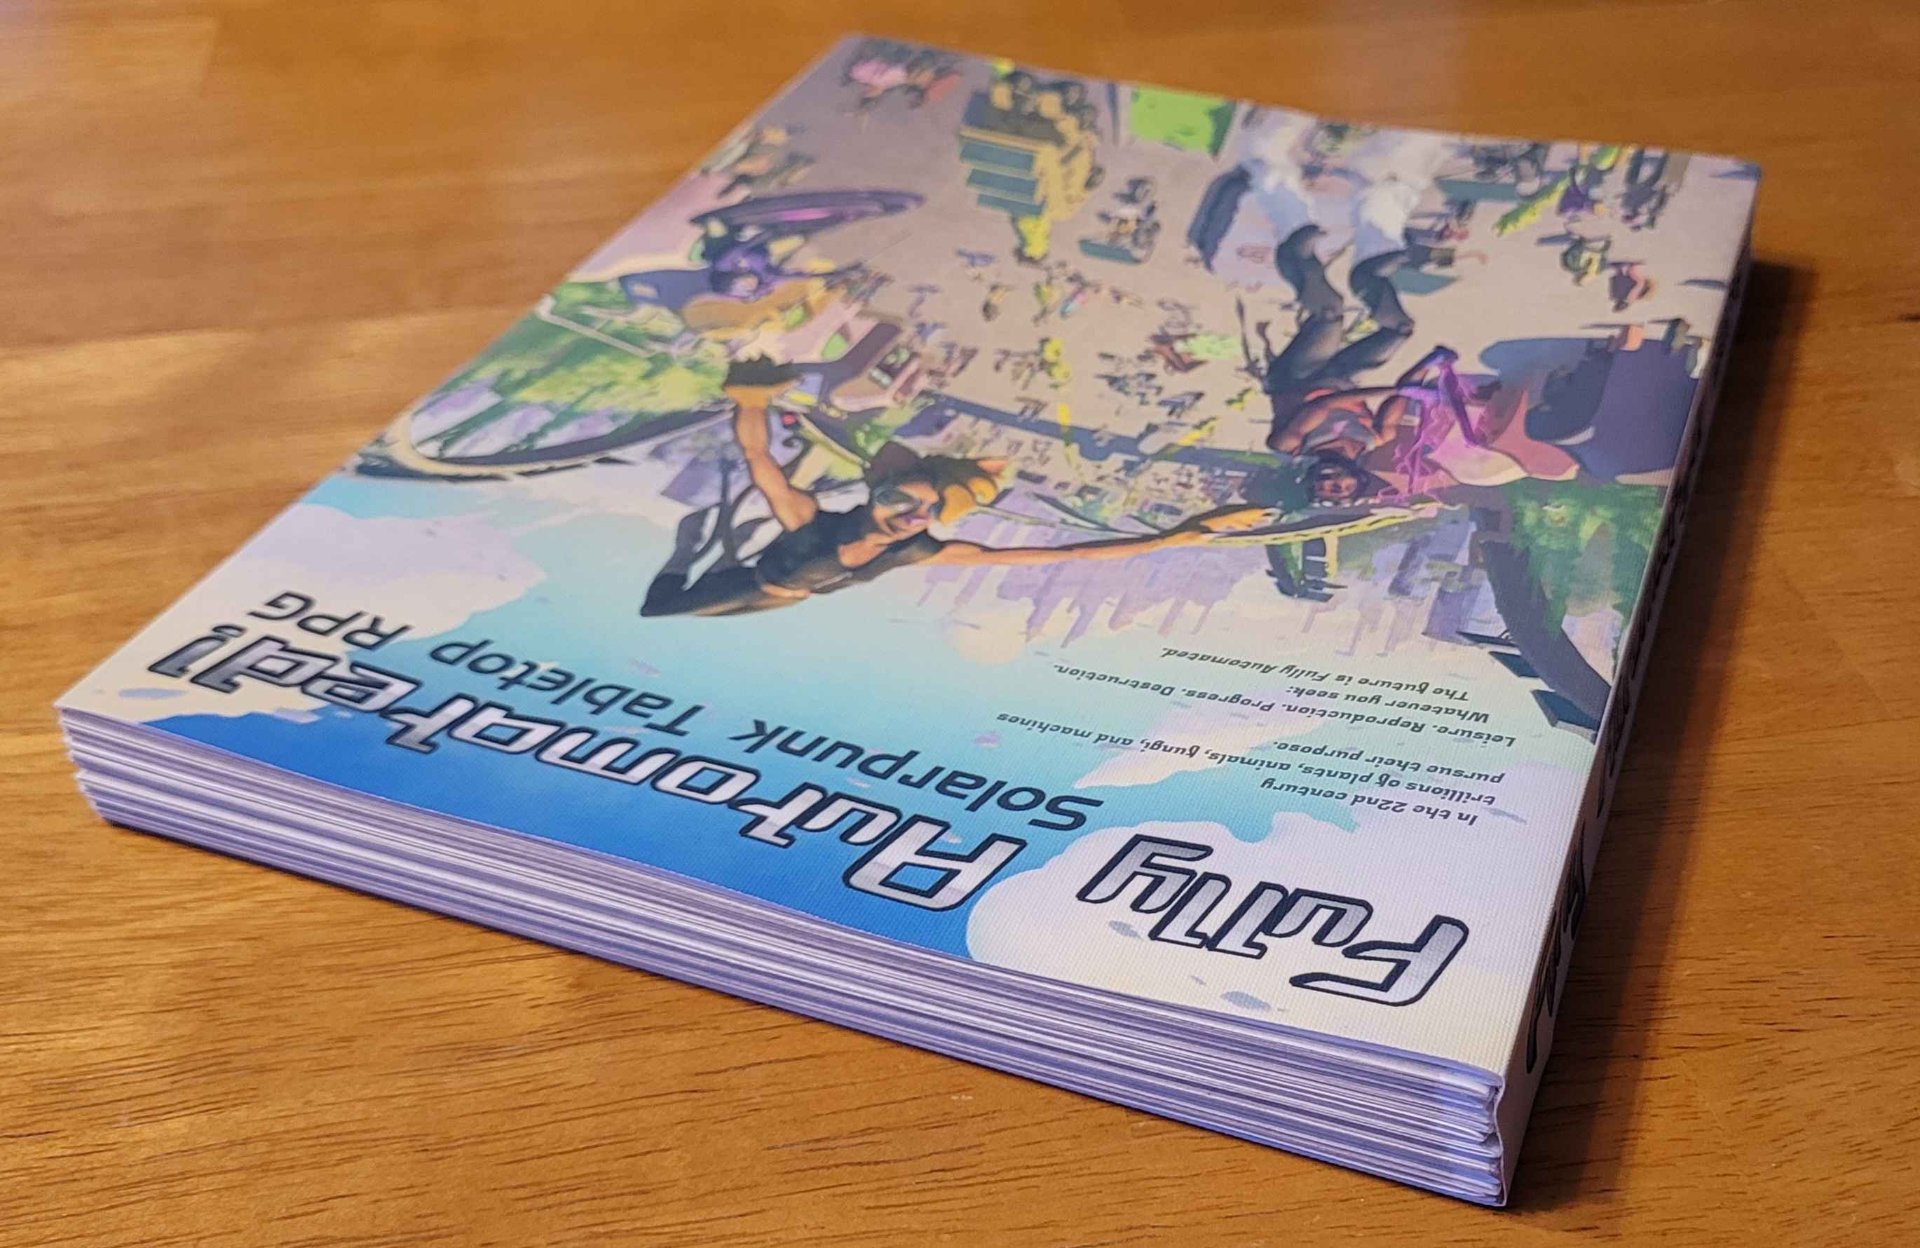
Hardcovers are cool, but I actually prefer paperback books for regular use, so the next few copies of the Fully Automated! rulebook I made were softcovers, with the canvas cloth (printed on with a plotter printer) for their covers. Since I documented the hardcovers, I thought I'd write up the process for binding the softcovers too.
The first steps are all the same, because I was following the same Penrose Press Pretty Perfect Paperback guide. This meant I was still printing, trimming, folding, sewing, and gluing a book block with folded signatures.
I used the same interposed PDF I made using this site. There's no way I could keep track of the page order on my own. But this time we found a different print setting that scaled the pages down a little, but lined them up better on the paper so I didn't have to remove as much from where they didn't overlap. I liked this, along with the slightly smaller page size. The interposed files are available on the FA! website, in case you want to make your own copy.
I ended up printing two sets of pages on 11x17" tabloid paper, which was a good fit for the 8.5x11 pdf pages. I'm a bit jealous of the A-series paper sizes now that I've worked on another, smaller paperback, and found that the aspect ratio changes every time you fold these sheets.
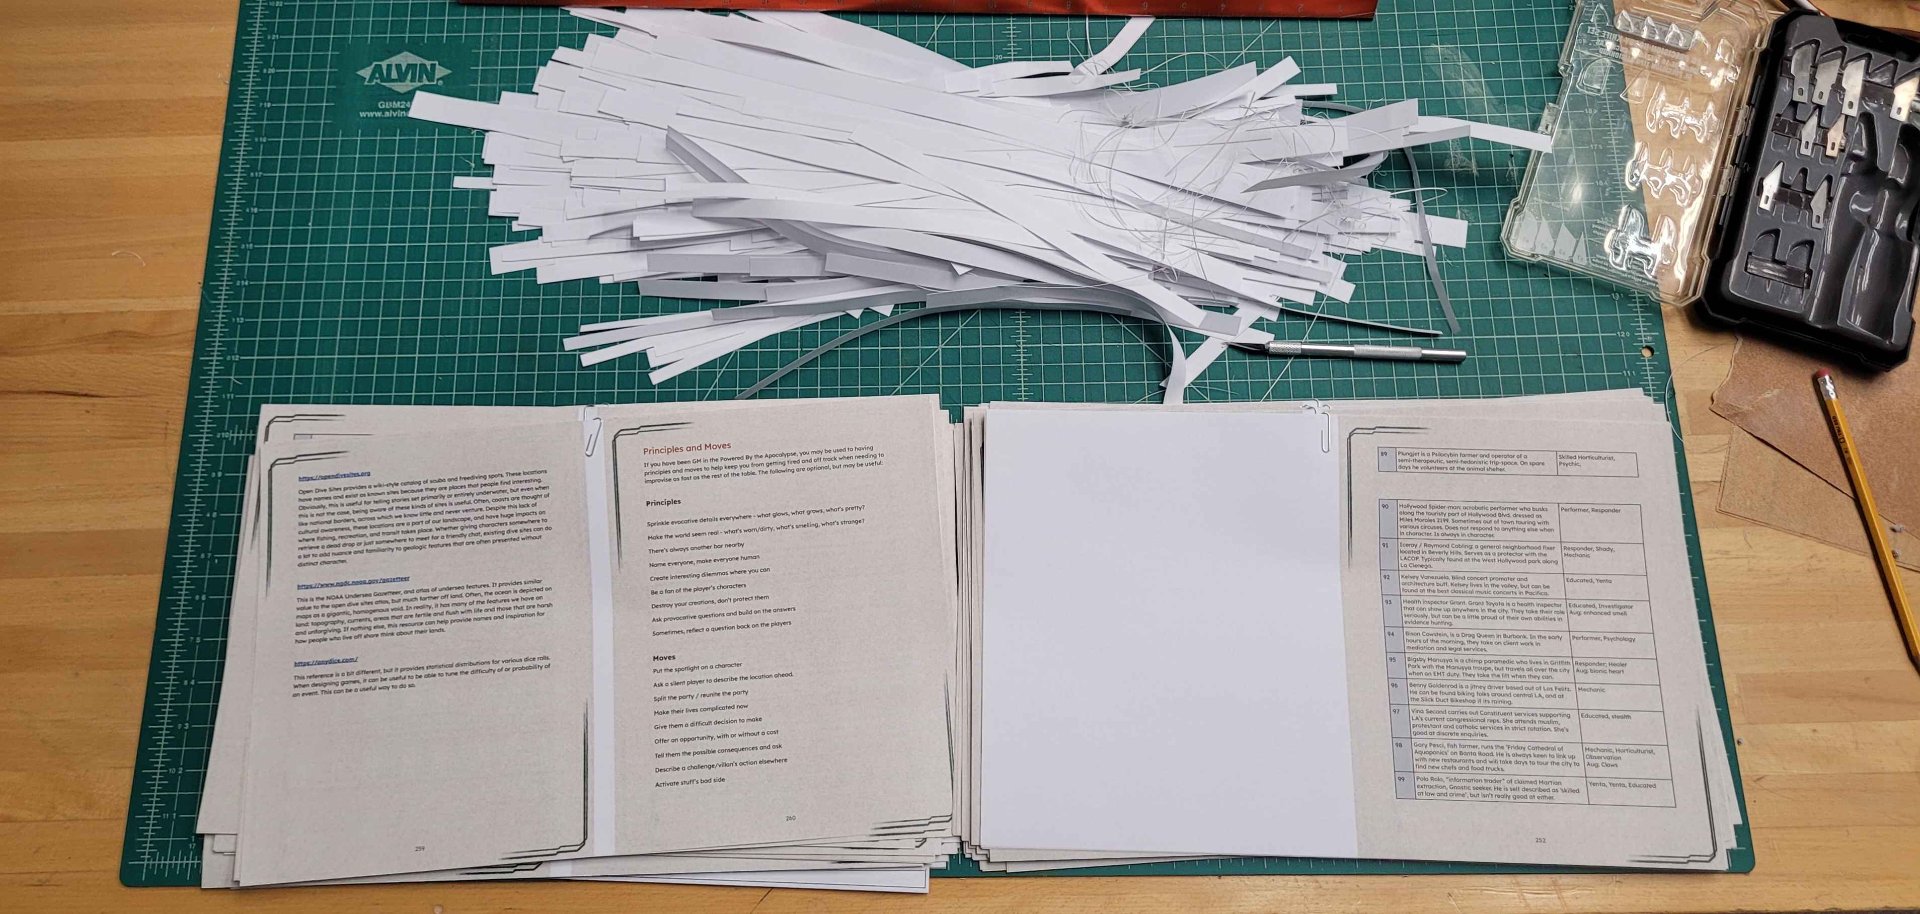
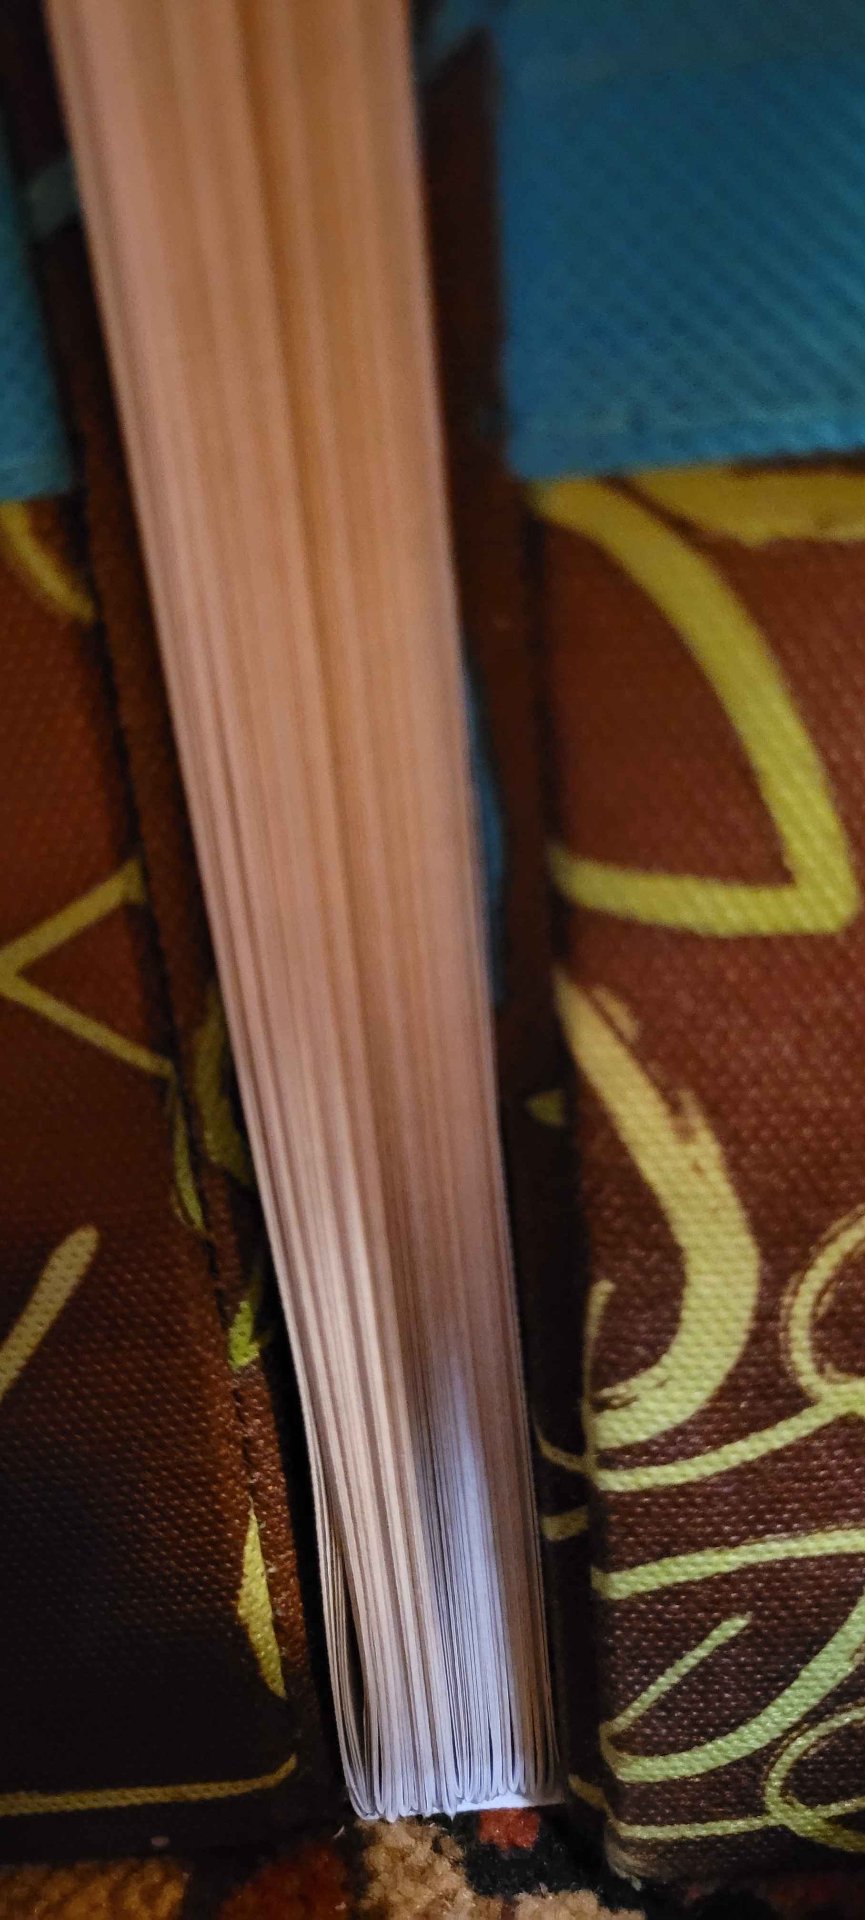
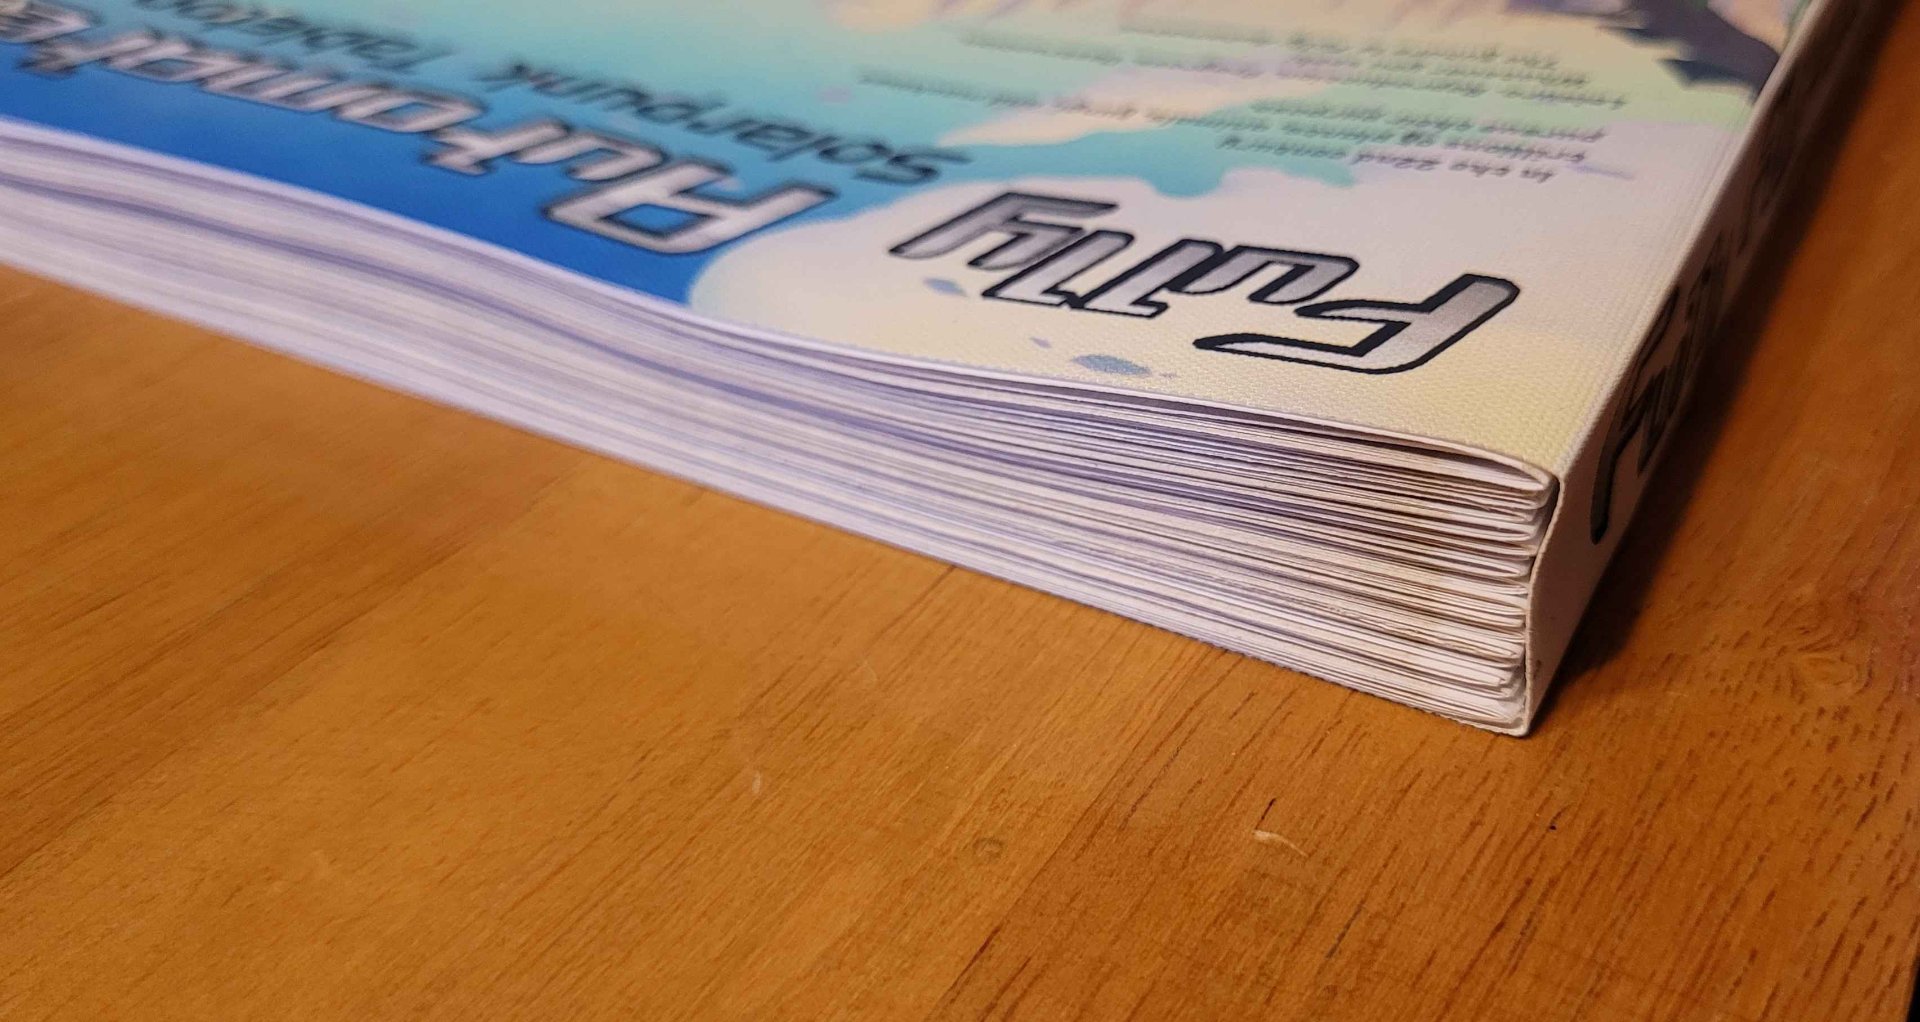
There are 266 pages in the rulebook. 4 pages fit on each sheet, but each sheet needs at least 4 cuts, more if I mess up, plus endpapers. So each stack took at least 270 cuts to trim. Paperbacks without backgrounds are a little easier, but if you have access to free color printing...
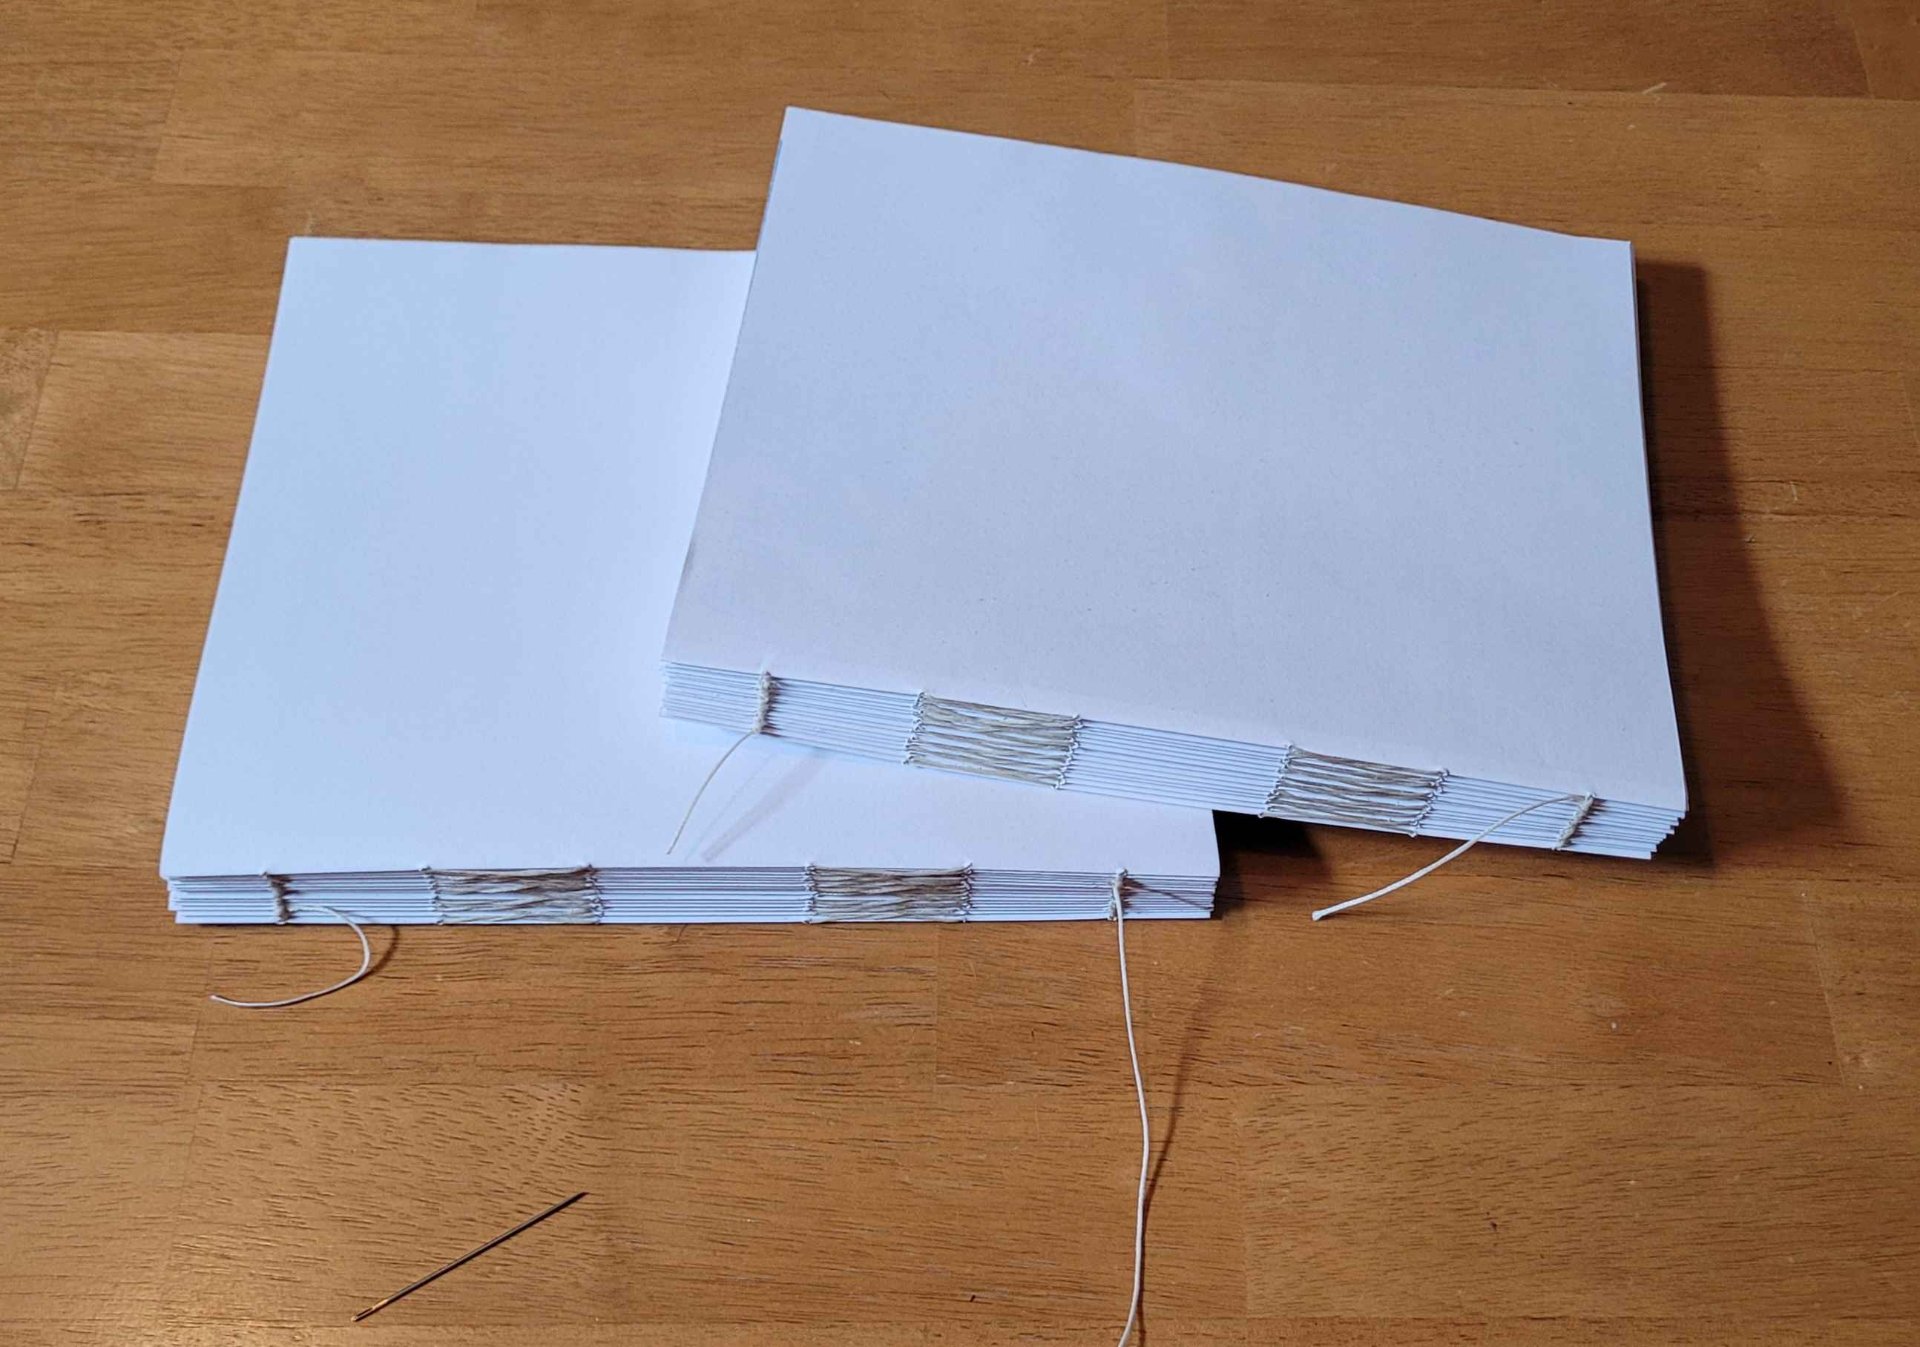
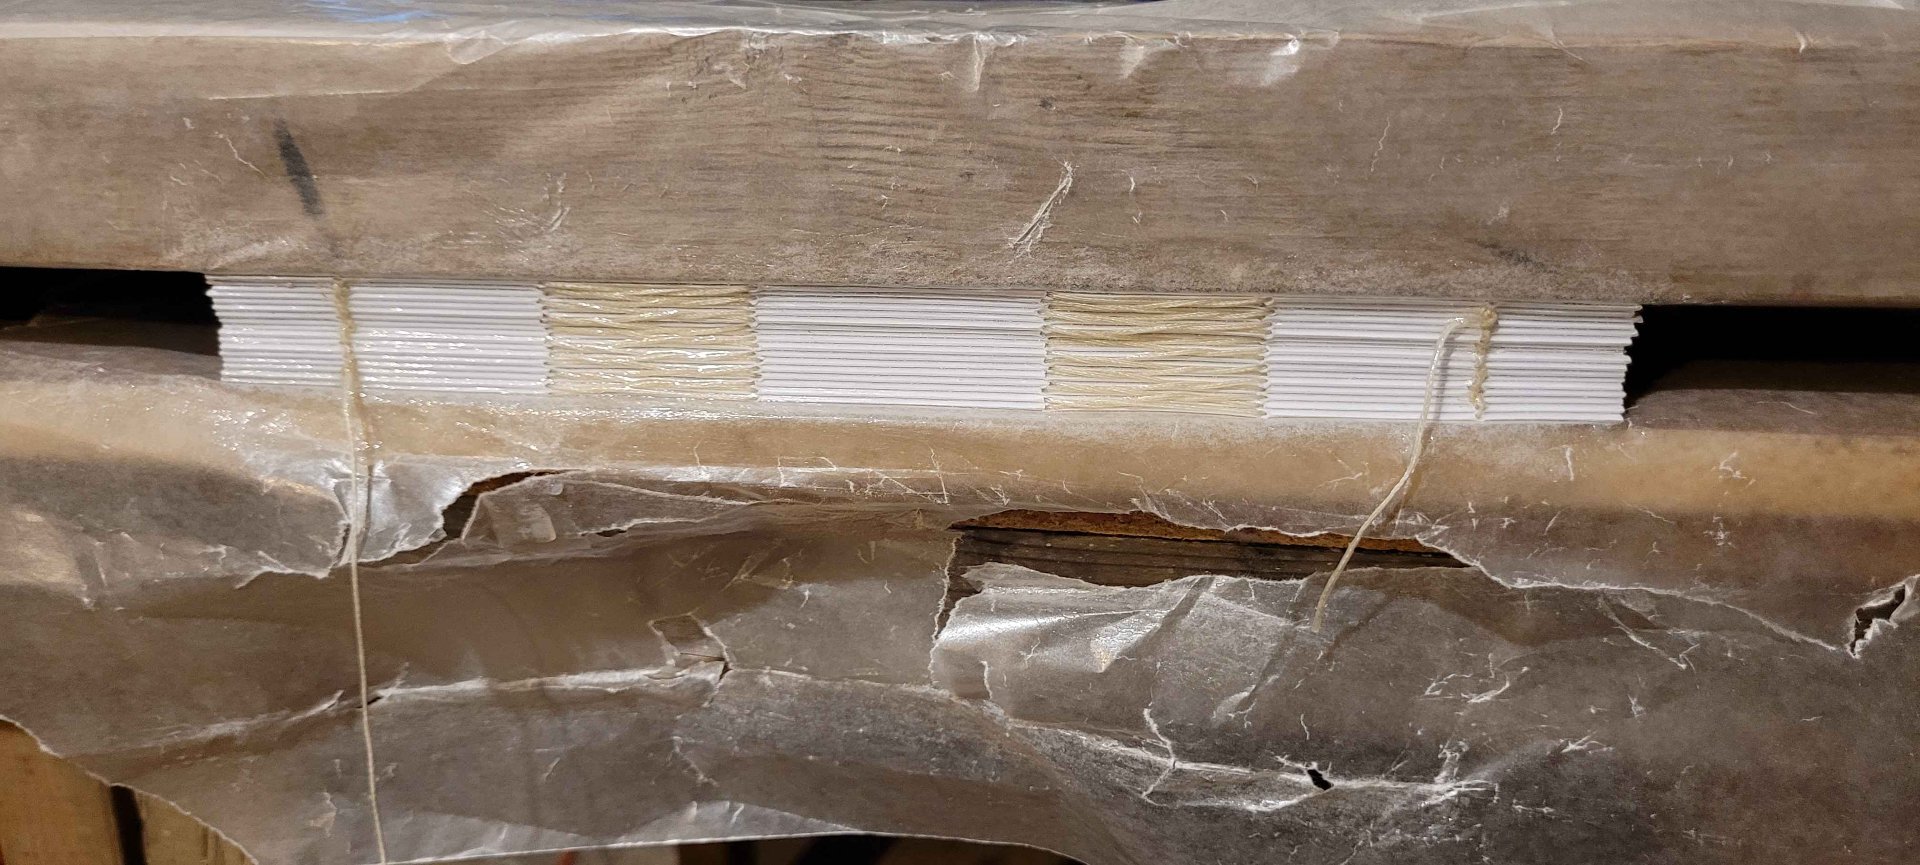
As with the hardcover, I folded each page with the bone folder, nested them together in their signatures, punched holes through the fold with the awl, and when I had all the signatures done, I sewed them together:
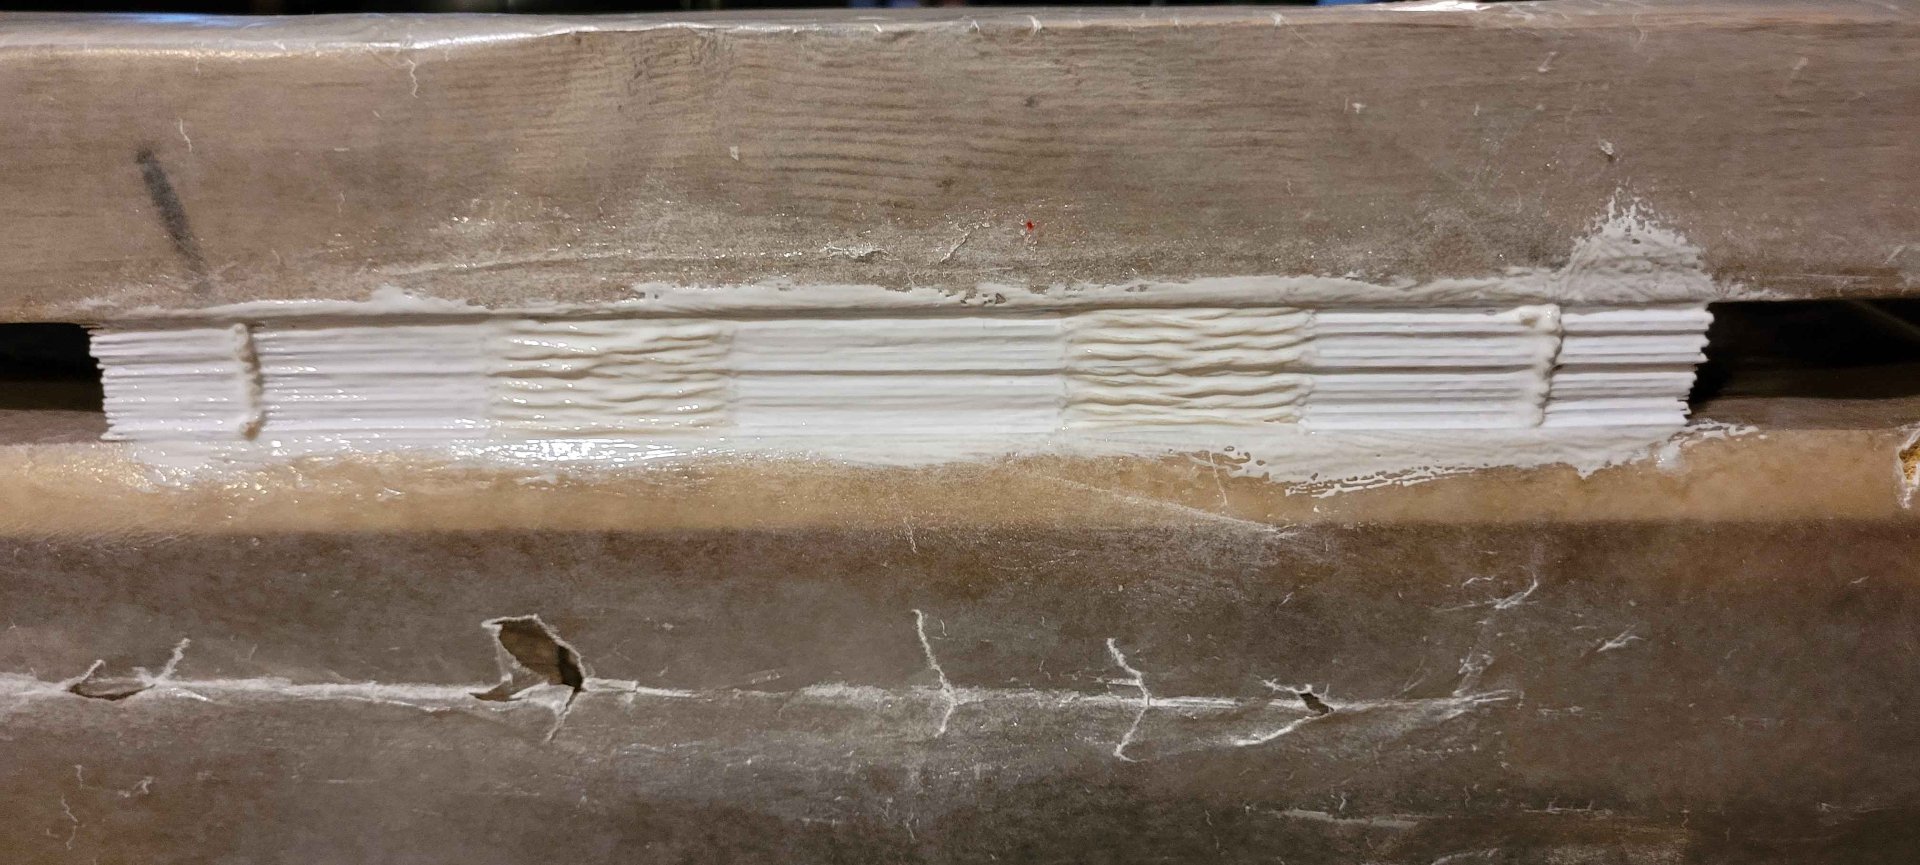
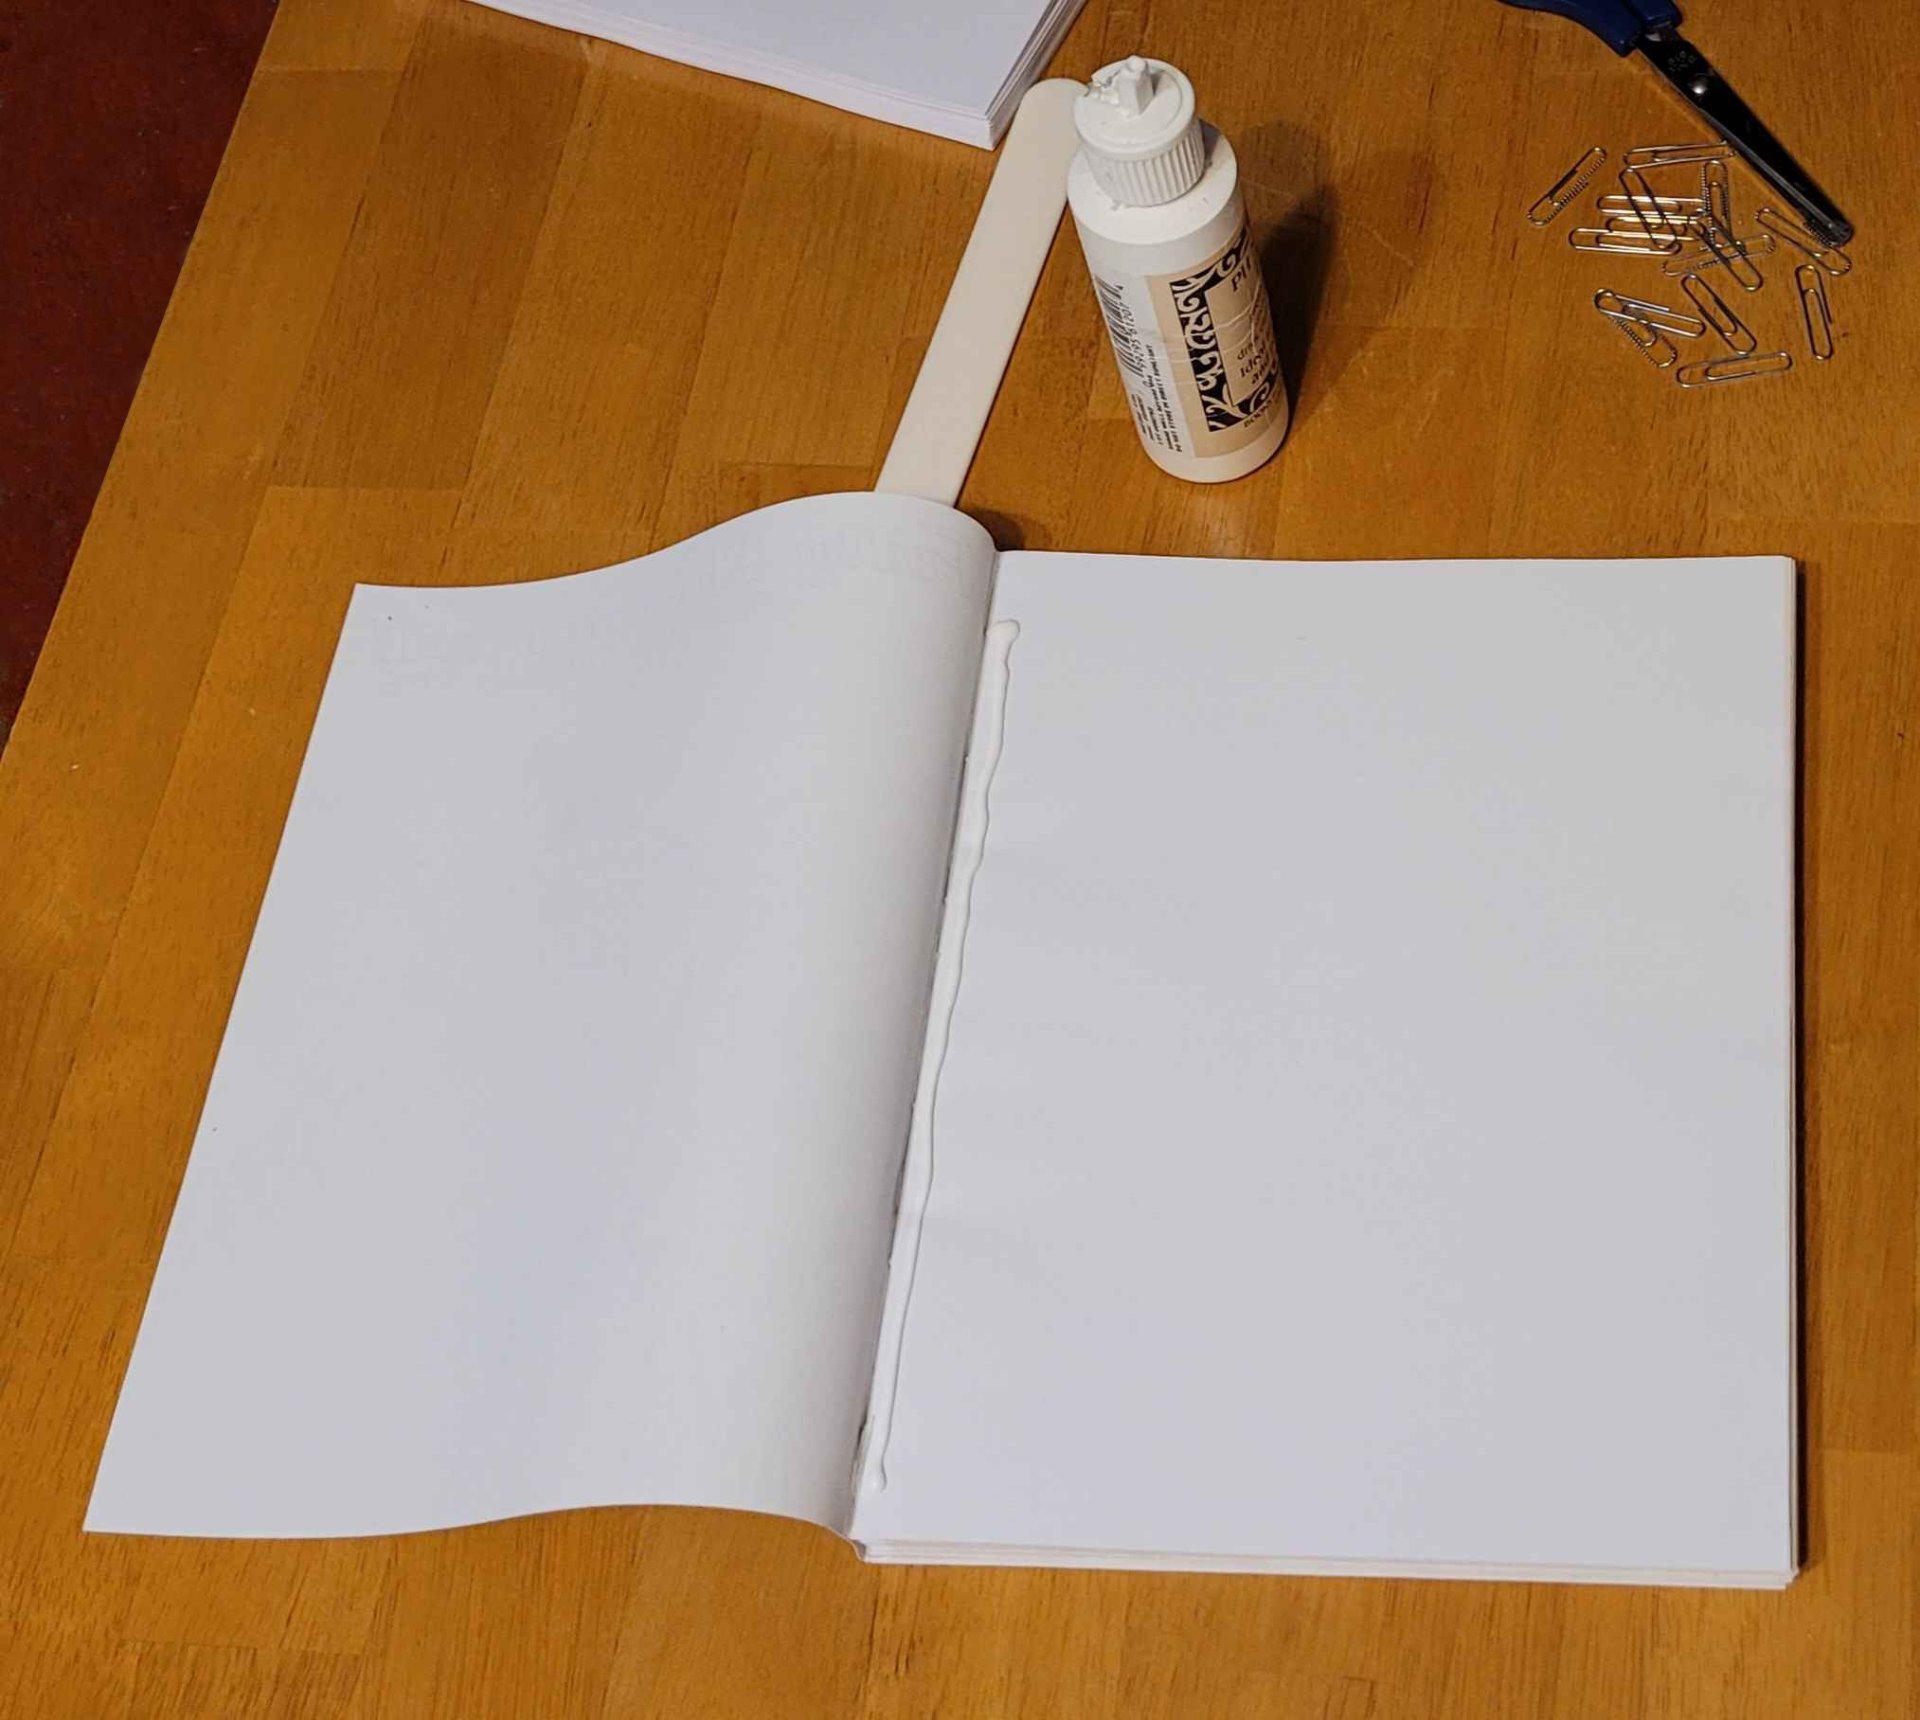
Then I clamped the book block into my crude book clamp and painted on three coats of glue:
This time we skip the mull/cheesecloth, and watercolor paper, and go right to the cover. We also don't have to take the time to fabricate the cover since it's just cut out from the printed canvas.
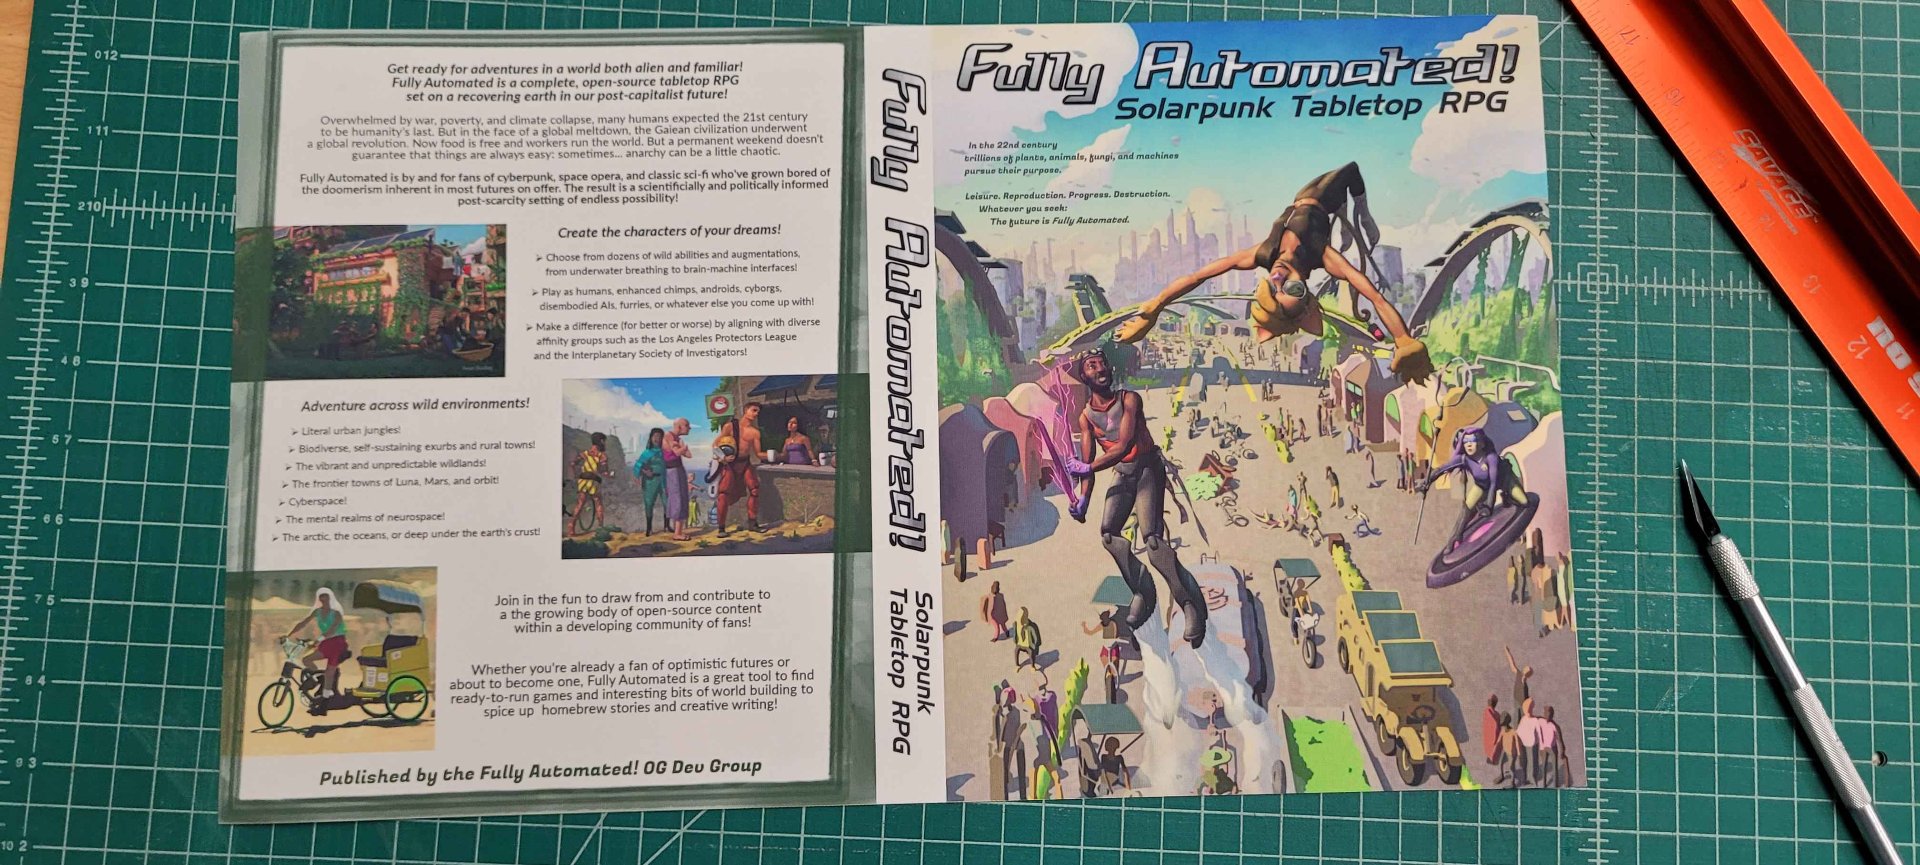
All done. Though I did take some time to carefully fold the corners with the bone folder. I also made sure to keep a piece of scrap paper between the canvas and the bone folder so it didn't polish up that edge and make it shiny.
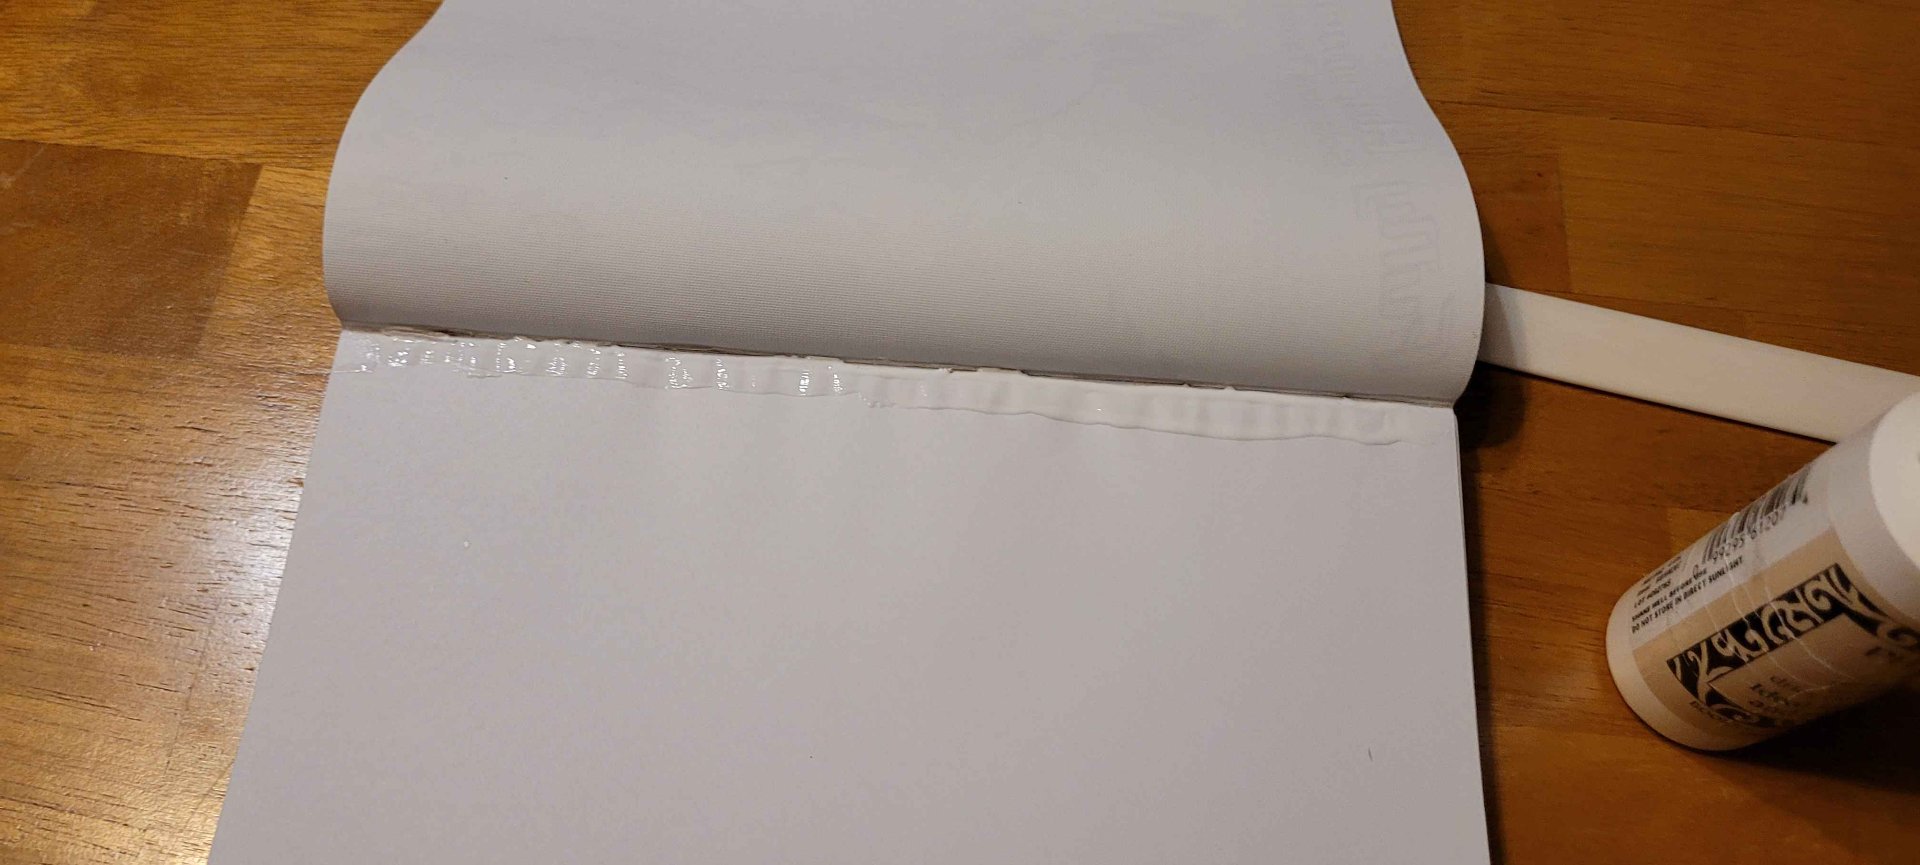
I found it easiest to attach the cover in three steps, back, spine, front, but I'm sure real bookbinders have better systems. That said, my next step was to put a flat smear of glue down the inside of the back cover, right beside the bound edge and to set the book block down on it.
Once that was dry, I got a good layer of glue on the inside of the spine:
I also smeared some on to the spine of the book block to help them find each other.
The spine is kinda funny shaped - the threads stick out a bit, leaving spots that might not get good contact. Sometimes the spine bows out in the middle a little. I needed the spine to have good contact with the cover while it dried, and my answer to this was to set it up on end, on a fluffy carpet, which generally pushed the cover up into those recesses pretty nicely.
If that picture isn't clear, the book is on end between two boxes, so the spine is on the carpet. Ideally you don't want to glue the book to the carpet.
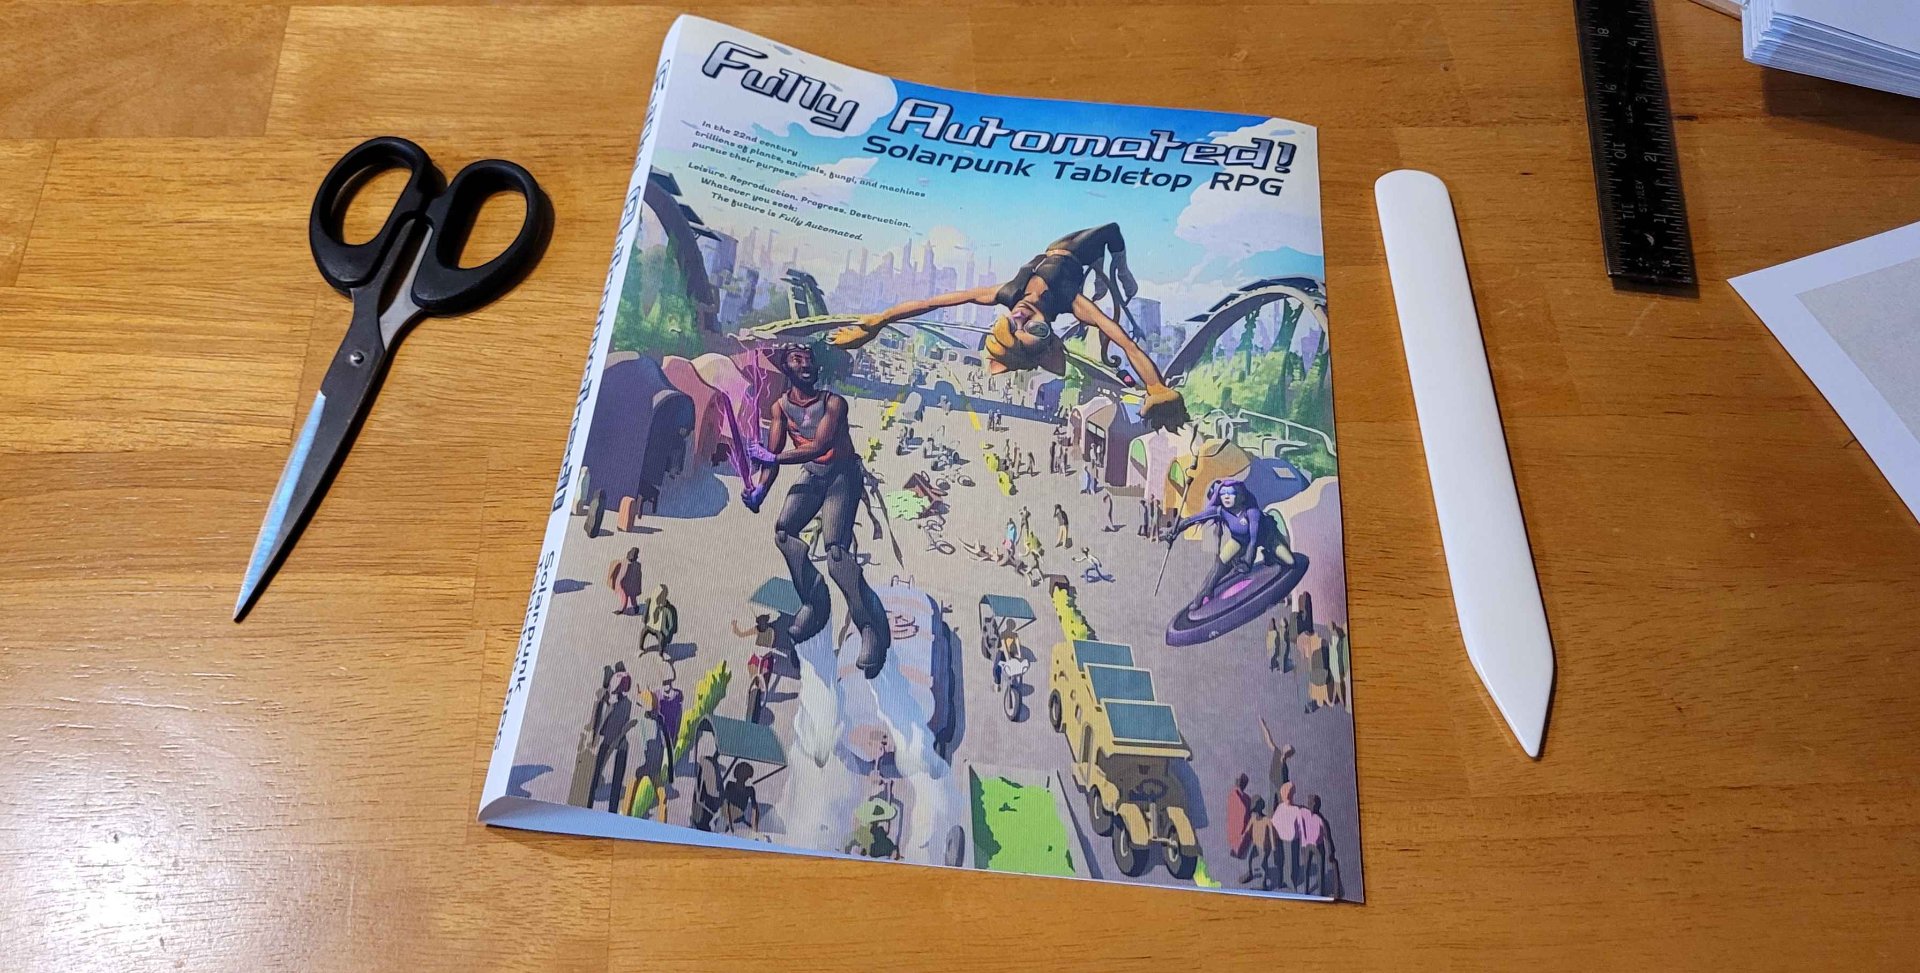
Then I glued the cover to the front of the book block:
Be sure to work fast so it doesn't wrinkle like this. I don't usually stop to take photos when I'm staining, urethaning, or gluing stuff, but that gets the gist of it anyways.
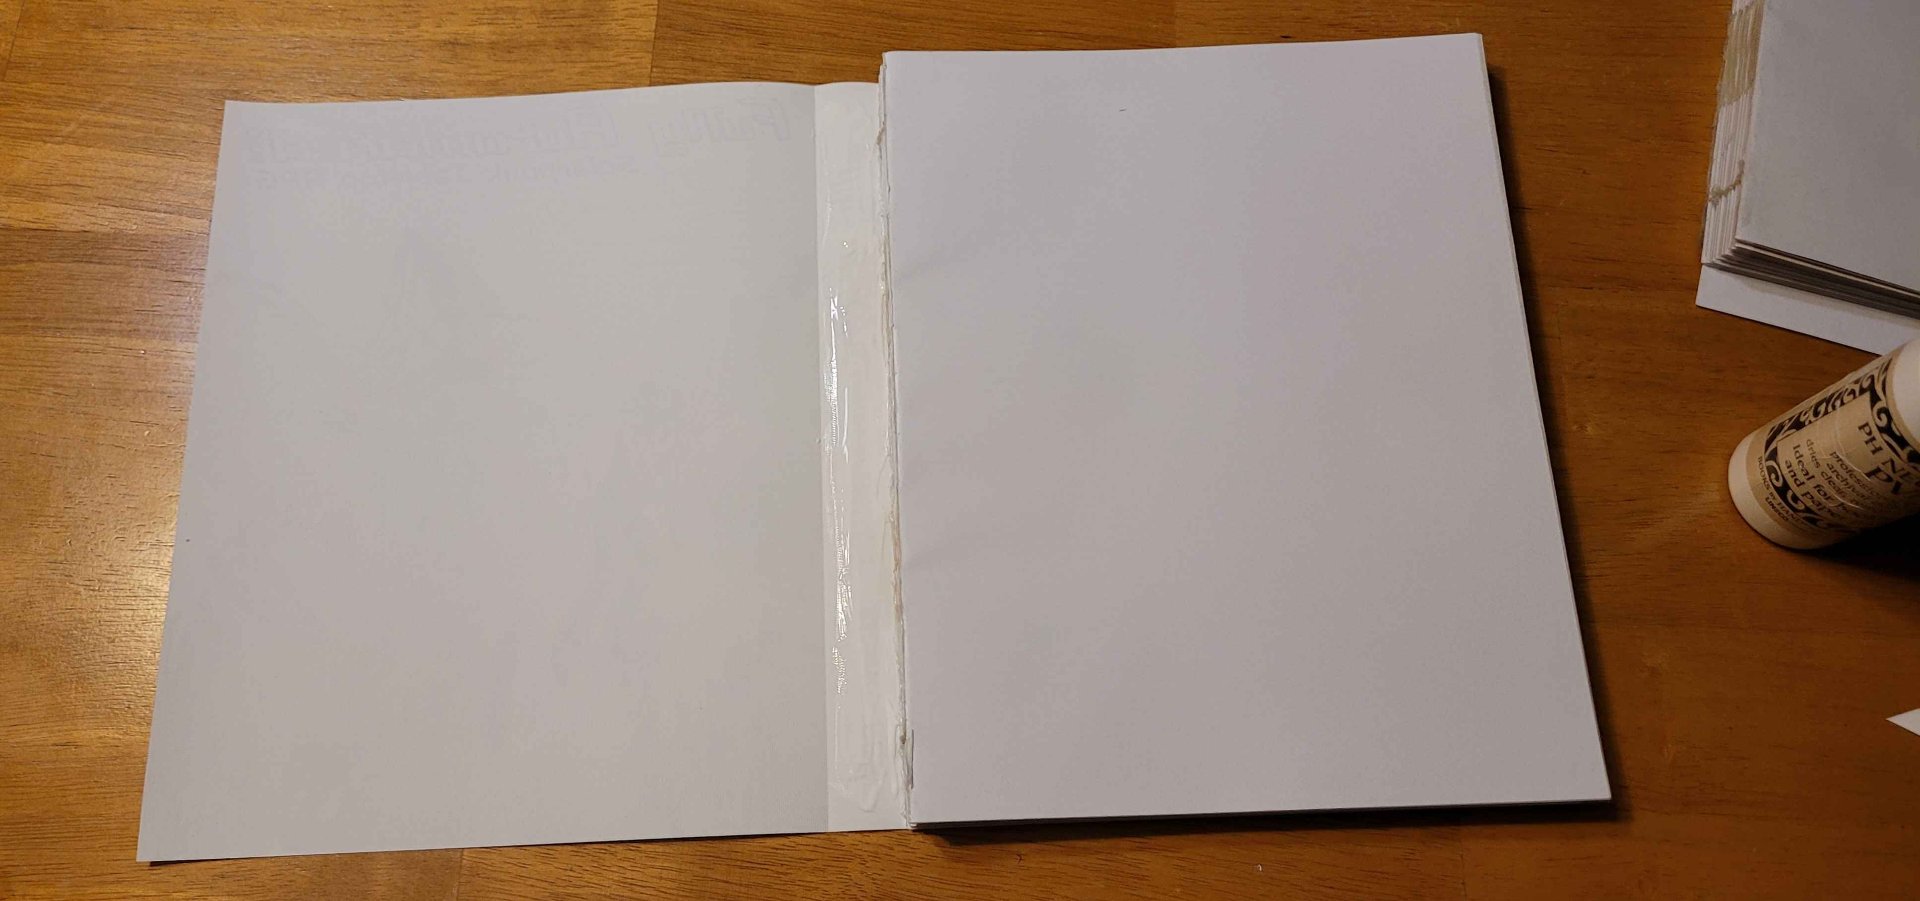
Once it was attached, I squirted a little acid-free fabric glue into the gap between the spine and the cover where it hadn't quite stuck, and held it by hand until it was glued together. I'm pretty pleased with the results:
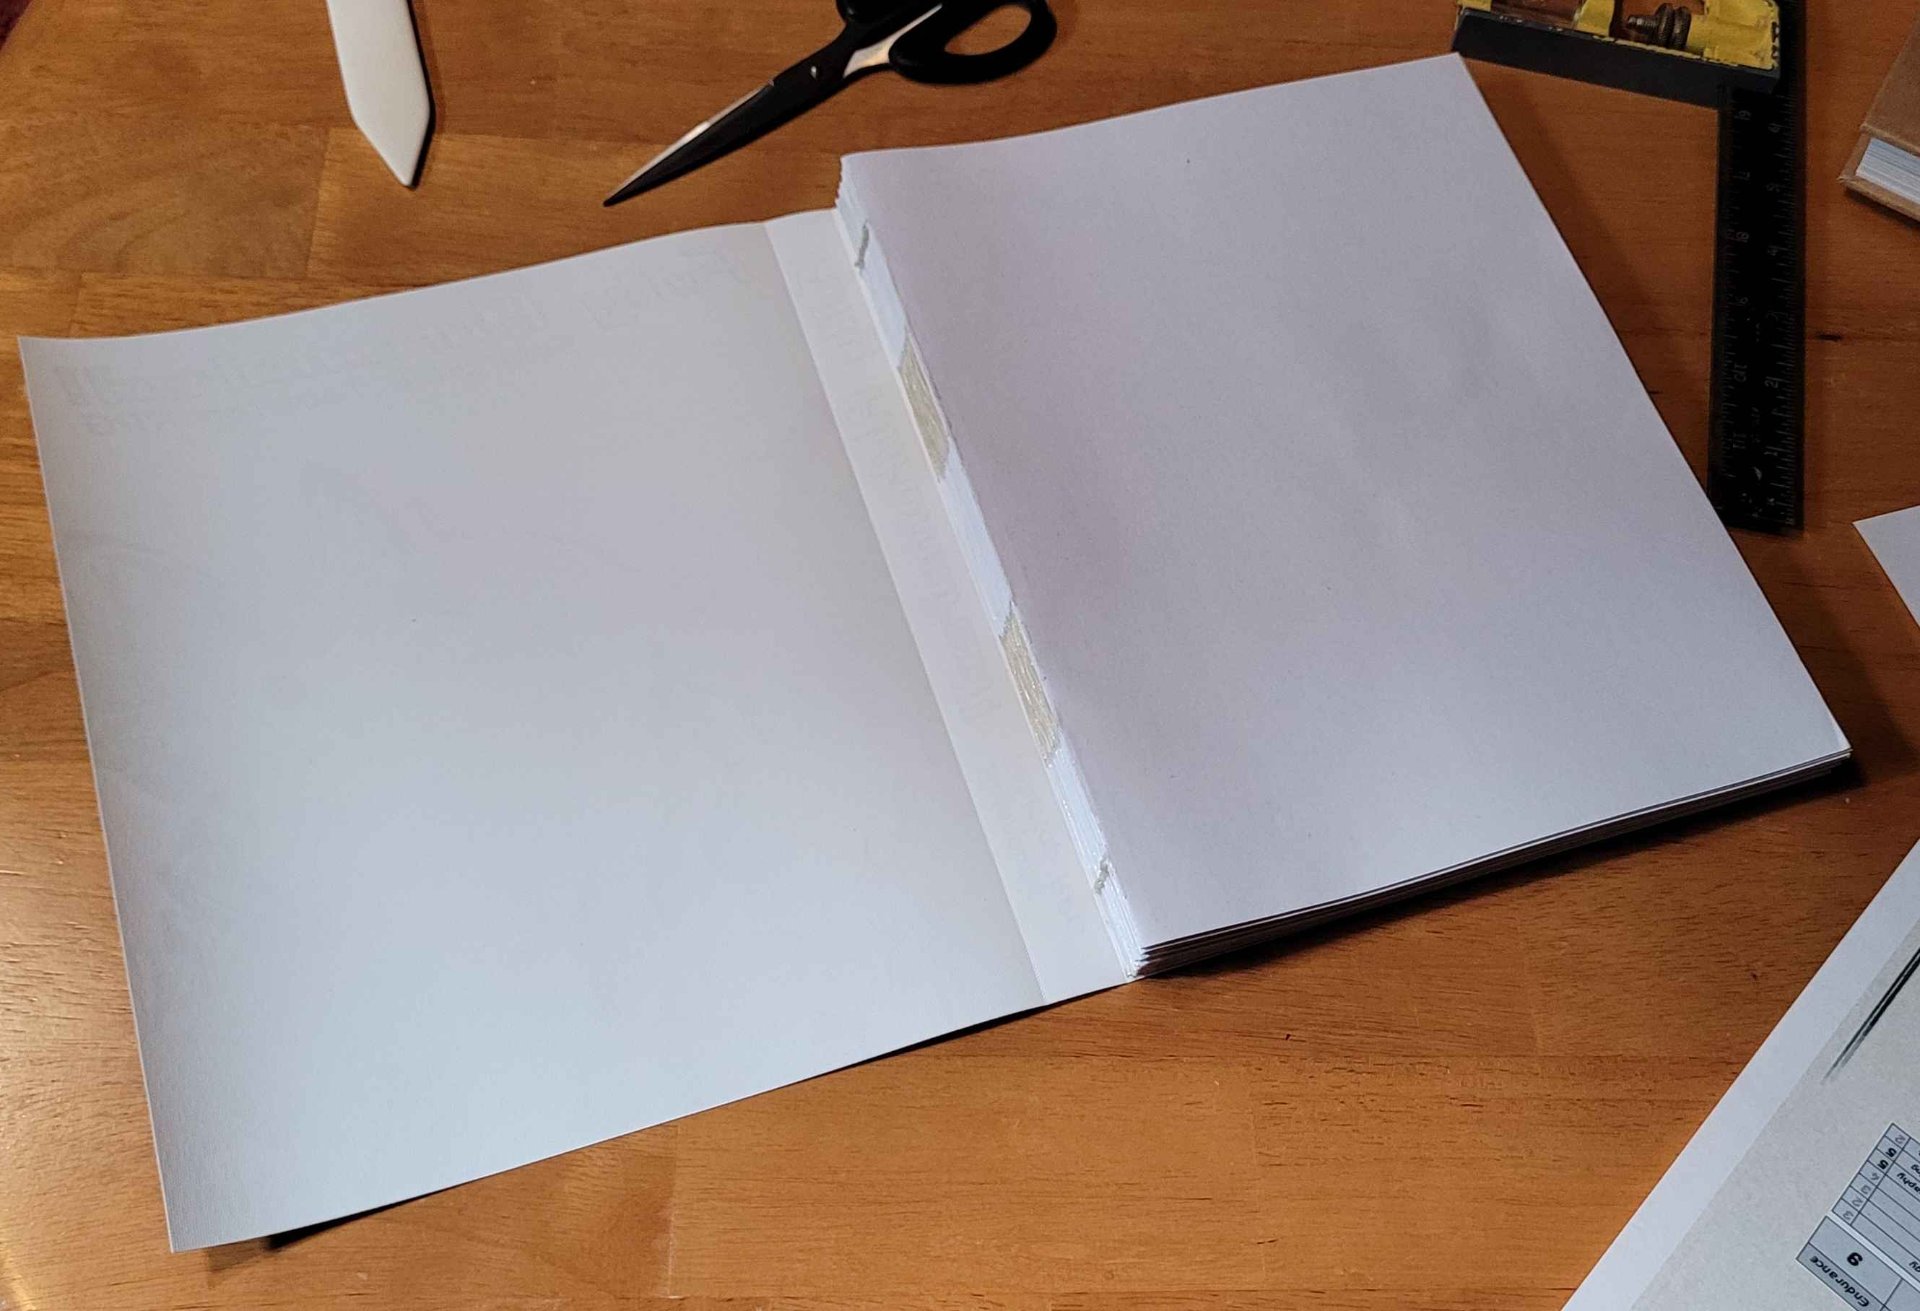
Of course, I also have to include a dire warning at the end. Make absolutely sure you glue the book block in the right way. Don't flip it over while handling it and forget. For one of these books ended in tragedy:
This is the first page. I glued it in upside down.
Of course, it still works fine, and it'll get put to use with the rest, it just makes the person reading from it look a little silly.